Ceiling Mount
![]()
![]()
![]() Locking screw
Locking screw
Camera
![]()
![]() Camera clamping bracket
Camera clamping bracket
2.
3.
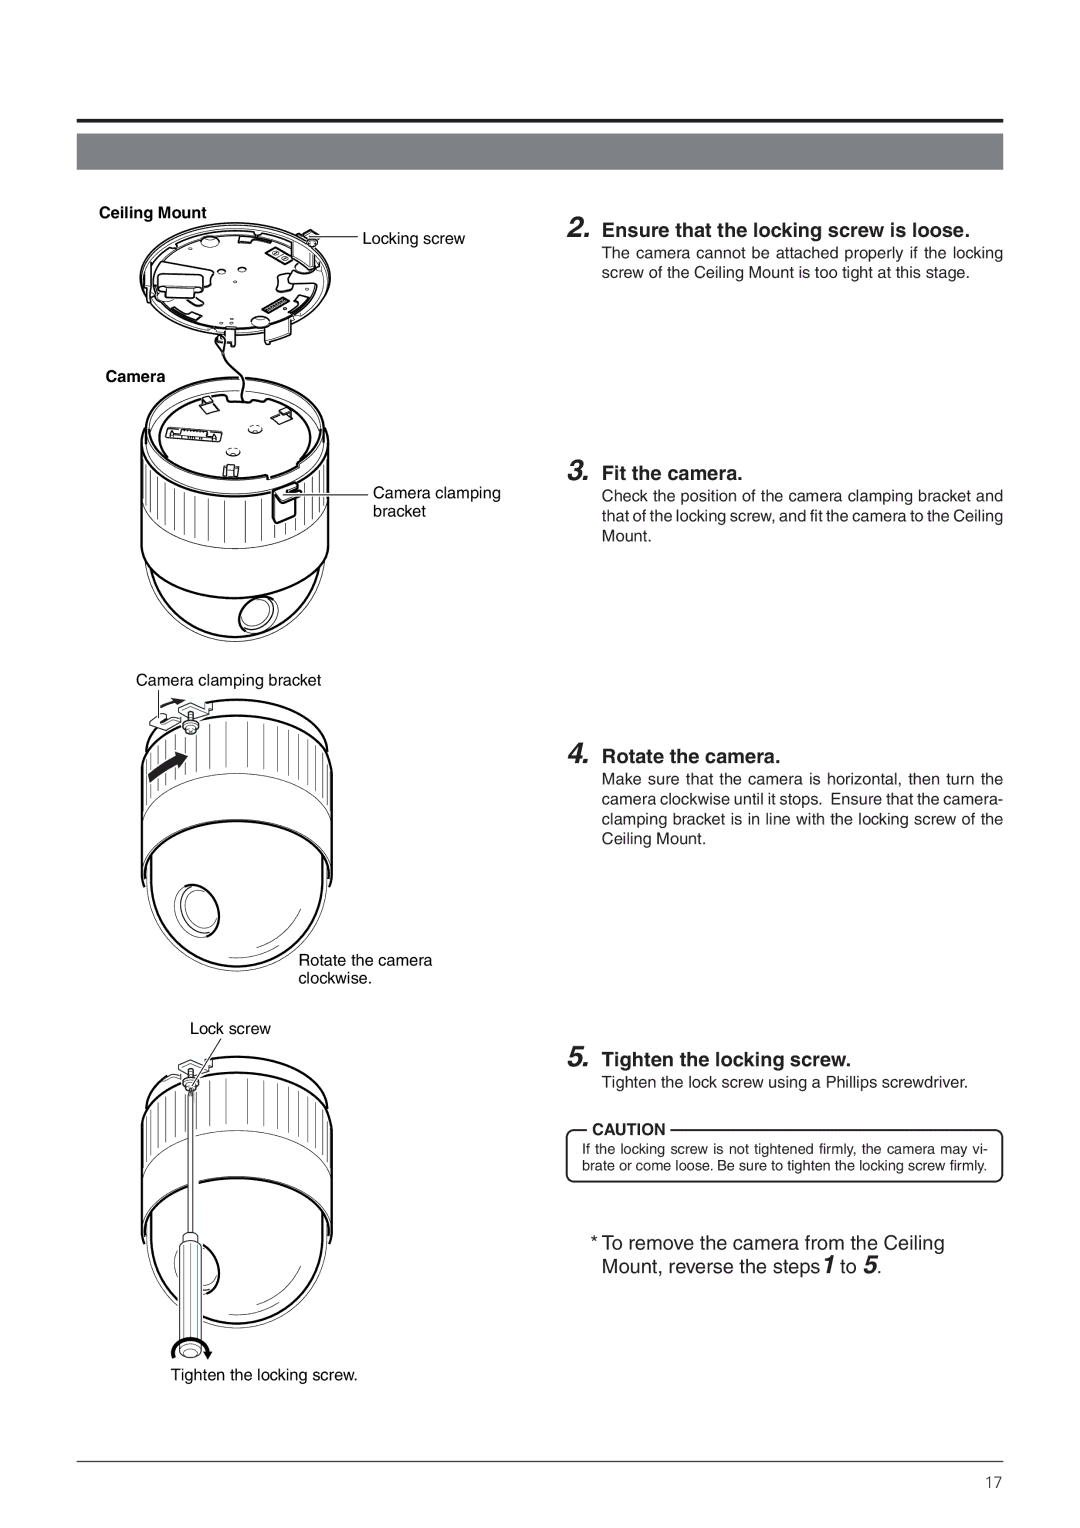
Ensure that the locking screw is loose.
The camera cannot be attached properly if the locking screw of the Ceiling Mount is too tight at this stage.
Fit the camera.
Check the position of the camera clamping bracket and that of the locking screw, and fit the camera to the Ceiling Mount.
Camera clamping bracket
4. Rotate the camera.
Make sure that the camera is horizontal, then turn the camera clockwise until it stops. Ensure that the camera- clamping bracket is in line with the locking screw of the Ceiling Mount.
Rotate the camera clockwise.
Lock screw
5. Tighten the locking screw.
Tighten the lock screw using a Phillips screwdriver.
CAUTION
If the locking screw is not tightened firmly, the camera may vi- brate or come loose. Be sure to tighten the locking screw firmly.
* To remove the camera from the Ceiling Mount, reverse the steps1 to 5.
Tighten the locking screw.
17