(Continued)
Recording Sound to Cassette Tapes
For the locations of remote control buttons, refer to page 44.
3 Select a sound source for recording.
•Before selecting a sound source, make sure to stop a disc.
Sound source |
| Operation |
|
| |
Disc | Press | , and then press | . | ||
Radio | Select the radio station whose broad- | ||||
broadcast | cast you want to record ( |
| page 21). | ||
Sound from | Press | and prepare playback on | |||
other | |||||
equipment | the other equipment ( | page 43). | |||
(AUX) | |||||
|
|
|
| ||
4 Press 
 on the main unit.
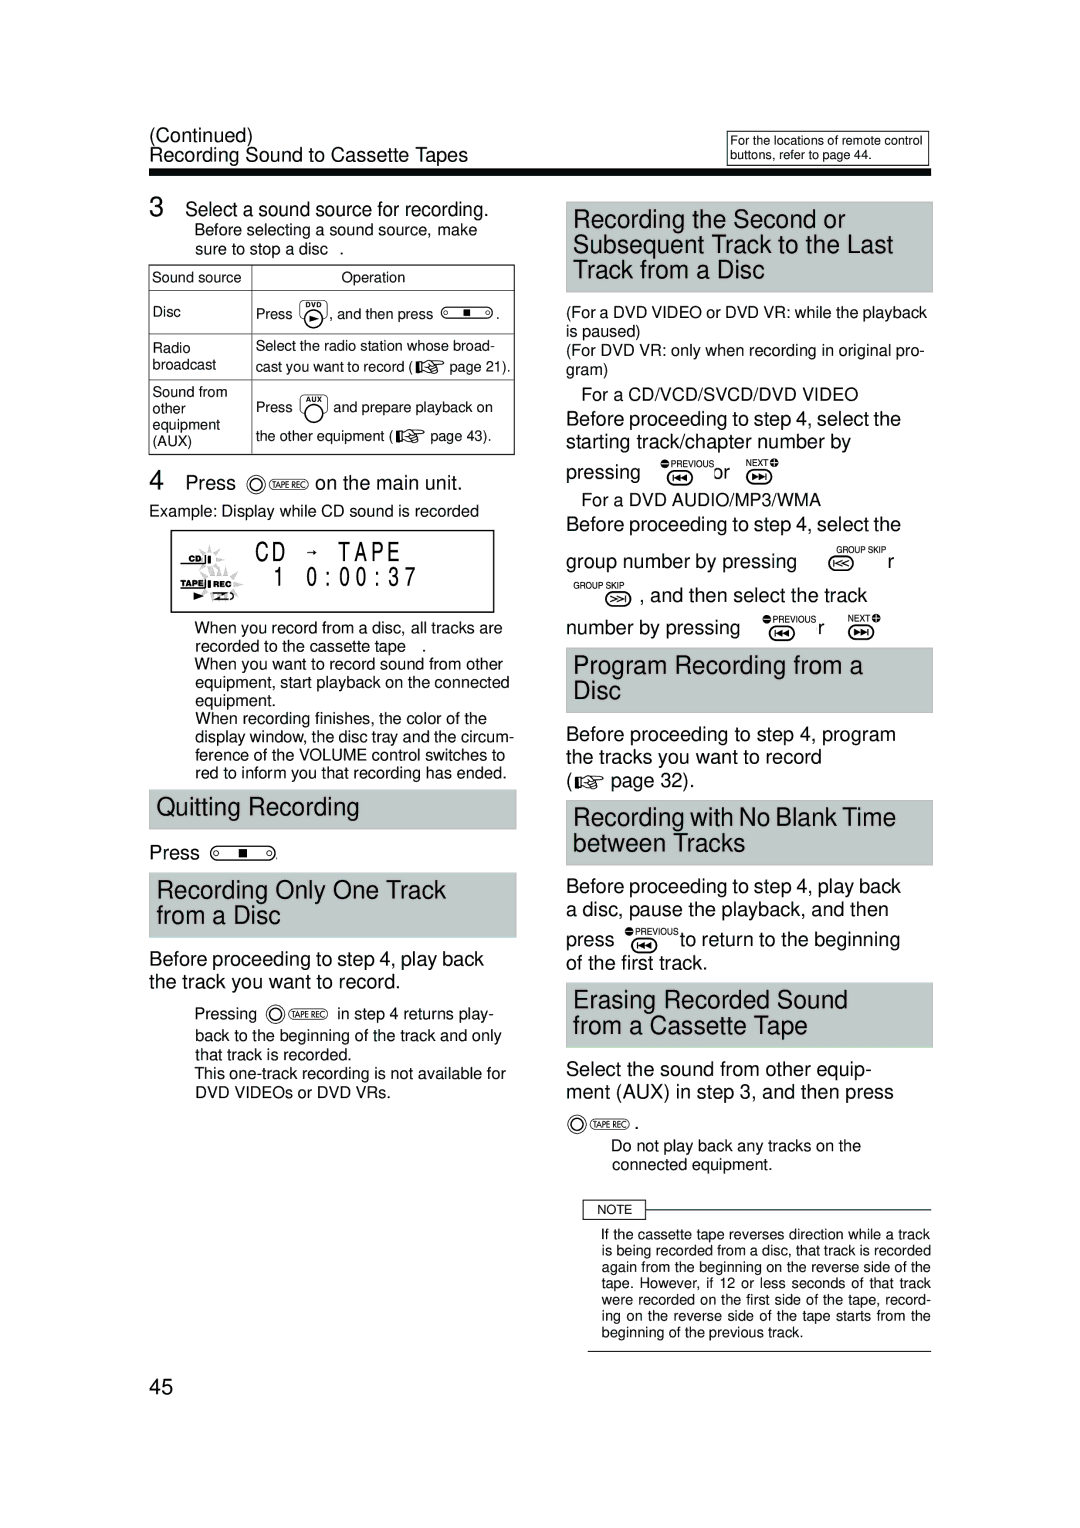
Example: Display while CD sound is recorded
•When you record from a disc, all tracks are recorded to the cassette tape.
•When you want to record sound from other equipment, start playback on the connected equipment.
•When recording finishes, the color of the display window, the disc tray and the circum- ference of the VOLUME control switches to red to inform you that recording has ended.
Quitting Recording
Press  .
.
Recording Only One Track from a Disc
Before proceeding to step 4, play back the track you want to record.
•Pressing ![]()
![]() in step 4 returns play- back to the beginning of the track and only that track is recorded.
in step 4 returns play- back to the beginning of the track and only that track is recorded.
•This
Recording the Second or Subsequent Track to the Last Track from a Disc
(For a DVD VIDEO or DVD VR: while the playback is paused)
(For DVD VR: only when recording in original pro- gram)
■For a CD/VCD/SVCD/DVD VIDEO
Before proceeding to step 4, select the starting track/chapter number by
pressing ![]()
![]()
![]()
![]()
![]()
![]()
![]() or
or ![]() .
.
■For a DVD AUDIO/MP3/WMA
Before proceeding to step 4, select the
group number by pressing | or |
![]()
![]()
![]()
![]()
![]() , and then select the track
, and then select the track
number by pressing ![]()
![]()
![]()
![]()
![]()
![]()
![]()
![]() or
or ![]() .
.
Program Recording from a Disc
Before proceeding to step 4, program the tracks you want to record
(![]() page 32).
page 32).
Recording with No Blank Time between Tracks
Before proceeding to step 4, play back a disc, pause the playback, and then
press ![]()
![]()
![]()
![]()
![]()
![]()
![]()
![]() to return to the beginning of the first track.
to return to the beginning of the first track.
Erasing Recorded Sound from a Cassette Tape
Select the sound from other equip- ment (AUX) in step 3, and then press
![]()
![]() .
.
•Do not play back any tracks on the connected equipment.
NOTE
•If the cassette tape reverses direction while a track is being recorded from a disc, that track is recorded again from the beginning on the reverse side of the tape. However, if 12 or less seconds of that track were recorded on the first side of the tape, record- ing on the reverse side of the tape starts from the beginning of the previous track.
45
