For the locations of remote control buttons, refer to page 46.
13 Press  .
.
•The settings appear in the display window. Confirm the settings.
14 Press  to turn off the main unit.
•While the recording timer is functioning, the volume is set to "0" and no sound is pro- duced from the speakers or headphones.
•The recording timer is available only when the main unit is turned off.
NOTE
•During operation, you can return to the previous
step by pressing ![]()
![]()
![]() . You can quit the recording
. You can quit the recording
timer settings by pressing ![]()
![]()
![]() . The settings are not stored.
. The settings are not stored.


 Canceling the recording timer
In step 2 on page 47, select the timer number you
want to cancel, and then press ![]()
![]()
![]() .
.
Even when you cancel the recording timer, the set- ting remains stored.


 Activating the recording timer again
In step 2 on page 47, select the timer number you
want to activate, and press ![]() . Then turn off the main unit.
. Then turn off the main unit.


 Confirming the recording timer
In step 2 on page 47, press ![]() repeatedly. If you want to quit checking the recording timer, press
repeatedly. If you want to quit checking the recording timer, press
![]() .
.


 Changing the recording timer
Set the recording timer again from step 1 on page 47.
NOTE
•When you want to activate two or three recording timers, leave a blank time of 2 or more minutes between the ending time of the first recording timer and the starting time of the second recording timer. If the blank time is less than 2 minutes, the second recording timer does not work.
•When the power plug is disconnected or the power is interrupted, the recording timer settings may be lost. If the settings are lost, set the clock and recording timer again.
Playback Timer
1 Prepare the sound source you want to play back.
Disc | Make sure that a disc is loaded. | ||
| ( | page 22) |
|
|
|
| |
Cassette | Insert a cassette tape. ( | page 42) | |
tape |
|
|
|
Radio | Preset the radio station whose broadcast | ||
| you want to listen to. ( | page 21) | |
|
| ||
Other | Follow the operation manual for the | ||
equipment | equipment. |
| |
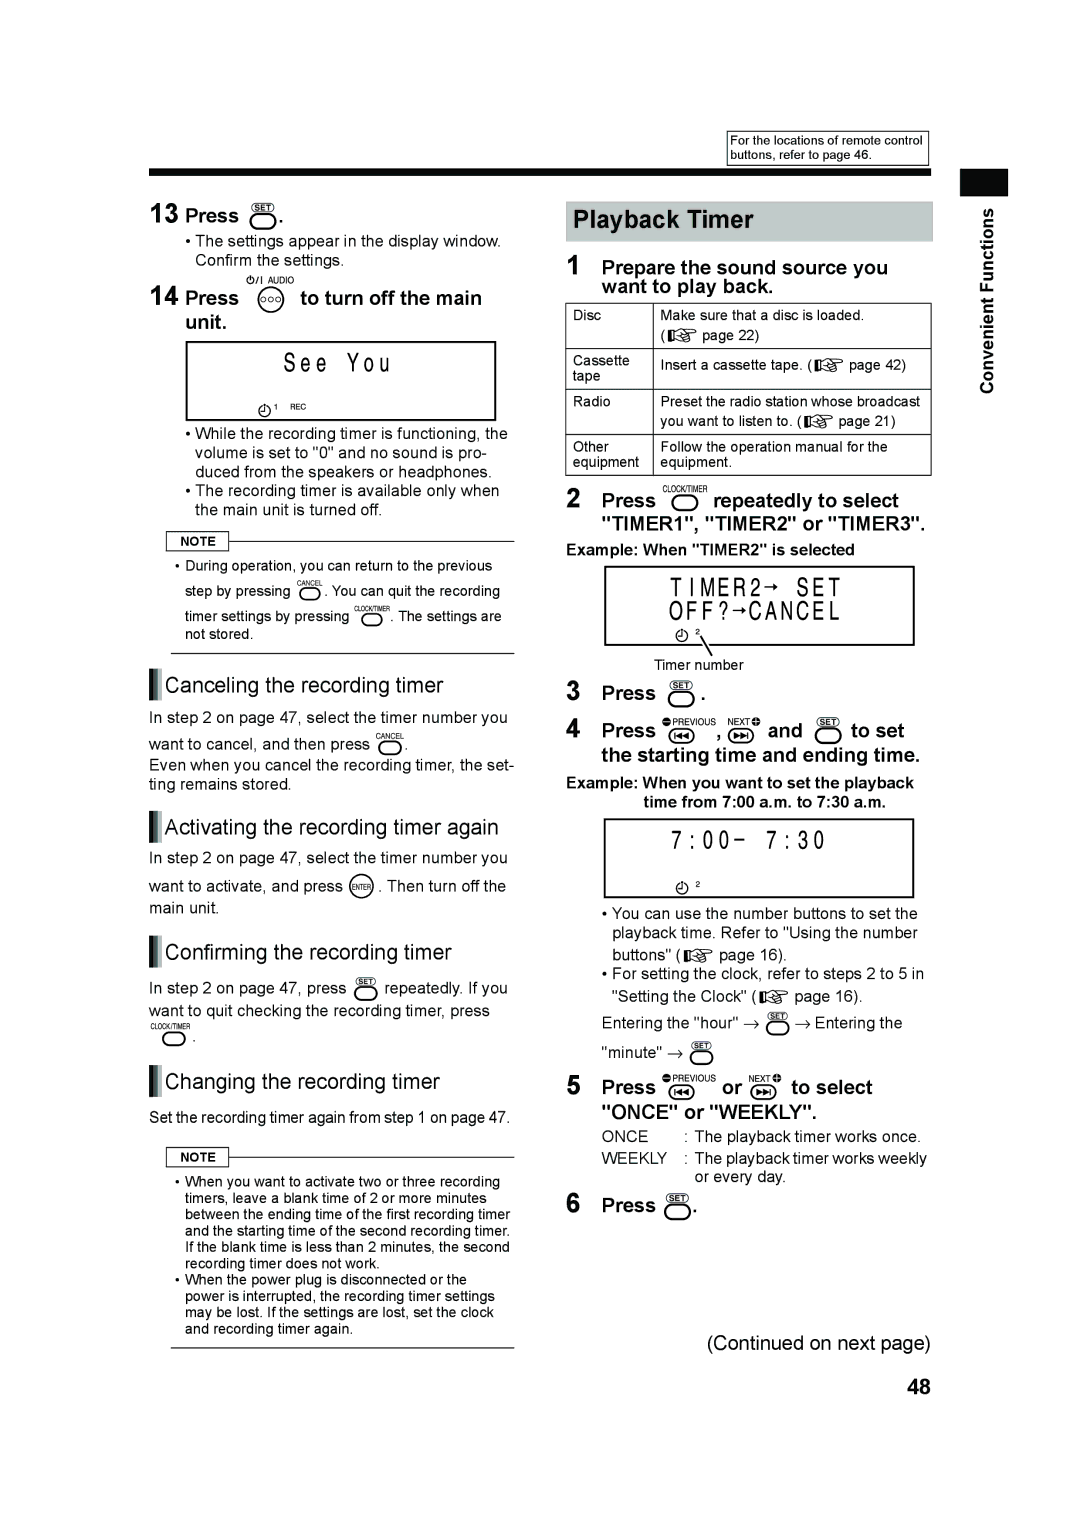
2 Press ![]() repeatedly to select "TIMER1", "TIMER2" or "TIMER3".
repeatedly to select "TIMER1", "TIMER2" or "TIMER3".
Example: When "TIMER2" is selected
3 | Timer number |
|
| |
Press | . |
|
| |
4 | Press | , | and | to set |
the starting time and ending time.
Example: When you want to set the playback time from 7:00 a.m. to 7:30 a.m.
•You can use the number buttons to set the playback time. Refer to "Using the number
buttons" (![]() page 16).
page 16).
•For setting the clock, refer to steps 2 to 5 in
"Setting the Clock" (![]() page 16).
page 16).
Entering the "hour" → ![]() → Entering the "minute" →
→ Entering the "minute" → ![]()
5 Press ![]()
![]()
![]()
![]()
![]()
![]()
![]()
![]()
![]() or
or ![]()
![]()
![]()
![]() to select "ONCE" or "WEEKLY".
to select "ONCE" or "WEEKLY".
ONCE | : The playback timer works once. |
WEEKLY | : The playback timer works weekly |
6 Press | or every day. |
. |
(Continued on next page)
Convenient Functions
48