Manual Recording
English
|
| 2 | 6 |
| 1 |
|
|
| |
|
|
|
|
| DIGITAL INPUT |
|
|
| |
|
|
|
| 32kHz | 44.1kHz | 48kHz |
|
| |
|
|
|
|
|
|
|
| ||
CD 3 |
|
|
|
|
|
|
|
| |
CD 2 |
|
|
|
|
|
|
|
| |
|
|
|
|
|
| MIXING |
| ||
CD 1 | REC | REC | REC | DIGITAL | CD | LINE | MIC | ||
PLAY & EXCHANGE | |||||||||
PAUSE | START | STOP |
|
|
|
|
REC SOURCE SELECTOR
STANDBY | TIMER | CD PITCH CONTROL |
|
| /CLOCK | 1st TRACK | LISTENING |
|
| REC | EDIT |
POWER |
| NORMAL SPEED |
|
|
| CD REC | SKIP |
SAMPLING RATE CONVERTER
3 |
|
| 4 | (When analog signals |
|
|
|
| are supplied) |
|
| DISPLAY |
|
|
EDIT | TITLE | /CHARA | PLAY MODE |
|
CANCEL |
|
| SET |
|
| MIX BALANCE | REC LEVEL |
| |
CD |
|
|
|
|
MD | LINE | CD | MIN MAX |
|
| MIC | LINE |
|
|
|
| MIC | PHONES |
|
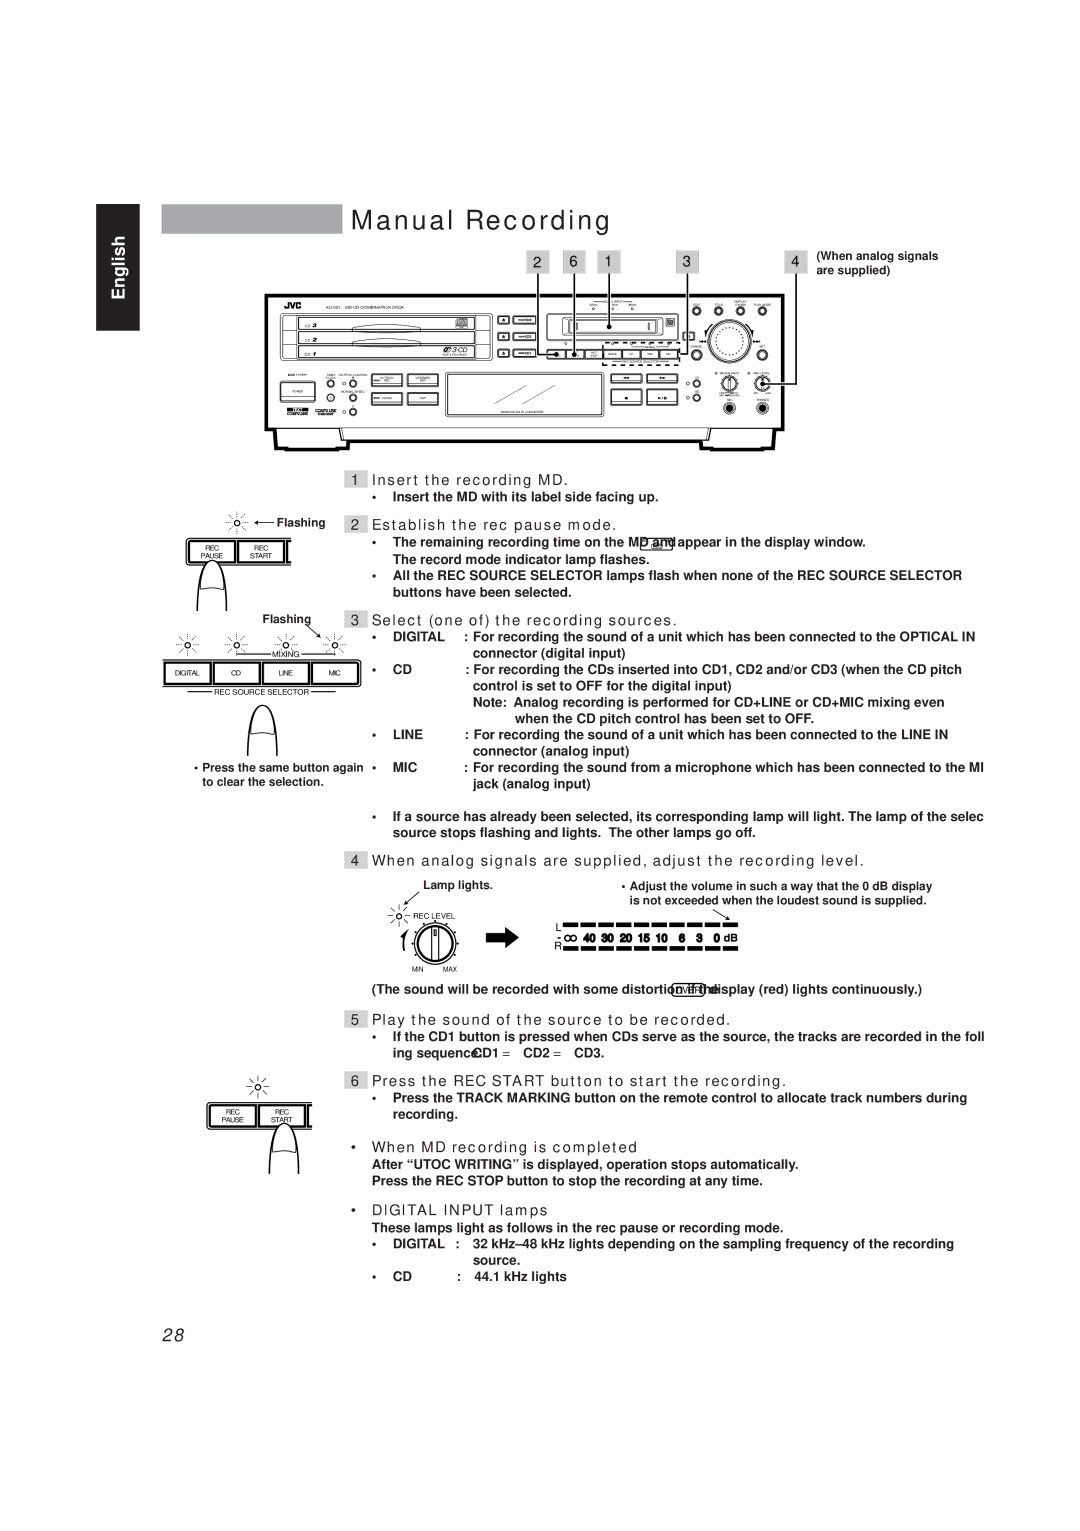
![]() Flashing
Flashing
RECREC
PAUSE START
1Insert the recording MD.
•Insert the MD with its label side facing up.
2Establish the rec pause mode.
•The remaining recording time on the MD and MD REC ![]()
![]() appear in the display window. The record mode indicator lamp flashes.
appear in the display window. The record mode indicator lamp flashes.
•All the REC SOURCE SELECTOR lamps flash when none of the REC SOURCE SELECTOR buttons have been selected.
Flashing
MIXING
DIGITAL | CD | LINE | MIC |
REC SOURCE SELECTOR
•Press the same button again to clear the selection.
3 Select (one of) the recording sources.
• | DIGITAL | : For recording the sound of a unit which has been connected to the OPTICAL IN |
|
| connector (digital input) |
• | CD | : For recording the CDs inserted into CD1, CD2 and/or CD3 (when the CD pitch |
|
| control is set to OFF for the digital input) |
|
| Note: Analog recording is performed for CD+LINE or CD+MIC mixing even |
|
| when the CD pitch control has been set to OFF. |
• | LINE | : For recording the sound of a unit which has been connected to the LINE IN |
|
| connector (analog input) |
• | MIC | : For recording the sound from a microphone which has been connected to the MIC |
|
| jack (analog input) |
•If a source has already been selected, its corresponding lamp will light. The lamp of the selected source stops flashing and lights. The other lamps go off.
4 When analog signals are supplied, adjust the recording level.
Lamp lights. | • Adjust the volume in such a way that the 0 dB display |
| is not exceeded when the loudest sound is supplied. |
REC LEVEL
L![]()
![]()
R ![]()
![]()
MIN MAX
40 30 20 15 10 6 3 0 ![]()
(The sound will be recorded with some distortion if the OVER display (red) lights continuously.)
5Play the sound of the source to be recorded.
•If the CD1 button is pressed when CDs serve as the source, the tracks are recorded in the follow- ing sequence: CD1 = CD2 = CD3.
6 Press the REC START button to start the recording.
• Press the TRACK MARKING button on the remote control to allocate track numbers during
REC | REC | recording. |
PAUSE | START |
|
• When MD recording is completed
After “UTOC WRITING” is displayed, operation stops automatically.
Press the REC STOP button to stop the recording at any time.
• DIGITAL INPUT lamps
These lamps light as follows in the rec pause or recording mode.
• | DIGITAL | : | 32 |
|
|
| source. |
• | CD | : | 44.1 kHz lights |
28