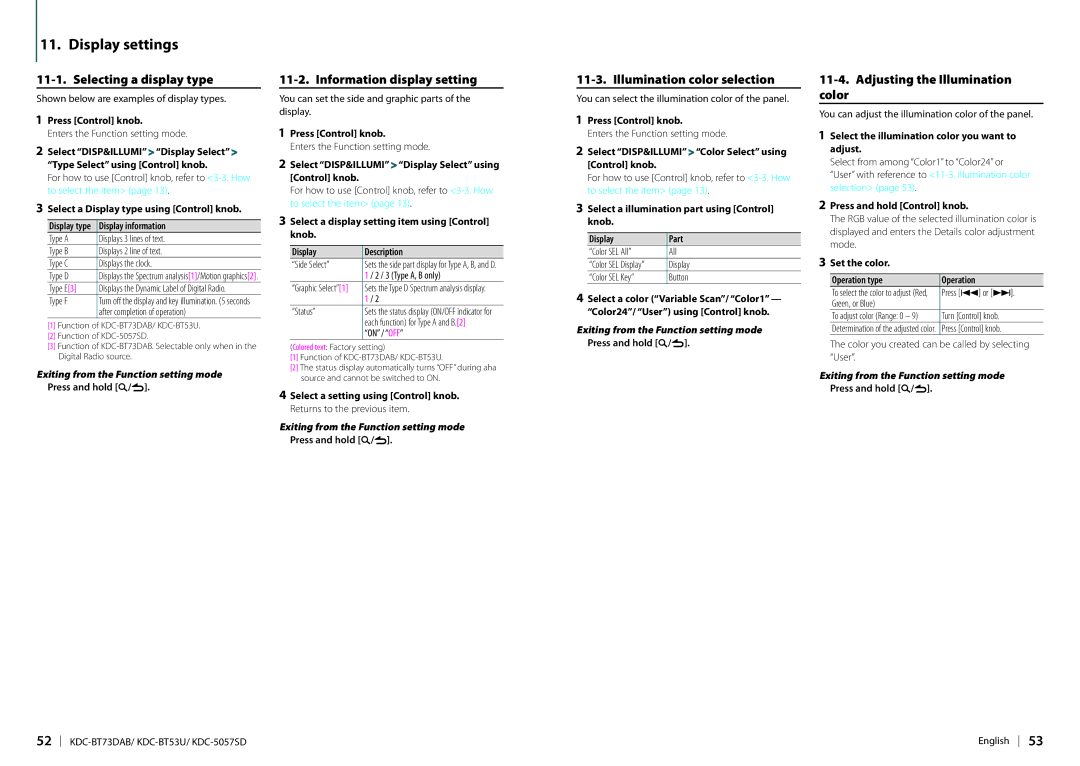
11. Display settings
11-1. Selecting a display type
Shown below are examples of display types.
1Press [Control] knob.
Enters the Function setting mode.
2Select “DISP&ILLUMI” > “Display Select” > “Type Select” using [Control] knob.
For how to use [Control] knob, refer to
3Select a Display type using [Control] knob.
Display type | Display information |
Type A | Displays 3 lines of text. |
Type B | Displays 2 line of text. |
Type C | Displays the clock. |
Type D | Displays the Spectrum analysis[1]/Motion graphics[2]. |
Type E[3] | Displays the Dynamic Label of Digital Radio. |
Type F | Turn off the display and key illumination. (5 seconds |
| after completion of operation) |
[1]Function of
[2]Function of
[3]Function of
Exiting from the Function setting mode Press and hold [1/6].
11-2. Information display setting
You can set the side and graphic parts of the display.
1Press [Control] knob.
Enters the Function setting mode.
2Select “DISP&ILLUMI” > “Display Select” using [Control] knob.
For how to use [Control] knob, refer to
3Select a display setting item using [Control] knob.
Display | Description |
“Side Select” | Sets the side part display for Type A, B, and D. |
| 1 / 2 / 3 (Type A, B only) |
“Graphic Select”[1] | Sets the Type D Spectrum analysis display. |
| 1 / 2 |
“Status” | Sets the status display (ON/OFF indicator for |
| each function) for Type A and B.[2] |
| “ON” / “OFF” |
(Colored text: Factory setting)
[1]Function of
[2]The status display automatically turns “OFF” during aha source and cannot be switched to ON.
4Select a setting using [Control] knob. Returns to the previous item.
Exiting from the Function setting mode Press and hold [1/6].
11-3. Illumination color selection
You can select the illumination color of the panel.
1Press [Control] knob.
Enters the Function setting mode.
2Select “DISP&ILLUMI” > “Color Select” using [Control] knob.
For how to use [Control] knob, refer to
3Select a illumination part using [Control] knob.
Display | Part |
“Color SEL All” | All |
“Color SEL Display” | Display |
“Color SEL Key” | Button |
4Select a color (“Variable Scan”/ “Color1” — “Color24”/ “User”) using [Control] knob.
Exiting from the Function setting mode Press and hold [1/6].
11-4. Adjusting the Illumination color
You can adjust the illumination color of the panel.
1Select the illumination color you want to adjust.
Select from among “Color1” to “Color24” or “User” with reference to
2Press and hold [Control] knob.
The RGB value of the selected illumination color is displayed and enters the Details color adjustment mode.
3Set the color.
Operation type | Operation |
To select the color to adjust (Red, | Press [E] or [F]. |
Green, or Blue) |
|
To adjust color (Range: 0 – 9) | Turn [Control] knob. |
Determination of the adjusted color. | Press [Control] knob. |
The color you created can be called by selecting “User”.
Exiting from the Function setting mode Press and hold [1/6].
52 | English 53 |
