12. General settings
12-1. Adjusting the clock
1Press [Control] knob.
Enters the Function setting mode.
2Select “Settings” > “Clock&Date” > “Clock Adjust” using [Control] knob.
For how to use [Control] knob, refer to
3Set the hour using [Control] knob.
4Set the minute using [Control] knob.
Exiting from the Function setting mode Press and hold [1/6].
Notes
•When Radio Data System station time data is received with “ON” selected for “Time Synchronized”
12-2. Adjusting the date
1Press [Control] knob.
Enters the Function setting mode.
2Select “Settings” > “Clock&Date” > “Date Adjust” using [Control] knob.
For how to use [Control] knob, refer to
3Set the year using [Control] knob.
4Set the month using [Control] knob.
5Set the day using [Control] knob.
Exiting from the Function setting mode Press and hold [1/6].
12-3. Clock & date display type setting
You can set the display type of the clock and calendar.
1Press [Control] knob.
Enters the Function setting mode.
2Select “Settings” > “Clock&Date” using [Control] knob.
For how to use [Control] knob, refer to
3Select a Clock & Date setting item using [Control] knob.
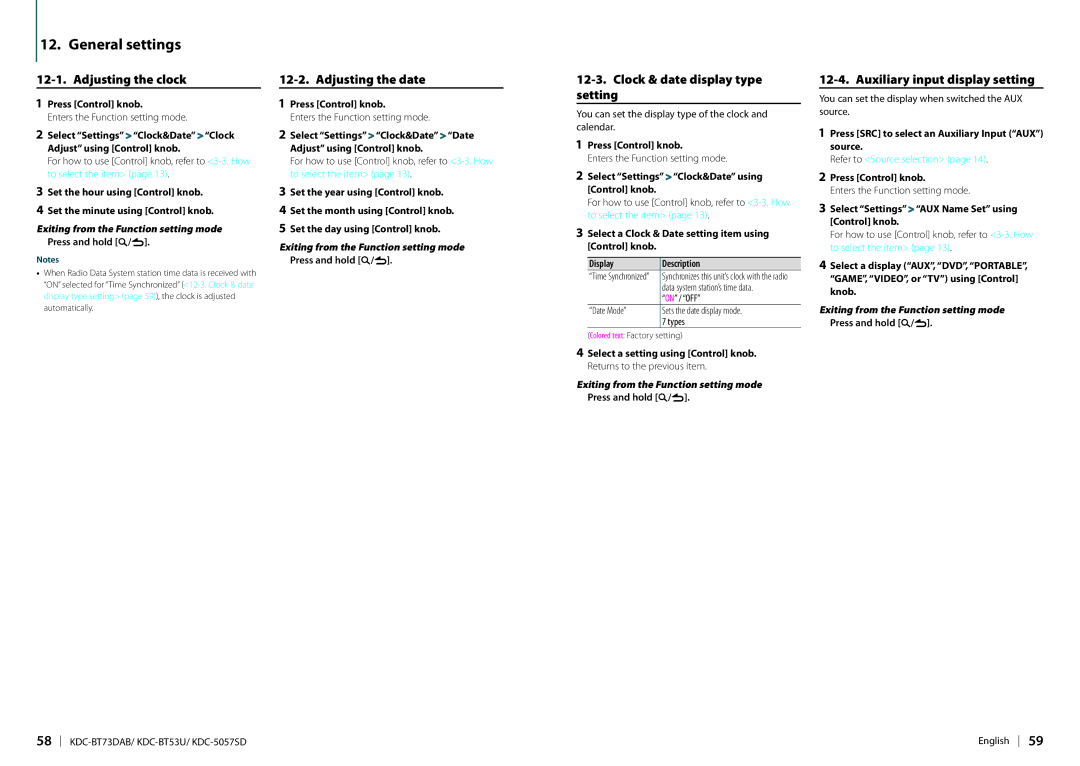
Display | Description |
“Time Synchronized” | Synchronizes this unit’s clock with the radio |
| data system station’s time data. |
| “ON” / “OFF” |
“Date Mode” | Sets the date display mode. |
7types
(Colored text: Factory setting)
4Select a setting using [Control] knob. Returns to the previous item.
Exiting from the Function setting mode Press and hold [1/6].
12-4. Auxiliary input display setting
You can set the display when switched the AUX source.
1Press [SRC] to select an Auxiliary Input (“AUX”) source.
Refer to <Source selection> (page 14).
2Press [Control] knob.
Enters the Function setting mode.
3Select “Settings” > “AUX Name Set” using [Control] knob.
For how to use [Control] knob, refer to
4Select a display (“AUX”, “DVD”, “PORTABLE”, “GAME”, “VIDEO”, or “TV”) using [Control] knob.
Exiting from the Function setting mode Press and hold [1/6].
58 | English 59 |