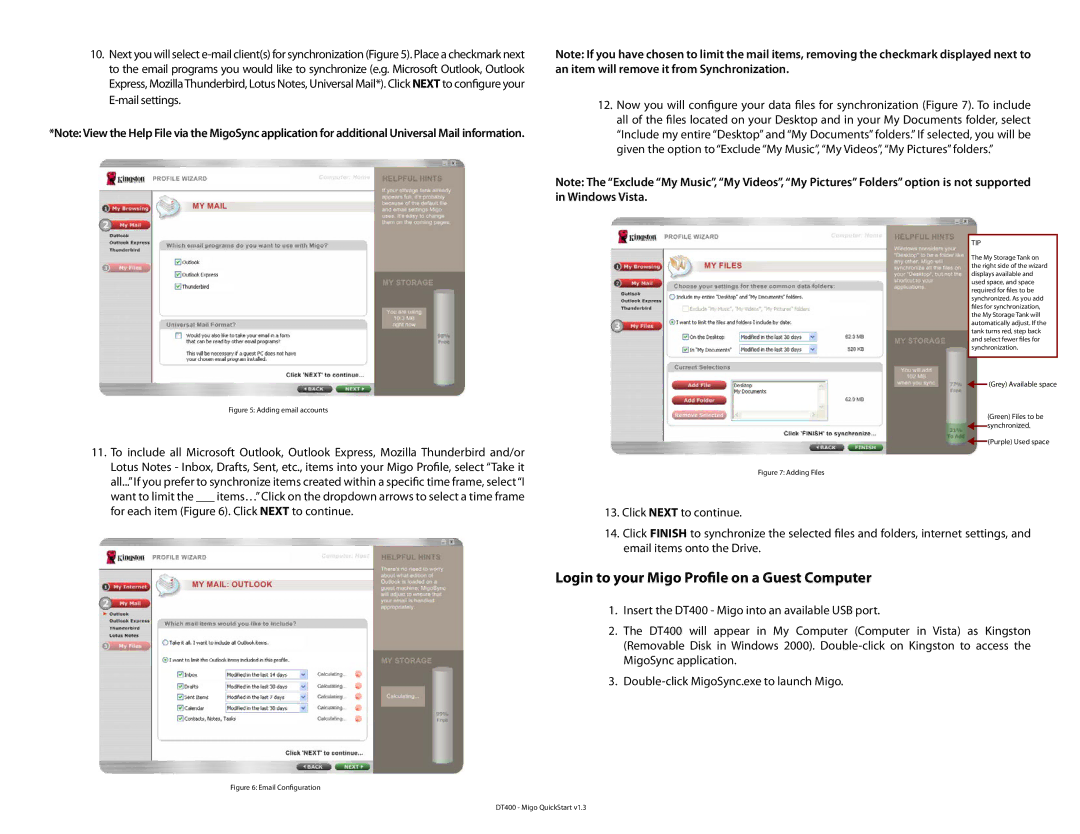
10.Next you will select
*Note: View the Help File via the MigoSync application for additional Universal Mail information.
Figure 5: Adding email accounts
11.To include all Microsoft Outlook, Outlook Express, Mozilla Thunderbird and/or Lotus Notes - Inbox, Drafts, Sent, etc., items into your Migo Profile, select “Take it all...”If you prefer to synchronize items created within a specific time frame, select“I want to limit the ___ items…” Click on the dropdown arrows to select a time frame for each item (Figure 6). Click NEXT to continue.
Note: If you have chosen to limit the mail items, removing the checkmark displayed next to an item will remove it from Synchronization.
12.Now you will configure your data files for synchronization (Figure 7). To include all of the files located on your Desktop and in your My Documents folder, select “Include my entire “Desktop” and “My Documents” folders.” If selected, you will be given the option to “Exclude “My Music”, “My Videos”, “My Pictures” folders.”
Note: The “Exclude “My Music”, “My Videos”, “My Pictures” Folders” option is not supported in Windows Vista.
TIP
The My Storage Tank on the right side of the wizard displays available and used space, and space required for files to be synchronized. As you add files for synchronization, the My Storage Tank will automatically adjust. If the tank turns red, step back and select fewer files for synchronization.
![]() (Grey) Available space
(Grey) Available space
(Green) Files to be ![]() synchronized.
synchronized.
![]() (Purple) Used space
(Purple) Used space
Figure 7: Adding Files
13.Click NEXT to continue.
14.Click FINISH to synchronize the selected files and folders, internet settings, and email items onto the Drive.
Login to your Migo Profile on a Guest Computer
1.Insert the DT400 - Migo into an available USB port.
2.The DT400 will appear in My Computer (Computer in Vista) as Kingston (Removable Disk in Windows 2000).
3.
