Manuals
/
Kodak
/
Computer Equipment
/
Scanner
Kodak
i1800 Series
manual
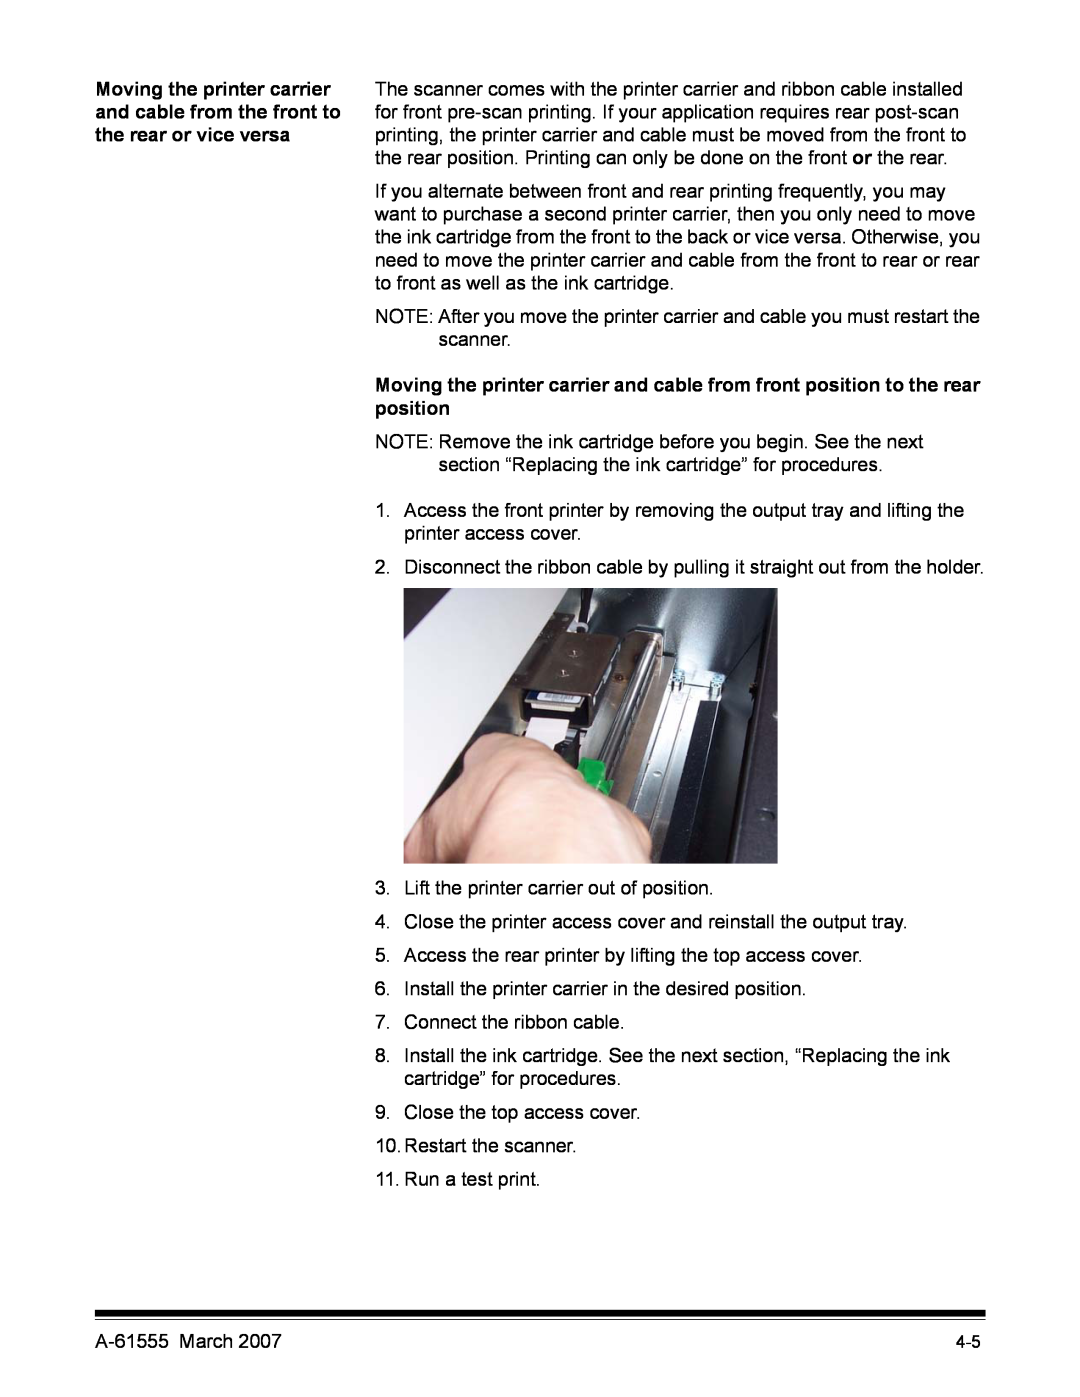
Lift the printer carrier out of position
Models:
i1800 Series
1
57
101
101
Download
101 pages
19.43 Kb
54
55
56
57
58
59
60
61
Troubleshooting
Specification
Install
error condition
Maintenance
Problem solving
Accessing scanner
Remove one core assembly
Adjusting the input elevator
Settings screen
Page 57
Image 57
Page 56
Page 58
Page 57
Image 57
Page 56
Page 58
Contents
i1800 Series Scanners
User’s Guide
A-61555
A-61555March
Contents
A-61555March
Appendix B
Appendix A
1 Introduction
Scanner features
Supporting documentation
System requirements
Phone numbers •United States and Canada
Contacting Service and Support
User precautions
Safety information
MSDS
Gas springs warning
EMC statements
European Union
Environmental information
United States
Acoustic emission
Power system
connection
Peoples Republic of
Scanner components Front view
2 Getting Started
11Exit deflector — aids in document stacking
15 18
A-61555March
Internal components
Rear view
Turning the scanner on
3 Using the Scanner
A-61555March
Starting and stopping scanning
Turning the scanner off
Document preparation
Materials
A-61555March
Selecting your feeding
Adjusting the input elevator
position
Locking the side guides
Adjusting the input tray for document length
Adjusting the height of the input elevator
Installing the document
Adjusting the output tray
Adjusting the side guides
Output tray options
1 2 3
Positioning the output tray
Adjusting the angle of the output tray
Adjusting the end stop
3-10
The exit deflector
Adjusting the output tray
for documents from
34 in
Adjusting the short document tray
3. Adjust the sides guides as necessary
1.Remove the end stop on the output tray
Adjusting the height of the scanner
Automatic feeding
Feeding documents using multi-feeddetection
Continuous feeding Manual feeding
Feeding documents that require special handling
Using the operator control panel touchscreen
Settings screen
3-20
3.Touch Close to return to the Settings screen
Selecting the tone
Selecting a language
addressing for
Enabling/disabling image
Scanner only
cycle the scanner
3-24
4.Restart the scanner
Image Calibration
UDDS Calibration
Image Address information
Idle screen
Operator Log
information
Accessing scanner
Count only mode
Performing a Print test
Performing a self test
Scanning
Using function keys when scanning
Manually pausing and resuming the scanner
Automatically pausing and resuming the scanner
Resuming from Power Saver mode
Power Saver mode Viewing messages
Enhanced Printer overview
4 The Enhanced Printer and Patch Readers
Printer specifications
Changing the front horizontal print position
Changing print positions
horizontal print position
Changing the rear
3.Lift the printer carrier out of position
1.Open the top access cover
Replacing the ink cartridge
9.Run a print test
Replacing the front blotter strips
9.Replace the ink blotter strip cover
7.Press the blotter strip firmly into the channel
10.Close the pod
4-10
Replacing the rear blotter strips
The Patch Readers
Patch function overview
Patch types
they are not to spec
Toggle Patch
Patch code placement
5 Maintenance
Cleaning frequency chart
Cleaning tools and materials
•Kodak Digital Science Roller Cleaning Pads
Ordering parts
Supplies, consumables and accessories
3E9575
9E3357
Cleaning procedures
Cleaning the OCP touchscreen
Vacuuming the output tray and input elevator
Cleaning the rollers
Cleaning the separation roller tires
9. Lift up the printer access cover
Cleaning the feed module tires
14. Close the printer access cover
Vacuuming under the background strips
Vacuuming the transport area
guides — basic cleaning
Cleaning the imaging
Upper imaging guide
Cleaning the imaging guides — thorough cleaning
Lower imaging guide
Running a transport
cleaning sheet
Final cleaning steps
Replacement procedures
•Close the pod and the printer access cover
7.Remove one core assembly
15.Close the pod
1.Open the pod
separation pad
Replacing the pre
Replacing the imaging
guides
6 Troubleshooting
Accessing the Operator Log
Accessing the Operator Log from the touchscreen
4. Select the Scanner icon
2.From the Driver Types box, select TWAIN
5. From the main screen, click Settings
The Settings screen will be displayed
6. Select Device
The Device screen will be displayed
8.Select the Logs tab
Use the button to create a compressed log package
Message listing
A-61555March
Input elevator too full, feed module
A-61555March
UDDS calibration failed
listing
Numerical message
error condition
6-10
phone numbers and detailed information
Contacting Service
6-12
Problem solving
Calibration has failed
Ultralightweight Paper Feed Module
Appendix A Accessories
Background Accessory Kodak Manual Feeder
Resolution Printer Accessory
Appendix B
Specifications
Eastman Kodak Company 343 State Street
Rochester, NY 14650 U.S.A
Kodak, 2007. All rights reserved. TM Kodak
Top
Page
Image
Contents