INSERTING THE ADAPTER
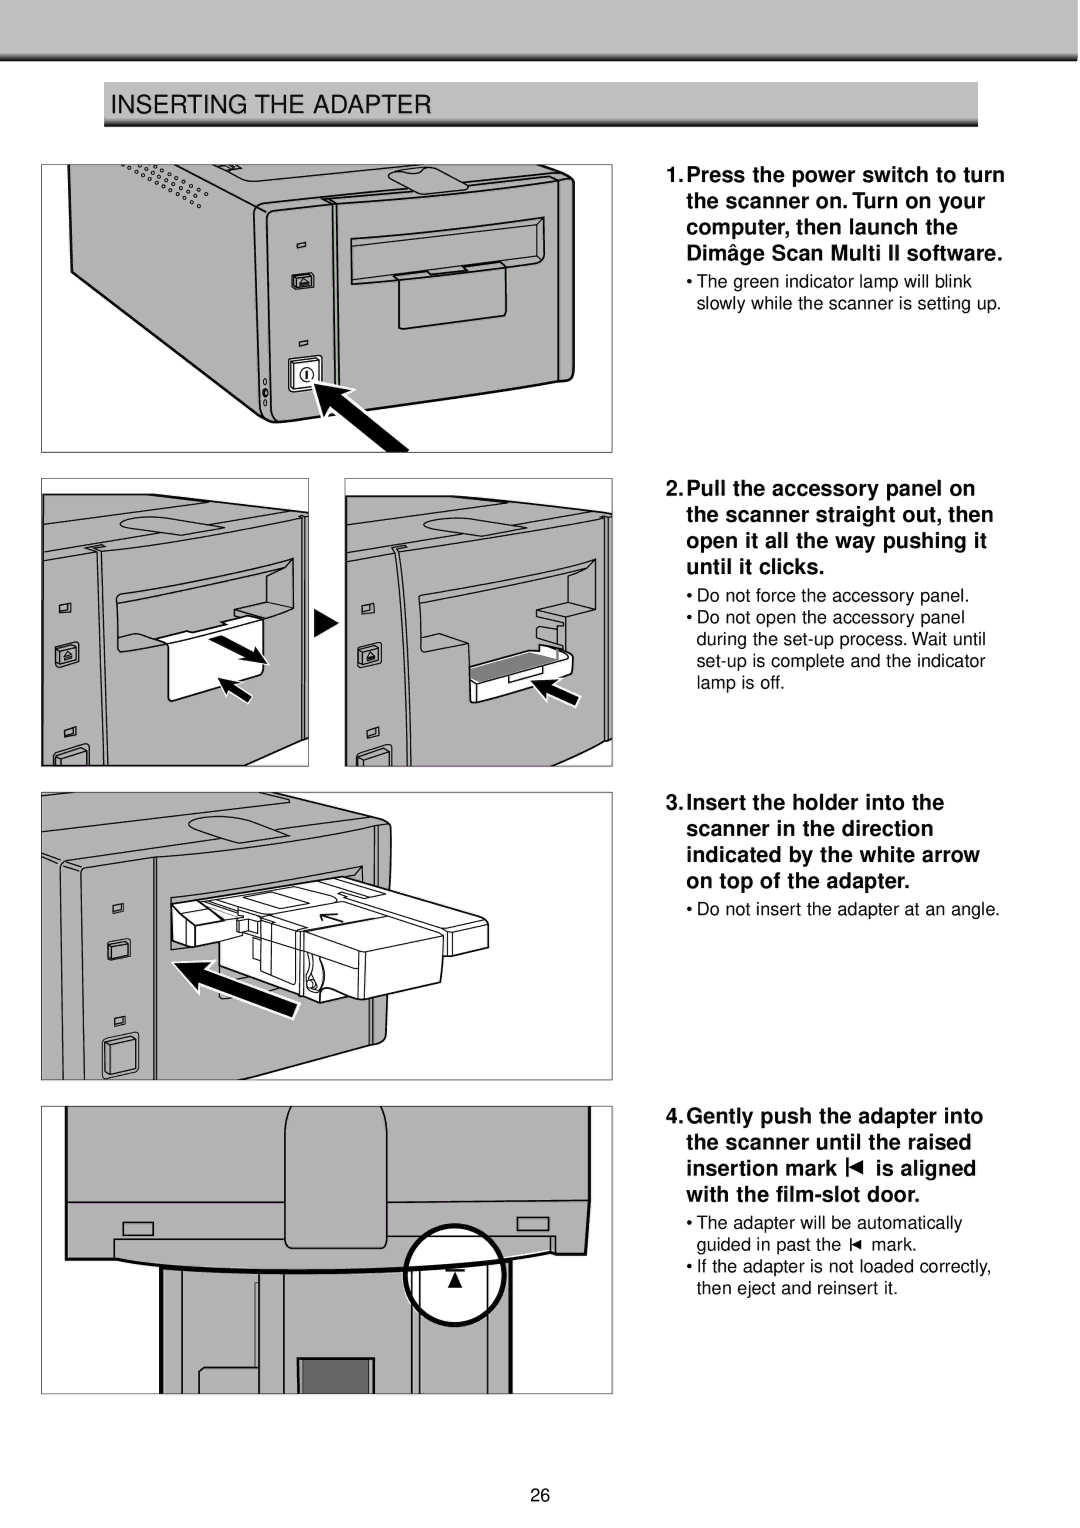
1. Press the power switch to turn
the scanner on. Turn on your computer, then launch the Dimâge Scan Multi II software.
• The green indicator lamp will blink slowly while the scanner is setting up.
2. Pull the accessory panel on the scanner straight out, then open it all the way pushing it until it clicks.
• Do not force the accessory panel.
• Do not open the accessory panel during the
3. Insert the holder into the scanner in the direction indicated by the white arrow on top of the adapter.
• Do not insert the adapter at an angle.
4. Gently push the adapter into the scanner until the raised
insertion mark ![]() is aligned with the
is aligned with the
• The adapter will be automatically guided in past the ![]() mark.
mark.
• If the adapter is not loaded correctly, then eject and reinsert it.
26