Flash intensity compensation
This is available only in the TTL auto flash photography mode. Compensation is not possible in other modes.
•The flash intensity can be compensated within the range of
•The flash intensity is compensated in conjunction with the camera’s exposure compensa- tion value. If for example the camera’s exposure compensation is “+1” and the flash’s compensation is set to “+1”, the flash intensity compensation is “+2EV”.
Press the flash’s “SEL” button.
• The compensation scale appears on the display panel and the
Use the flash’s “▲” and “▼” (up and down) buttons to set the compen- sation scale to the desired value.
Press the “SEL” button again.
The
•The compensation scale on the flash’s display panel indicates the compensation value for the flash.
•If the flash’s compensation value is set to “0” (no compensation), the compensation scale turns off after 8 seconds.
 “Auto off” and “auto on” functions
When the flash’s power switch is set to “auto off”, the flash’s power turns off automatically after approximately 80 seconds. When the camera’s shut- ter release button is
These functions help save power when using the flash for long periods of time.
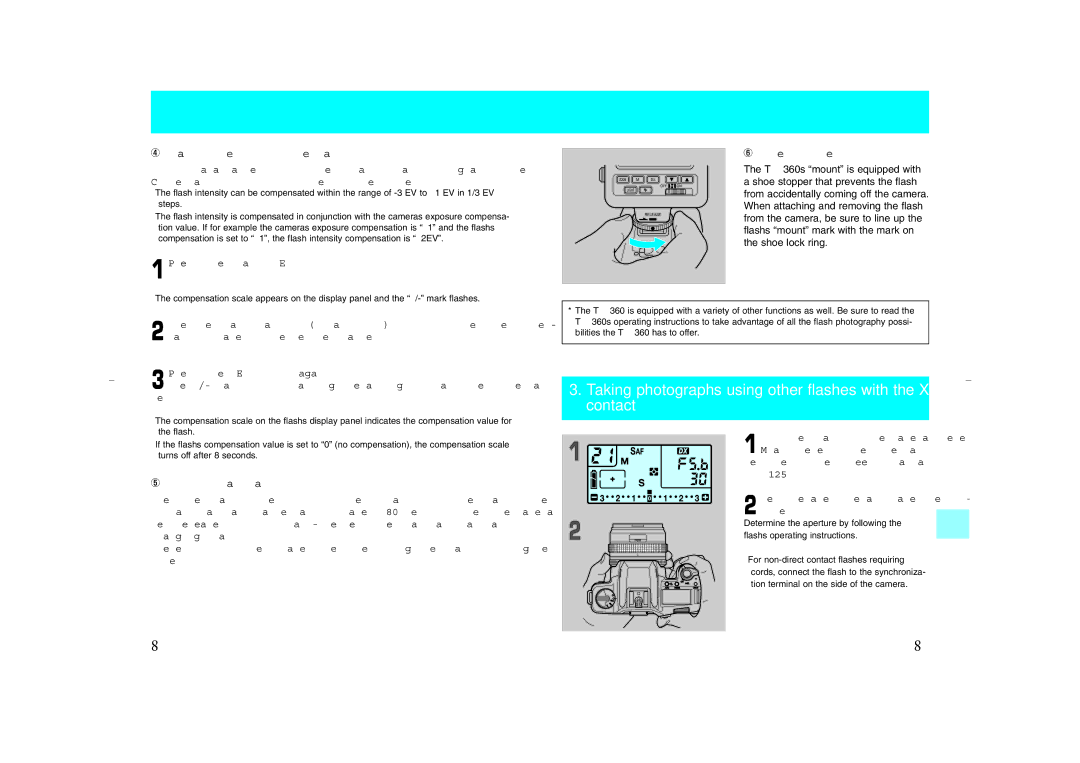
 Shoe stopper
The TLA360’s “mount” is equipped with a shoe stopper that prevents the flash from accidentally coming off the camera. When attaching and removing the flash from the camera, be sure to line up the flash’s “mount” mark with the mark on the shoe lock ring.
*The TLA360 is equipped with a variety of other functions as well. Be sure to read the TLA360’s operating instructions to take advantage of all the flash photography possi- bilities the TLA360 has to offer.
3.Taking photographs using other flashes with the X contact
Fit the flash to the camera, select “M” as the exposure mode, and
set the shutter speed to a maximum of “X125”.
Set the aperture and take the pic- ture.
Determine the aperture by following the flash’s operating instructions.
• For
80 | 81 |