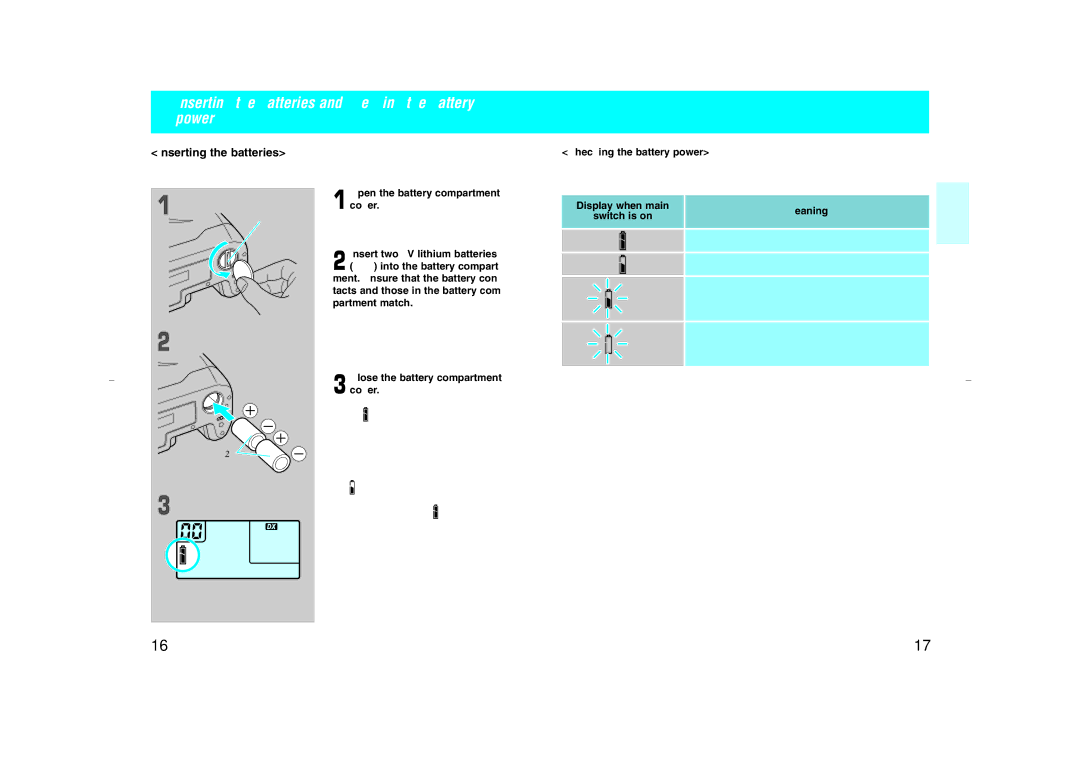
3.Inserting the batteries and checking the battery power
<Inserting the batteries>
Turn the main switch off before inserting the batteries.
<Checking the battery power>
The meaning of the battery marks are as follows:
Check the battery power with the main switch turned ON.
Battery compart- ment cover
Battery (CR2) ![]()
Open the battery compartment cover.
Use a coin to turn the battery cover in the direction of the arrow.
Insert two 3V lithium batteries (CR2) into the battery compart- ment. Ensure that the battery con- tacts and those in the battery com-
partment match.
•The camera will not operate, and may mal- function, if the batteries are inserted in the wrong direction.
Close the battery compartment cover.
The “  ” mark appears in the display panel.
•Even when using new batteries, during con- tinuous shooting or at low temperatures, the
voltage may decrease momentarily and the
“ ![]() ” mark may light. If this happens, set the main switch to OFF then back ON two
” mark may light. If this happens, set the main switch to OFF then back ON two
or three times. If the “ ![]() ” mark lights there is enough battery power.
” mark lights there is enough battery power.
Display when main |
| Meaning | |||||
| switch is on |
| |||||
|
|
| |||||
|
|
|
|
|
|
|
|
|
|
|
|
|
|
|
|
|
|
|
|
|
|
| There is sufficient battery power. |
|
|
|
|
|
|
|
|
|
|
|
|
|
|
|
|
|
|
|
|
|
|
| Battery power is low and will need replacement soon. |
|
|
|
|
|
|
|
|
|
|
|
|
|
|
|
|
|
|
|
|
| (flashing) |
| Replace with a new battery. |
|
|
|
|
|
| ||
|
|
|
|
| |||
|
|
|
|
|
|
|
|
|
|
|
|
|
|
|
|
|
|
|
|
|
|
|
|
|
|
|
|
| (flashing) |
| Camera will not operate. |
|
|
|
|
|
| ||
|
|
|
|
|
| ||
|
|
|
|
|
|
|
|
|
|
|
|
|
|
|
|
Display panel
16 | 17 |
