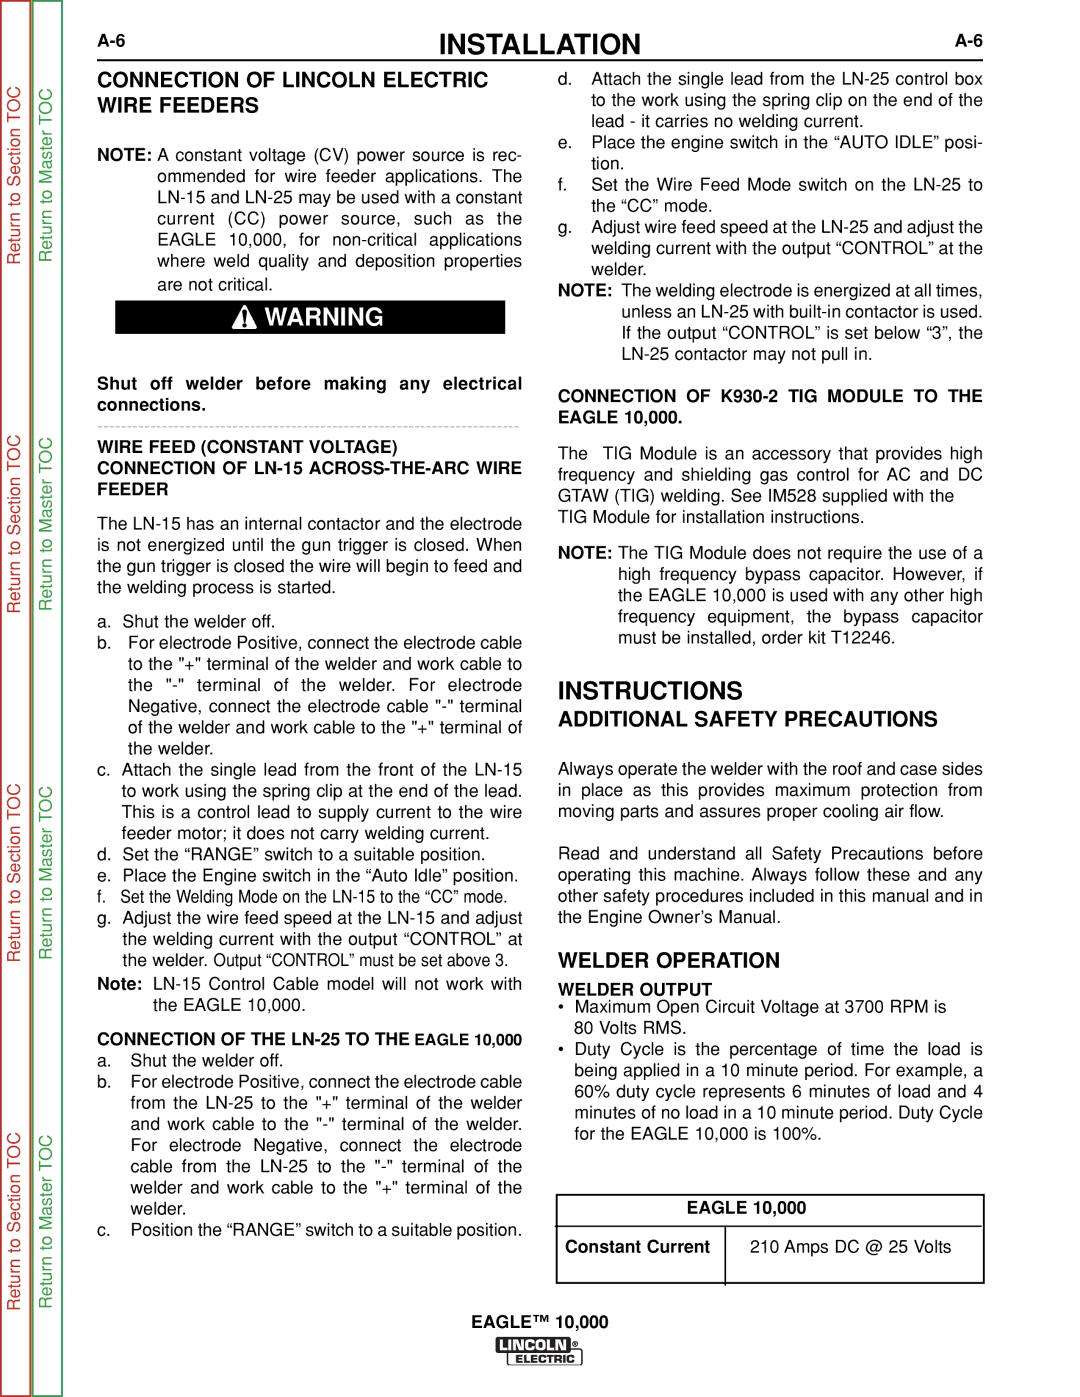
SVM192-A specifications
Lincoln Electric's SVM192-A is a standout model in the sphere of welding machines, renowned for its advanced technology and versatility, making it a preferred choice among welding professionals and industrial applications. This single-phase inverter-based machine balances performance and portability, providing users with a reliable solution for a variety of welding tasks.One of the key features of the SVM192-A is its capacity to perform multiple welding processes. It supports MIG, TIG, and stick welding, which allows users to switch between different techniques depending on the project requirements. This multi-functionality enhances the machine's utility, making it viable for various applications ranging from home projects to professional fabrication works.
The SVM192-A is equipped with Lincoln Electric’s proprietary technologies, including the advanced inverter technology, which ensures high efficiency and power output while maintaining a compact size. This inverter technology not only improves arc stability but also reduces power consumption and heat generation, making it a more eco-friendly option.
Key characteristics of the SVM192-A include a user-friendly digital display that provides clear settings for amperage, voltage, and other parameters, enabling precise control during welding. The machine also features a robust construction, designed to withstand tough working environments, ensuring longevity and minimal downtime.
Moreover, the SVM192-A incorporates safety features designed to protect the user and the machine, including overcurrent and thermal overload protection. This prioritization of safety ensures a worry-free operation, allowing welders to focus on their craft without the distraction of potential hazards.
Portability is another significant advantage of the SVM192-A. Weighing in at a lightweight design, it is easy to transport, making it ideal for mobile operations or jobs that require moving the equipment frequently.
In summary, the Lincoln Electric SVM192-A embodies versatility, efficiency, and durability, making it an exceptional choice for both novice and experienced welders. Its ability to handle multiple welding processes, combined with advanced technologies and user-friendly features, positions it as a top contender in the welding equipment market, suitable for a wide range of applications in various sectors.

