Instant GigaDriveTM Series
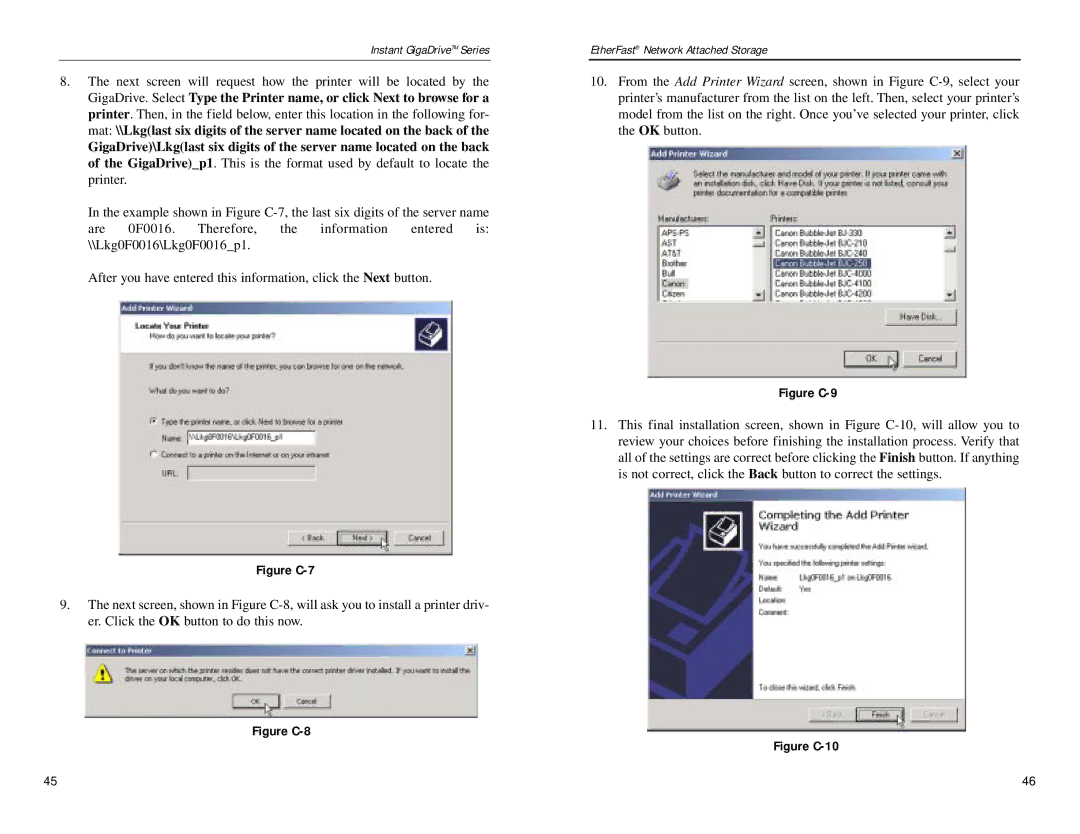
8.The next screen will request how the printer will be located by the GigaDrive. Select Type the Printer name, or click Next to browse for a printer. Then, in the field below, enter this location in the following for- mat: \\Lkg(last six digits of the server name located on the back of the
GigaDrive)\Lkg(last six digits of the server name located on the back of the GigaDrive)_p1. This is the format used by default to locate the printer.
In the example shown in Figure
After you have entered this information, click the Next button.
Figure C-7
9.The next screen, shown in Figure
Figure C-8
EtherFast® Network Attached Storage
10.From the Add Printer Wizard screen, shown in Figure
Figure C-9
11.This final installation screen, shown in Figure
Figure C-10
45 | 46 |
