Instant GigaDriveTM Series
•Click the Shutdown Now button to shut down the server immediately. This will break all existing connections, including this one. Clicking this button does NOT save any data you have entered.
•Click the Restart Now button to restart (reboot) the server. This will break all existing connections, including this one. The Instant GigaDrive™ will imme- diately restart, but it could take a few minutes before it is available again. Clicking this button does NOT save any data you have entered.
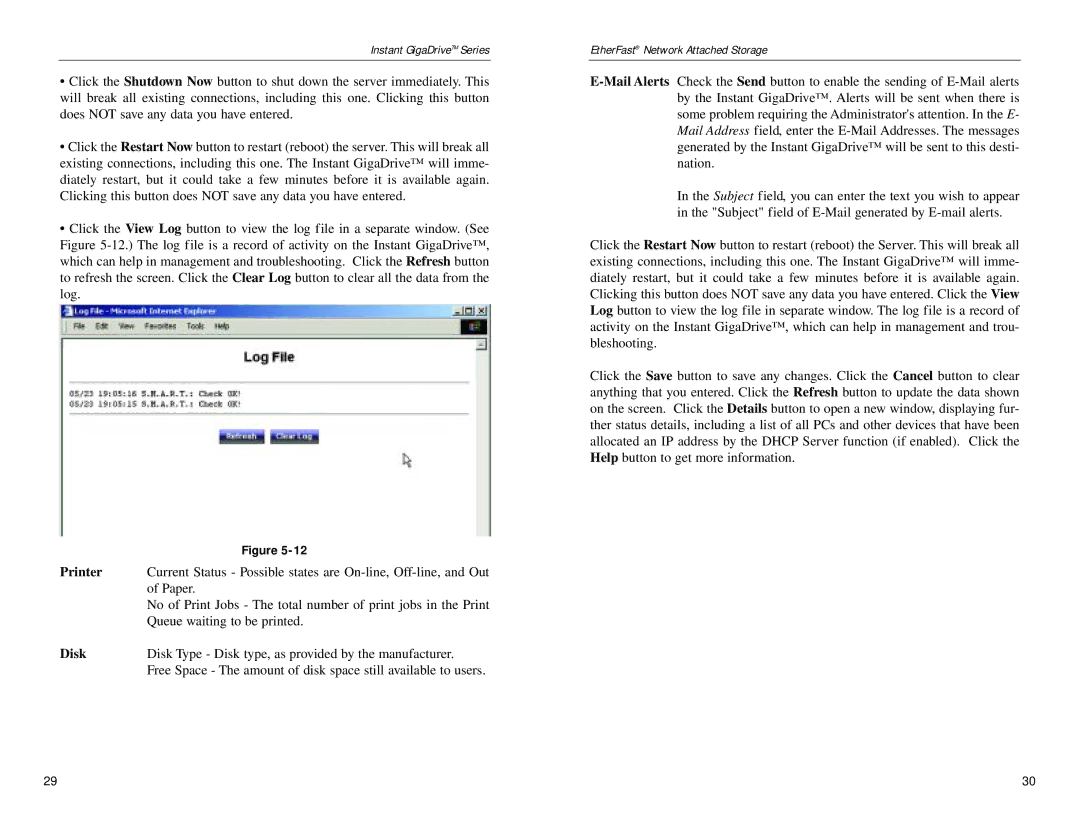
•Click the View Log button to view the log file in a separate window. (See Figure
| Figure |
Printer | Current Status - Possible states are |
| of Paper. |
| No of Print Jobs - The total number of print jobs in the Print |
| Queue waiting to be printed. |
Disk | Disk Type - Disk type, as provided by the manufacturer. |
| Free Space - The amount of disk space still available to users. |
EtherFast® Network Attached Storage
In the Subject field, you can enter the text you wish to appear in the "Subject" field of
Click the Restart Now button to restart (reboot) the Server. This will break all existing connections, including this one. The Instant GigaDrive™ will imme- diately restart, but it could take a few minutes before it is available again. Clicking this button does NOT save any data you have entered. Click the View Log button to view the log file in separate window. The log file is a record of activity on the Instant GigaDrive™, which can help in management and trou- bleshooting.
Click the Save button to save any changes. Click the Cancel button to clear anything that you entered. Click the Refresh button to update the data shown on the screen. Click the Details button to open a new window, displaying fur- ther status details, including a list of all PCs and other devices that have been allocated an IP address by the DHCP Server function (if enabled). Click the Help button to get more information.
29 | 30 |
