Instant GigaDriveTM Series
From the LAN screen, you will be able to configure some of the settings you saved from the Setup Wizard. While these changes are being made, you can click the Save button to save these changes, Cancel to clear all changes, or Help to get further information about anything on this screen.
IP Address These fields allow you to Obtain an IP Address Automatically or use a Fixed IP Address. Obtain an IP Address Automatically is the same as using the Dynamic IP Address setting in the Setup Wizard and should be used if you already have a DHCP server, setting IP Addresses on your network devices. The Fixed IP Address selection is set by default. Use this setting if there is no DHCP server on your network and you wish the Instant GigaDrive™ to use one, static IP Address. With the Fixed IP Address setting, you can also use the Instant GigaDrive™ as your network’s DHCP server.
When using the Fixed IP Address setting, you must enter the IP Address, Network Mask (the same as the Subnet Mask), and Default Gateway. The IP Address setting should contain an unused IP Address that contains the same LAN segment as the network on which the Instant GigaDrive™ is running. The Network Mask setting must match the other devices on your network. It is set, by default, to 255.255.255.0. If you have a router on your network, enter its IP Address in the Default Gateway field.
DHCP Server The Instant GigaDrive™ can serve as your network’s DHCP server if no other device is functioning as a DHCP server on your network. If you wish to use the Instant GigaDrive™ as a DHCP server, click the box next to Enable DHCP Server function. Then, enter the range of IP Addresses you wish to assign on your network. The first three Start and Finish fields must match the Instant GigaDrive’s IP Address, with the final fields ranging from
DNS Server The DNS Server function translates Internet addresses to IP Addresses. Enter the same IP Addresses as set on your net- work, or recommended by your ISP. You must complete at least one DNS Server entry if using the
EtherFast® Network Attached Storage
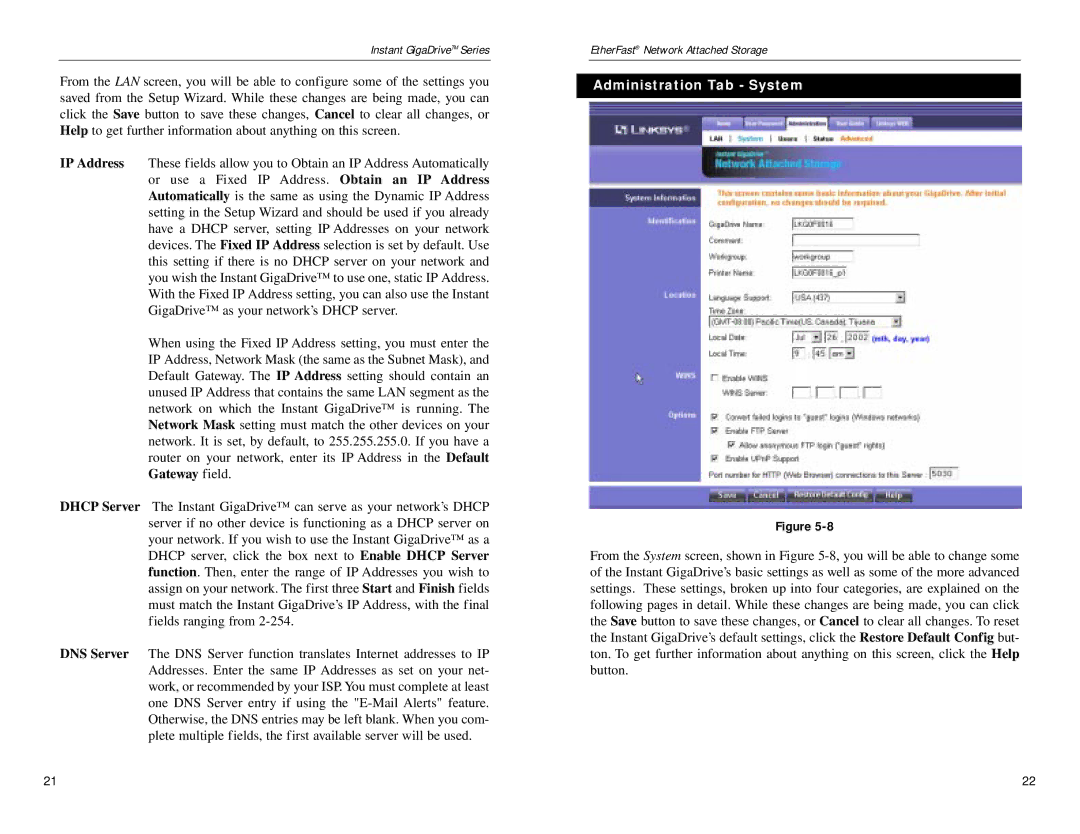
Administration Tab - System
Figure
From the System screen, shown in Figure
21 | 22 |
