PrintServer for USB with 4-Port Switch
The Printer Tab - Internet Printing
Internet Printing allows you to automatically print any
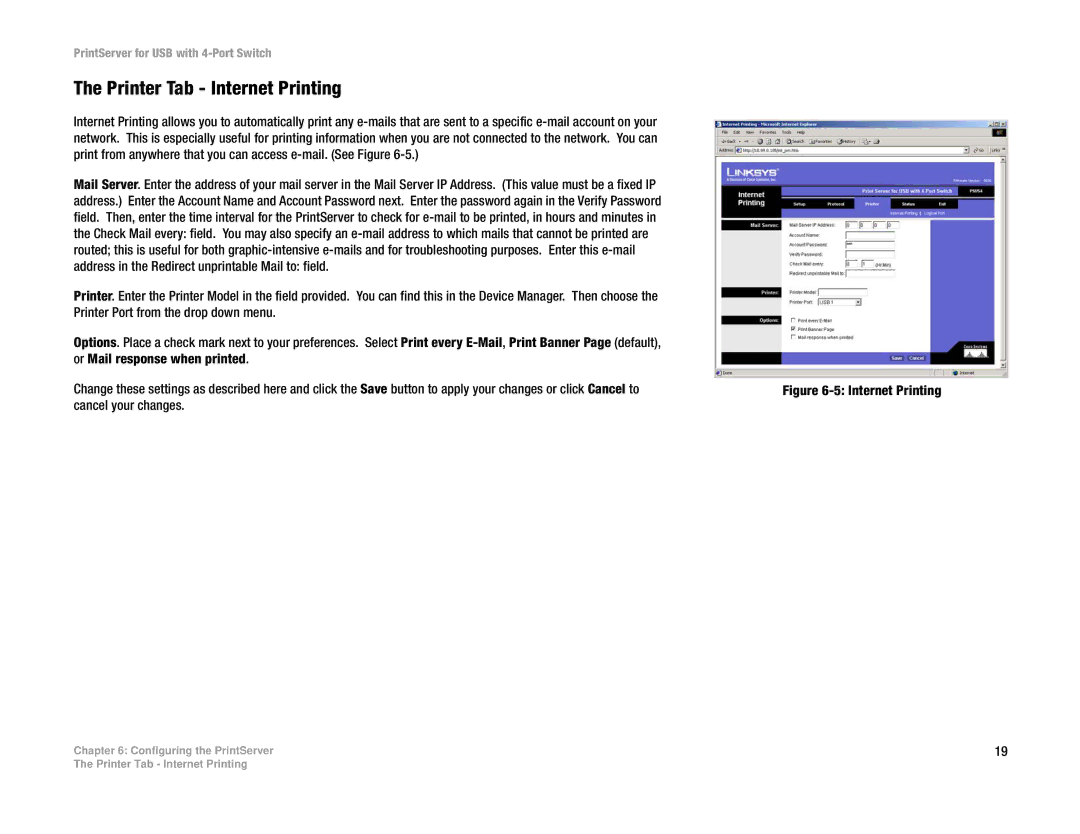
Mail Server. Enter the address of your mail server in the Mail Server IP Address. (This value must be a fixed IP address.) Enter the Account Name and Account Password next. Enter the password again in the Verify Password field. Then, enter the time interval for the PrintServer to check for
Printer. Enter the Printer Model in the field provided. You can find this in the Device Manager. Then choose the Printer Port from the drop down menu.
Options. Place a check mark next to your preferences. Select Print every
Change these settings as described here and click the Save button to apply your changes or click Cancel to cancel your changes.
Chapter 6: Configuring the PrintServer
Figure 6-5: Internet Printing
19
The Printer Tab - Internet Printing