Linksys Installing Your Print Server with the Setup Wizard

Models: PSUS4

1 58
Download 58 pages 56.08 Kb
Page 14
Image 14

PrintServer for USB with 4-Port Switch

Chapter 4: Installing the PrintServer using the Setup Wizard

Installation

1.To begin installation of the PrintServer, you will use the Setup CD-ROM to run the Setup Wizard.

2.Insert the Setup CD-ROM into the computer’s CD-ROM drive. The Setup CD-ROM should run automatically. If it does not, click the Start button and choose Run. In the box that appears, enter D:\setupWizard.exe (if “D” is the letter of your CD-ROM drive).

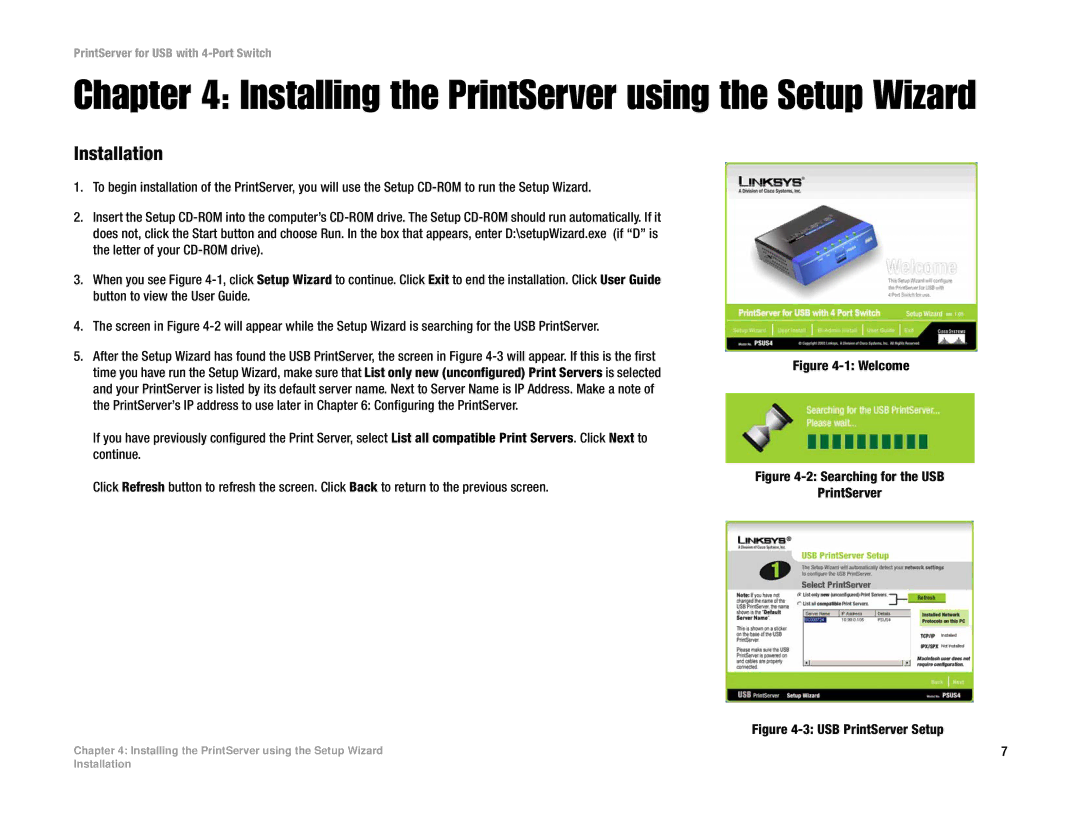
3.When you see Figure 4-1, click Setup Wizard to continue. Click Exit to end the installation. Click User Guide button to view the User Guide.

4.The screen in Figure 4-2 will appear while the Setup Wizard is searching for the USB PrintServer.

5.After the Setup Wizard has found the USB PrintServer, the screen in Figure 4-3 will appear. If this is the first time you have run the Setup Wizard, make sure that List only new (unconfigured) Print Servers is selected and your PrintServer is listed by its default server name. Next to Server Name is IP Address. Make a note of the PrintServer’s IP address to use later in Chapter 6: Configuring the PrintServer.

If you have previously configured the Print Server, select List all compatible Print Servers. Click Next to continue.

Click Refresh button to refresh the screen. Click Back to return to the previous screen.

Figure 4-1: Welcome

Figure 4-2: Searching for the USB

PrintServer

Figure 4-3: USB PrintServer Setup

Chapter 4: Installing the PrintServer using the Setup Wizard

7

Installation

Page 14
Image 14
Linksys PSUS4 manual Installing the PrintServer using the Setup Wizard, Installation