Wireless-B Internet Video Camera
View
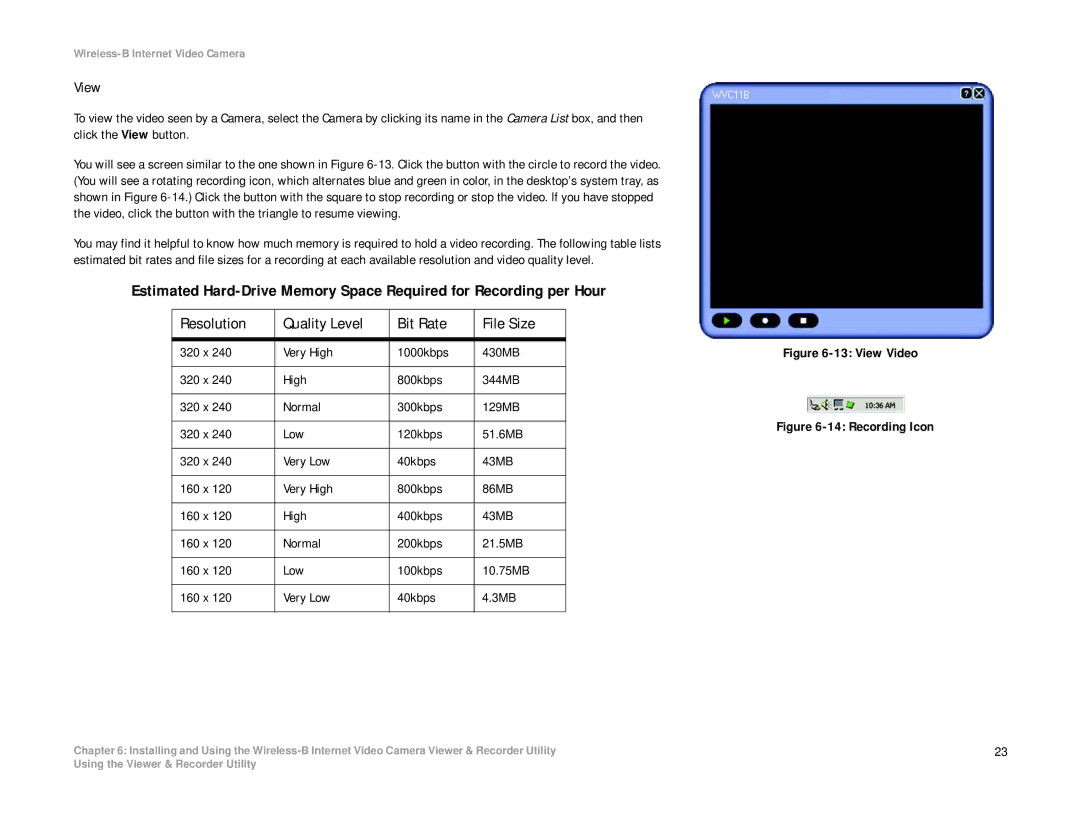
To view the video seen by a Camera, select the Camera by clicking its name in the Camera List box, and then click the View button.
You will see a screen similar to the one shown in Figure
You may find it helpful to know how much memory is required to hold a video recording. The following table lists estimated bit rates and file sizes for a recording at each available resolution and video quality level.
Estimated
Resolution | Quality Level | Bit Rate | File Size |
|
|
|
|
320 x 240 | Very High | 1000kbps | 430MB |
|
|
|
|
320 x 240 | High | 800kbps | 344MB |
|
|
|
|
320 x 240 | Normal | 300kbps | 129MB |
|
|
|
|
320 x 240 | Low | 120kbps | 51.6MB |
|
|
|
|
320 x 240 | Very Low | 40kbps | 43MB |
|
|
|
|
160 x 120 | Very High | 800kbps | 86MB |
|
|
|
|
160 x 120 | High | 400kbps | 43MB |
|
|
|
|
160 x 120 | Normal | 200kbps | 21.5MB |
|
|
|
|
160 x 120 | Low | 100kbps | 10.75MB |
|
|
|
|
160 x 120 | Very Low | 40kbps | 4.3MB |
|
|
|
|
Figure 6-13: View Video
Figure 6-14: Recording Icon
Chapter 6: Installing and Using the | 23 |
Using the Viewer & Recorder Utility