Compact Wireless-G Internet Video Camera
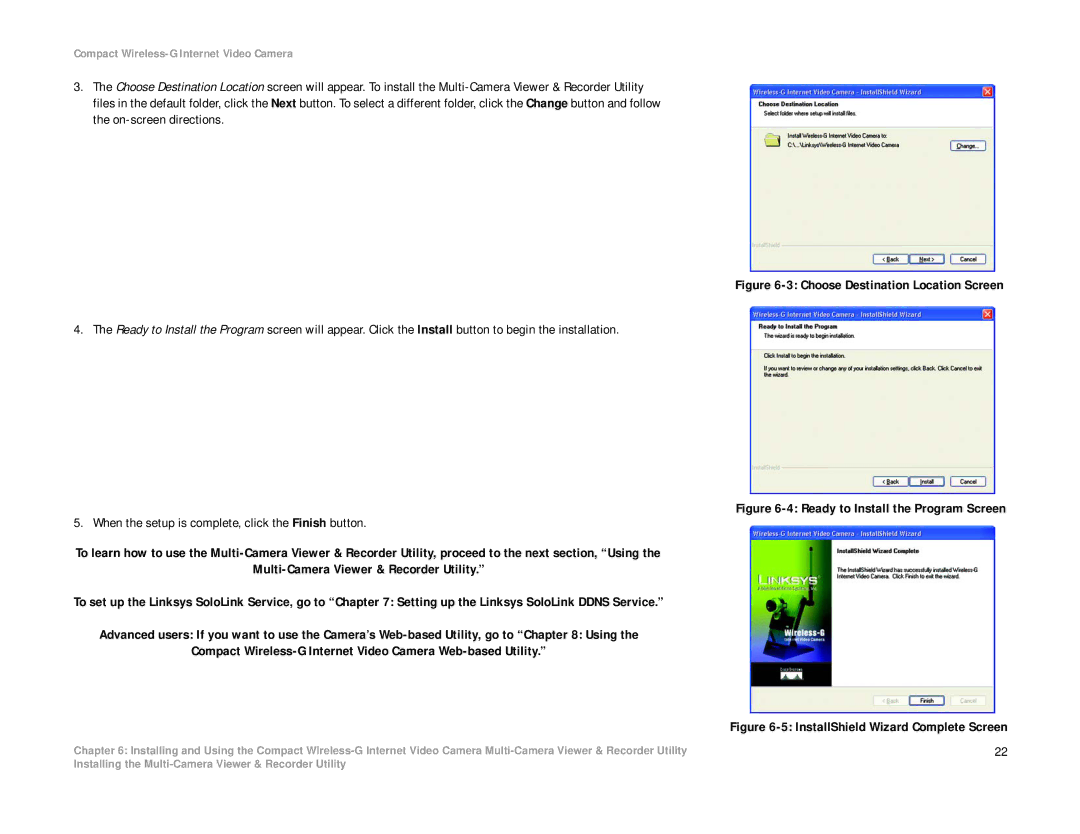
3.The Choose Destination Location screen will appear. To install the
Figure 6-3: Choose Destination Location Screen
4. The Ready to Install the Program screen will appear. Click the Install button to begin the installation.
Figure 6-4: Ready to Install the Program Screen
5. When the setup is complete, click the Finish button.
To learn how to use the Multi-Camera Viewer & Recorder Utility, proceed to the next section, “Using the
To set up the Linksys SoloLink Service, go to “Chapter 7: Setting up the Linksys SoloLink DDNS Service.”
Advanced users: If you want to use the Camera’s Web-based Utility, go to “Chapter 8: Using the
Compact Wireless-G Internet Video Camera Web-based Utility.”
| Figure |
Chapter 6: Installing and Using the Compact | 22 |
Installing the