Compact Wireless-G Internet Video Camera
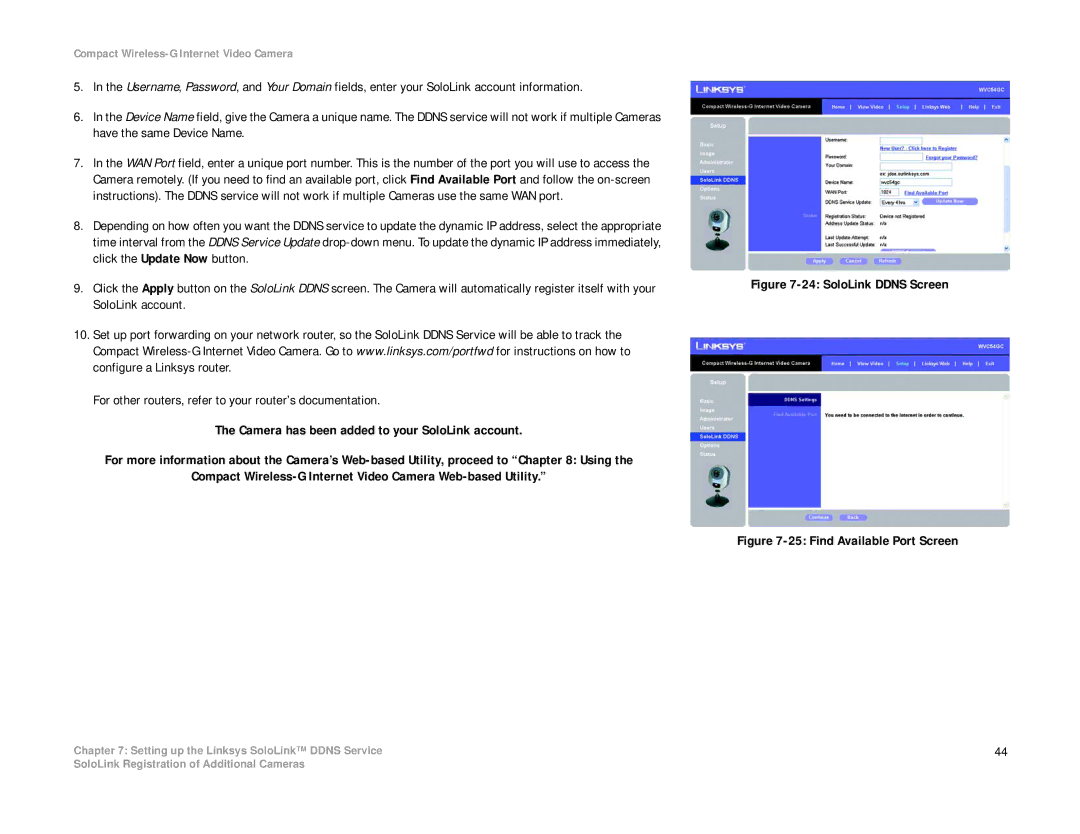
5.In the Username, Password, and Your Domain fields, enter your SoloLink account information.
6.In the Device Name field, give the Camera a unique name. The DDNS service will not work if multiple Cameras have the same Device Name.
7.In the WAN Port field, enter a unique port number. This is the number of the port you will use to access the Camera remotely. (If you need to find an available port, click Find Available Port and follow the
8.Depending on how often you want the DDNS service to update the dynamic IP address, select the appropriate time interval from the DDNS Service Update
9.Click the Apply button on the SoloLink DDNS screen. The Camera will automatically register itself with your SoloLink account.
10.Set up port forwarding on your network router, so the SoloLink DDNS Service will be able to track the Compact
For other routers, refer to your router’s documentation.
The Camera has been added to your SoloLink account.
For more information about the Camera’s
Compact
Chapter 7: Setting up the Linksys SoloLink™ DDNS Service
Figure 7-24: SoloLink DDNS Screen
Figure 7-25: Find Available Port Screen
44
SoloLink Registration of Additional Cameras
