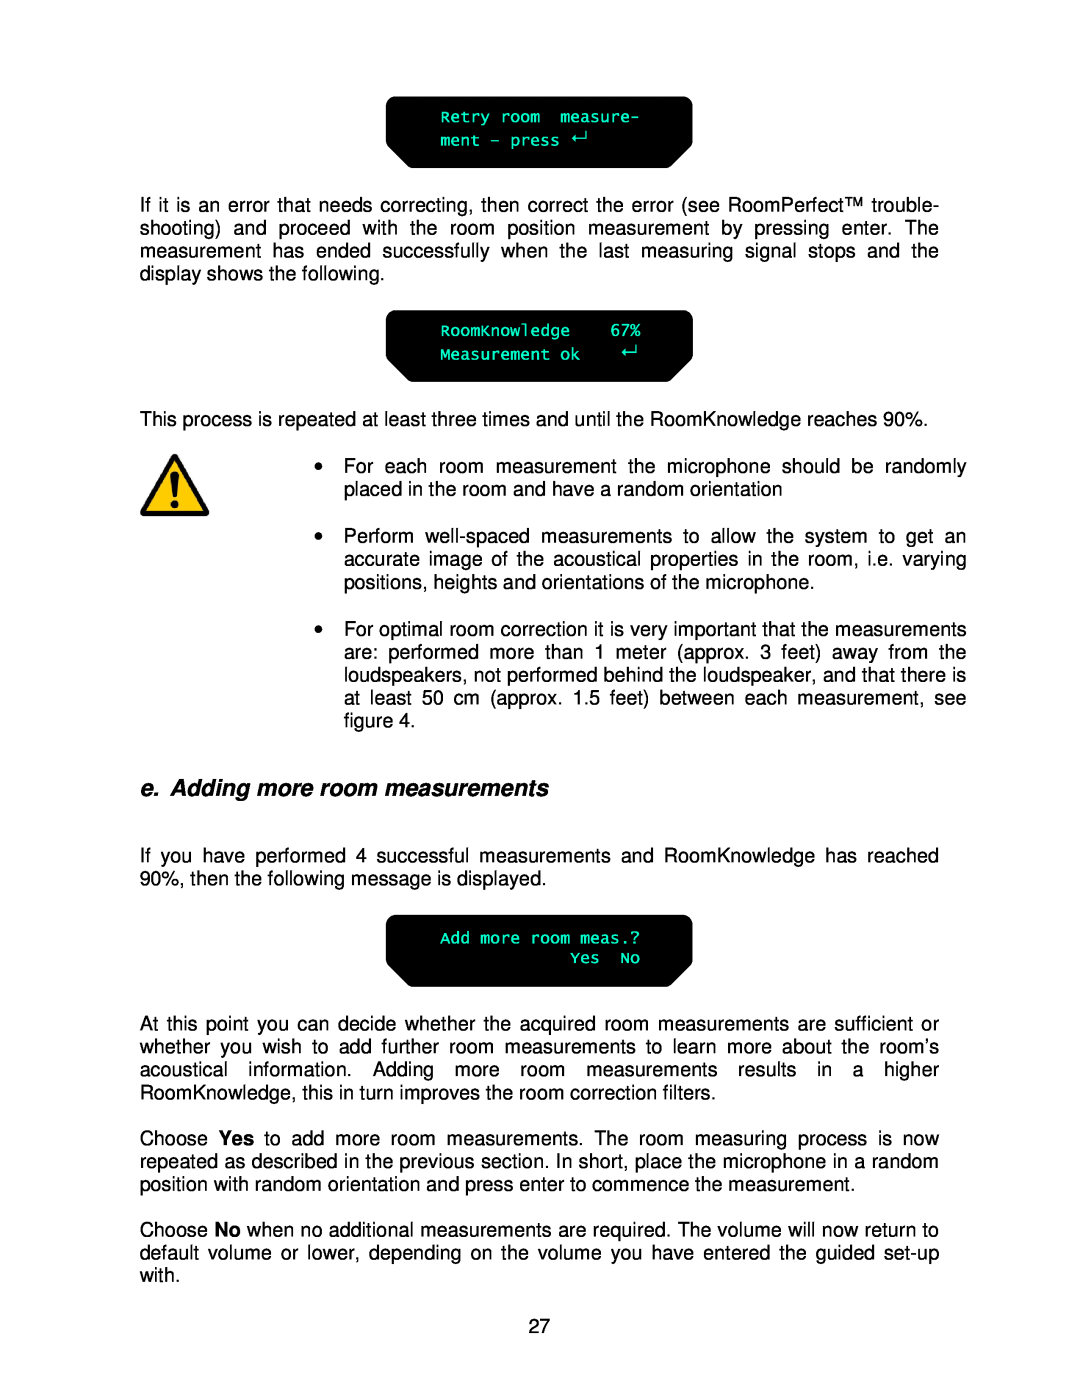
If it is an error that needs correcting, then correct the error (see RoomPerfect™ trouble- shooting) and proceed with the room position measurement by pressing enter. The measurement has ended successfully when the last measuring signal stops and the display shows the following.
This process is repeated at least three times and until the RoomKnowledge reaches 90%.
•For each room measurement the microphone should be randomly placed in the room and have a random orientation
•Perform
•For optimal room correction it is very important that the measurements are: performed more than 1 meter (approx. 3 feet) away from the loudspeakers, not performed behind the loudspeaker, and that there is at least 50 cm (approx. 1.5 feet) between each measurement, see figure 4.
e.Adding more room measurements
If you have performed 4 successful measurements and RoomKnowledge has reached 90%, then the following message is displayed.
At this point you can decide whether the acquired room measurements are sufficient or whether you wish to add further room measurements to learn more about the room’s acoustical information. Adding more room measurements results in a higher RoomKnowledge, this in turn improves the room correction filters.
Choose Yes to add more room measurements. The room measuring process is now repeated as described in the previous section. In short, place the microphone in a random position with random orientation and press enter to commence the measurement.
Choose No when no additional measurements are required. The volume will now return to default volume or lower, depending on the volume you have entered the guided
27
