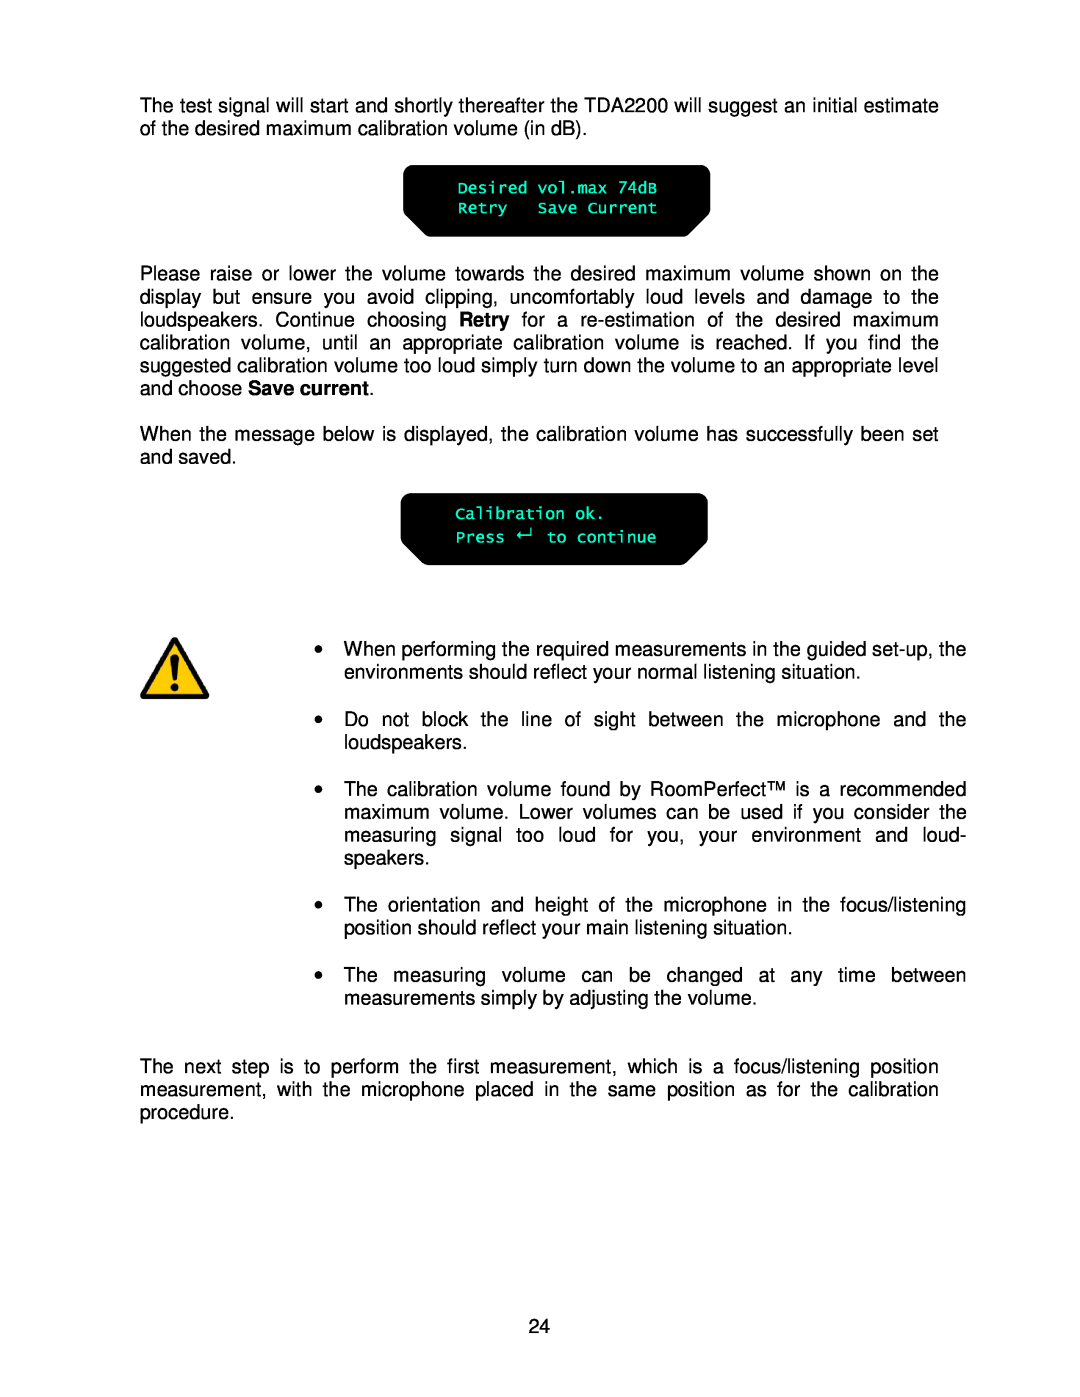
The test signal will start and shortly thereafter the TDA2200 will suggest an initial estimate of the desired maximum calibration volume (in dB).
Please raise or lower the volume towards the desired maximum volume shown on the display but ensure you avoid clipping, uncomfortably loud levels and damage to the loudspeakers. Continue choosing Retry for a
When the message below is displayed, the calibration volume has successfully been set and saved.
•When performing the required measurements in the guided
•Do not block the line of sight between the microphone and the loudspeakers.
•The calibration volume found by RoomPerfect™ is a recommended maximum volume. Lower volumes can be used if you consider the measuring signal too loud for you, your environment and loud- speakers.
•The orientation and height of the microphone in the focus/listening position should reflect your main listening situation.
•The measuring volume can be changed at any time between measurements simply by adjusting the volume.
The next step is to perform the first measurement, which is a focus/listening position measurement, with the microphone placed in the same position as for the calibration procedure.
24
