CD Burning
You can easily burn all of the data recorded on the HD onto a
Notes
• Do not attempt to playback or burn a CD while the recorder is on a slant, standing on its edge, or on an unstable surface.
• Do not move or carry the recorder while a CD is inserted and operating. Doing so may cause damage to the inserted CD.
1 Insert a
Notes
•Use
•Also, if all of the data will not fit onto one
recording method for the final track can be set in [CD Split] in the preset menu. (☞ P.XX)
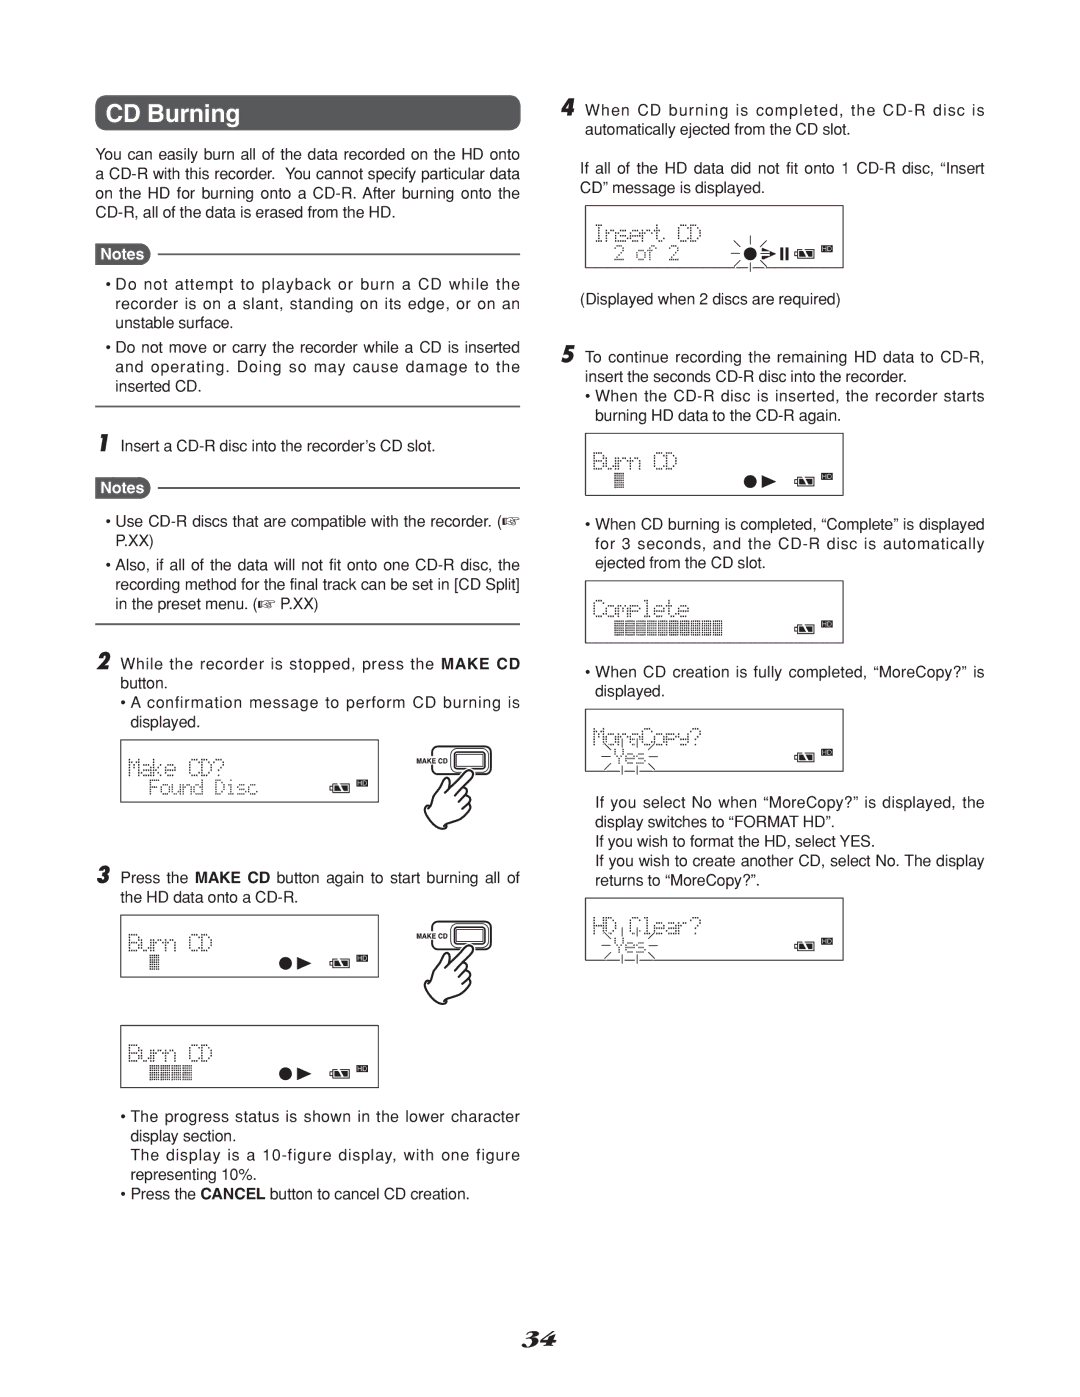
2 While the recorder is stopped, press the MAKE CD button.
•A confirmation message to perform CD burning is displayed.
3 Press the MAKE CD button again to start burning all of the HD data onto a
•The progress status is shown in the lower character display section.
The display is a
•Press the CANCEL button to cancel CD creation.
4 When CD burning is completed, the
If all of the HD data did not fit onto 1
(Displayed when 2 discs are required)
5 To continue recording the remaining HD data to
•When the
•When CD burning is completed, “Complete” is displayed for 3 seconds, and the
•When CD creation is fully completed, “MoreCopy?” is displayed.
If you select No when “MoreCopy?” is displayed, the display switches to “FORMAT HD”.
If you wish to format the HD, select YES.
If you wish to create another CD, select No. The display returns to “MoreCopy?”.
34