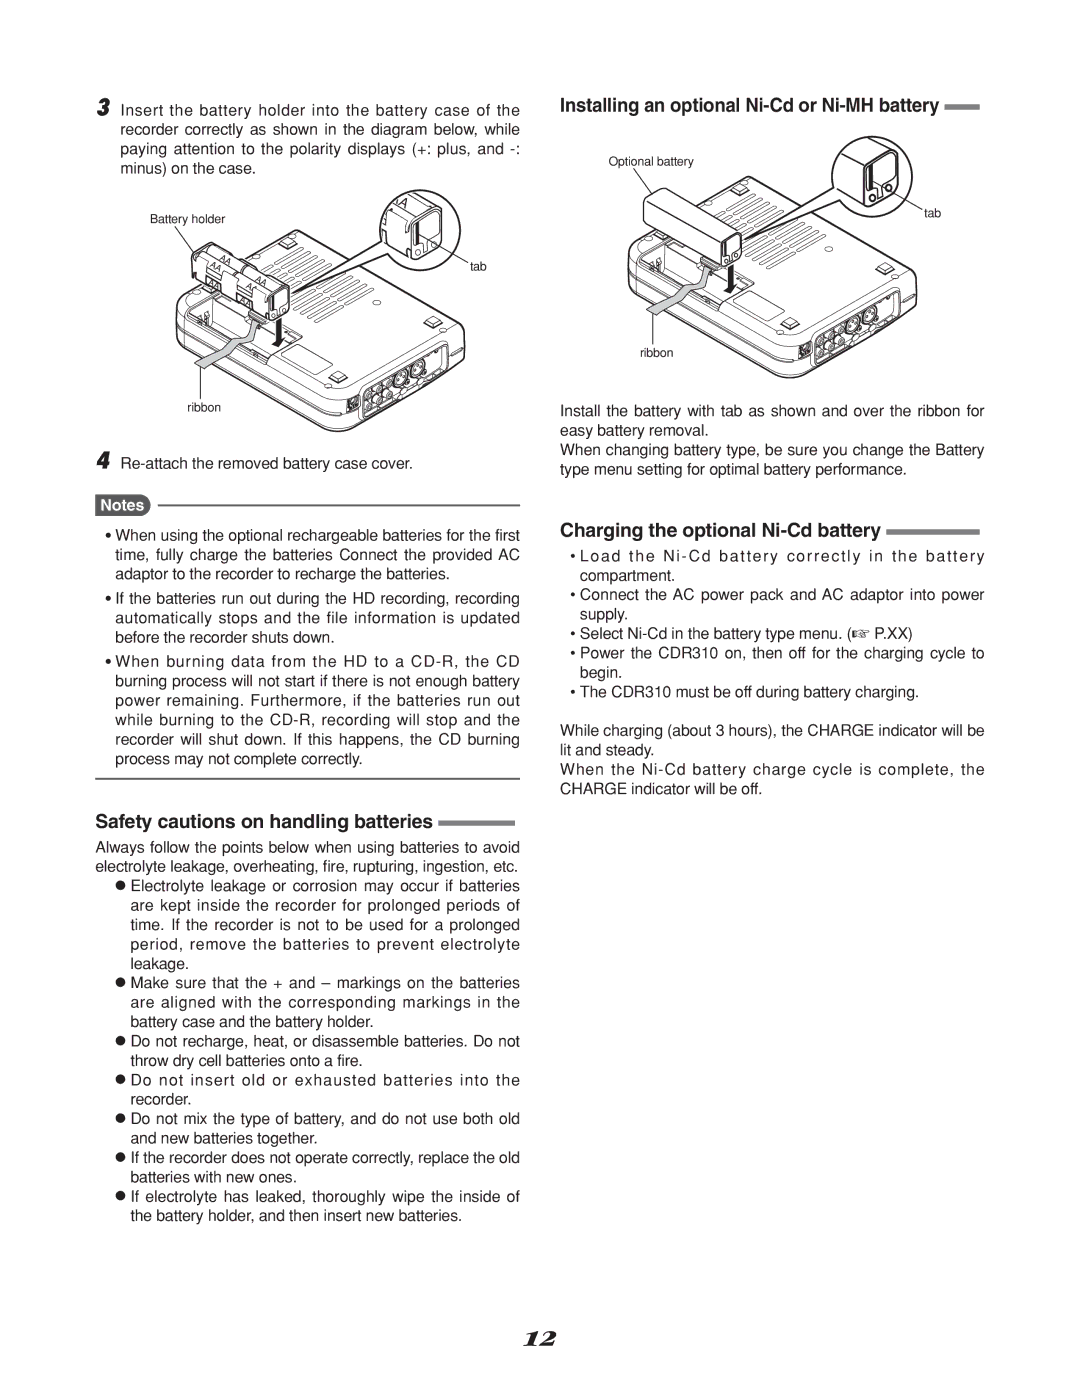
3 Insert the battery holder into the battery case of the recorder correctly as shown in the diagram below, while paying attention to the polarity displays (+: plus, and
| AA | |
Battery holder | AA | |
A | ||
| ||
AA | tab | |
AA | ||
AA | AA | |
AA | ||
| ||
| AA |
ribbon
4
Notes
●When using the optional rechargeable batteries for the first time, fully charge the batteries Connect the provided AC adaptor to the recorder to recharge the batteries.
●If the batteries run out during the HD recording, recording automatically stops and the file information is updated before the recorder shuts down.
●When burning data from the HD to a
Safety cautions on handling batteries
Always follow the points below when using batteries to avoid electrolyte leakage, overheating, fire, rupturing, ingestion, etc.
●Electrolyte leakage or corrosion may occur if batteries are kept inside the recorder for prolonged periods of time. If the recorder is not to be used for a prolonged period, remove the batteries to prevent electrolyte leakage.
●Make sure that the + and – markings on the batteries are aligned with the corresponding markings in the battery case and the battery holder.
●Do not recharge, heat, or disassemble batteries. Do not throw dry cell batteries onto a fire.
●Do not insert old or exhausted batteries into the recorder.
●Do not mix the type of battery, and do not use both old and new batteries together.
●If the recorder does not operate correctly, replace the old batteries with new ones.
●If electrolyte has leaked, thoroughly wipe the inside of the battery holder, and then insert new batteries.
Installing an optional Ni-Cd or Ni-MH battery
Optional battery
tab
ribbon
Install the battery with tab as shown and over the ribbon for easy battery removal.
When changing battery type, be sure you change the Battery type menu setting for optimal battery performance.
Charging the optional Ni-Cd battery
•Load the Ni - Cd battery correctly in the battery compartment.
•Connect the AC power pack and AC adaptor into power supply.
•Select
•Power the CDR310 on, then off for the charging cycle to begin.
•The CDR310 must be off during battery charging.
While charging (about 3 hours), the CHARGE indicator will be lit and steady.
When the
12