Recording to the HD
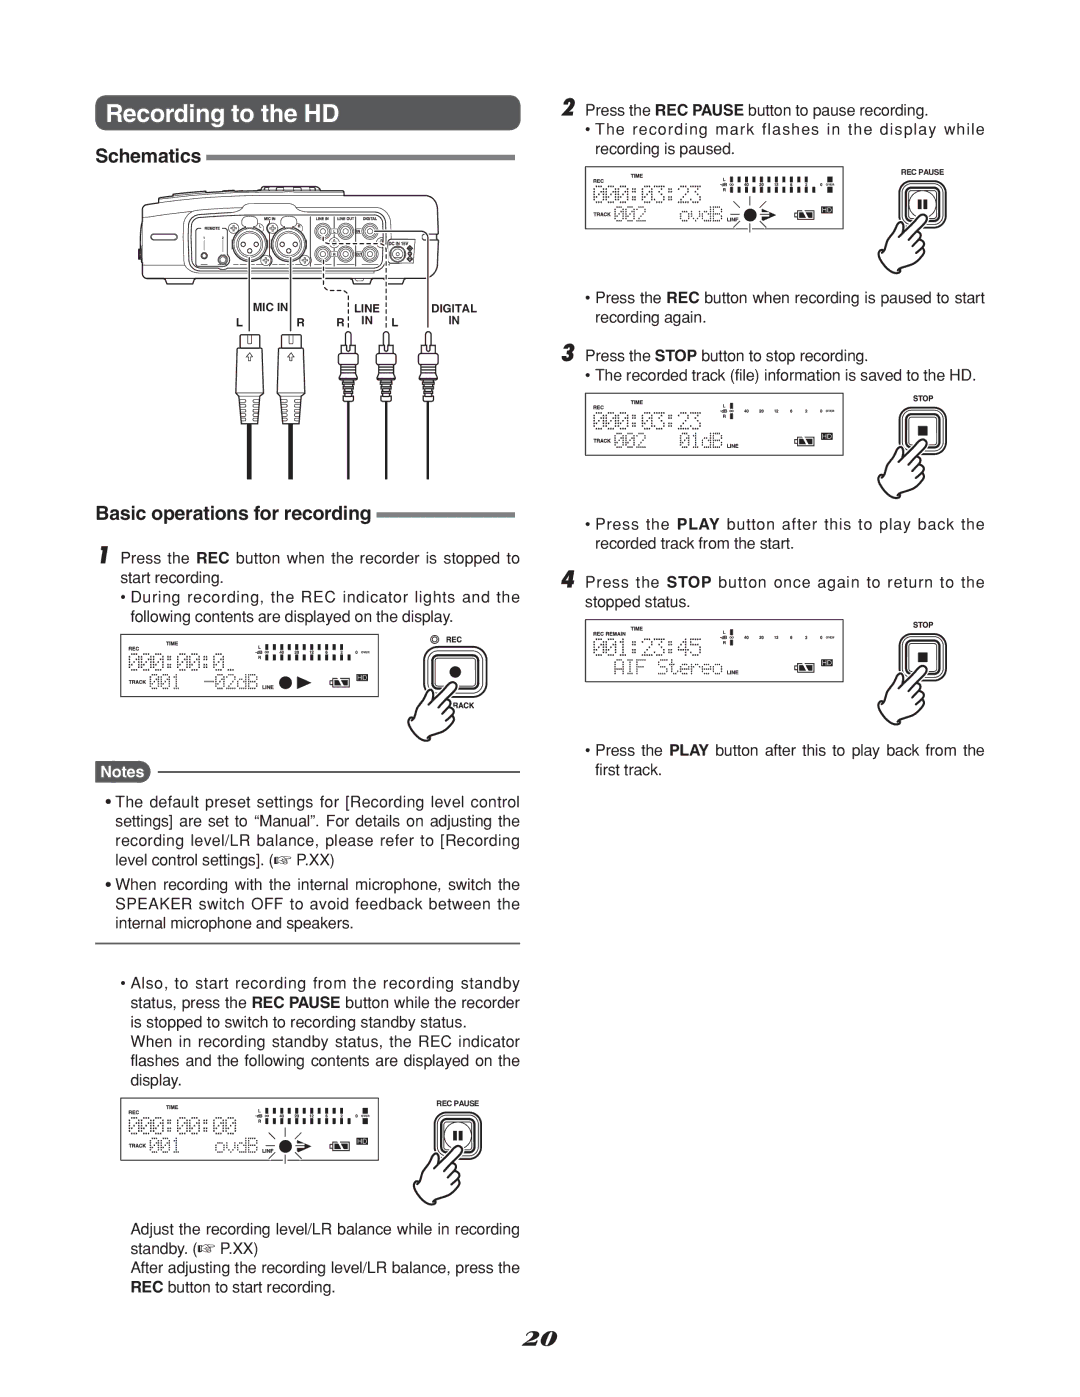
Schematics
| MIC IN |
| LINE | DIGITAL |
L |
| R | R IN L | IN |
2 Press the REC PAUSE button to pause recording.
•The recording mark flashes in the display while recording is paused.
REC PAUSE
•Press the REC button when recording is paused to start recording again.
3 Press the STOP button to stop recording.
• The recorded track (file) information is saved to the HD.
Basic operations for recording
1 Press the REC button when the recorder is stopped to start recording.
•During recording, the REC indicator lights and the following contents are displayed on the display.
Notes
●The default preset settings for [Recording level control settings] are set to “Manual”. For details on adjusting the
recording level/LR balance, please refer to [Recording level control settings]. (☞ P.XX)
●When recording with the internal microphone, switch the SPEAKER switch OFF to avoid feedback between the internal microphone and speakers.
•Also, to start recording from the recording standby status, press the REC PAUSE button while the recorder is stopped to switch to recording standby status.
When in recording standby status, the REC indicator flashes and the following contents are displayed on the display.
REC PAUSE
Adjust the recording level/LR balance while in recording standby. (☞ P.XX)
After adjusting the recording level/LR balance, press the REC button to start recording.
•Press the PLAY button after this to play back the recorded track from the start.
4 Press the STOP button once again to return to the stopped status.
•Press the PLAY button after this to play back from the first track.
20