Preset defaults
The default Menu settings for Presets 1, 2 and 3 can be restored by the Default Menu choice, page 39.
Preset1 default uses the unbalanced (ANALOG IN RCA jacks), line level, inputs. It is set for stereo channel music recording with MP3 compression. Selecting a higher bit rate (kbps) will improve audio quality but decrease available recording time.
Preset2 default uses the unbalanced (ANALOG IN RCA jacks), line level, inputs. It is set for Mono channel recording with MP3 compression. The settings are appropriate for recording meetings: quality acceptable for voice recording, long recording times possible, and capability to transfer files on internet.
Preset3 default uses the balanced (BALANCED IN XLR jacks) inputs. It is set for stereo channel CD quality recording with no compression.
See chart below on page 24 for complete default settings.
Note:
Setting any preset to default resets the main clock. We recommend you set the date when you set a preset to default. See page 26.
General Menu procedure:
1.With the PMD570 at Stop, push and release the MENU/STORE button.
2.Turn the Jog Wheel to scroll to the choice within Menu.
3.When displayed push and release the Jog Wheel to select that Menu choice.
4.Turn the Jog Wheel to scroll through the
5.When the desired parameter or value is displayed push and release the Jog Wheel to select it.
6.Repeat steps
7.When done push and release the MENU/STORE button to save your changes, or push and release the Stop CANCEL button ![]() to cancel them.
to cancel them.
How to select input(s) for recording
Audio input(s) and audio channels for recording are selected using the Input Menu.
1.From stop push and release the MENU/STORE button.
|
|
|
|
|
| 1 |
| 2 |
|
| SOLID STATE RECORDER PMD570 | DISPLAY |
|
|
| MENU/STORE |
|
| |
|
|
|
|
|
|
| REC LEVEL/SELECT | ||
|
|
| TOTAL TRACKTIME |
| L |
|
| ||
POWER ON/OFF | HEADPHONE | LEVEL | REC REMAIN kbps |
|
|
|
|
| |
|
|
| LOCK |
| AM | R | EDIT | UNDO | M. RESET |
|
|
| SHIFT |
| PM | S.SKIP |
|
| |
|
|
| TRACK |
|
|
|
|
| PUSH |
|
|
| MARK |
|
| LINE |
|
| ENTER |
| 0 | 10 |
|
|
|
| MARK | CANCEL | MARK |
|
|
|
|
|
|
|
|
| REC BAL |
2.Turn the Jog Wheel to select Preset1, 2 or 3.
3.Push and release the Jog Wheel to accept the selected Preset.
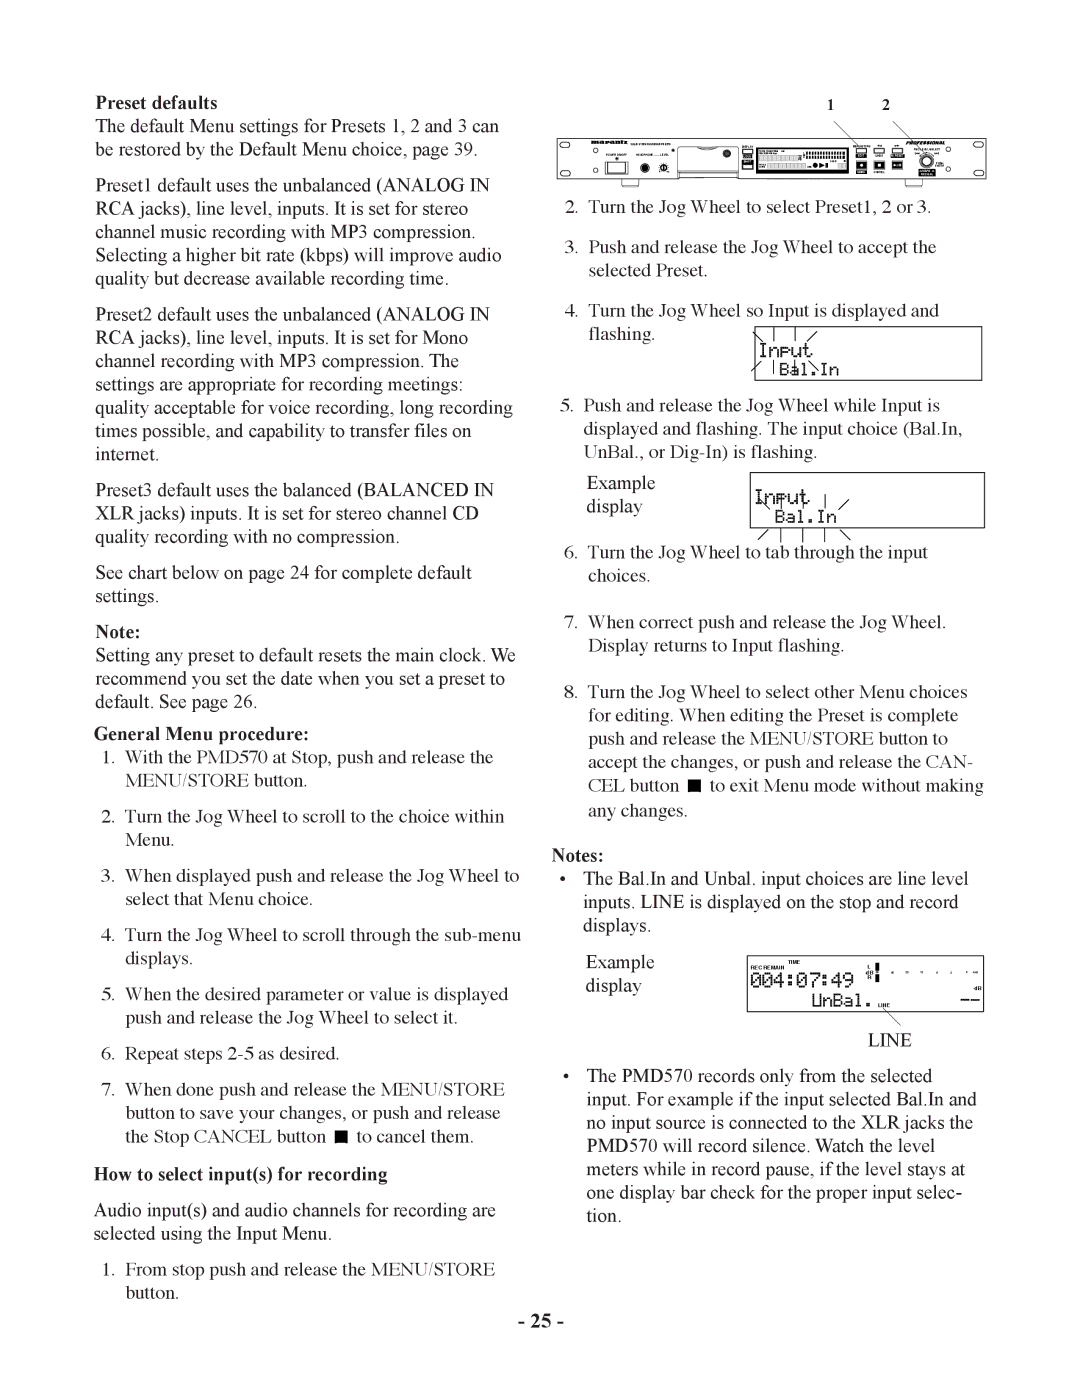
4.Turn the Jog Wheel so Input is displayed and flashing.
5.Push and release the Jog Wheel while Input is displayed and flashing. The input choice (Bal.In, UnBal., or
Example display
6.Turn the Jog Wheel to tab through the input choices.
7.When correct push and release the Jog Wheel. Display returns to Input flashing.
8.Turn the Jog Wheel to select other Menu choices for editing. When editing the Preset is complete push and release the MENU/STORE button to accept the changes, or push and release the CAN- CEL button ![]() to exit Menu mode without making any changes.
to exit Menu mode without making any changes.
Notes:
•The Bal.In and Unbal. input choices are line level inputs. LINE is displayed on the stop and record displays.
Example |
|
|
|
|
REC REMAIN | L | |||
|
| TIME |
|
|
|
| 00 | 40 20 12 6 2 0 over | |
display |
| R |
|
|
|
|
|
| |
|
|
| LINE | |
|
|
|
|
|
LINE
•The PMD570 records only from the selected input. For example if the input selected Bal.In and no input source is connected to the XLR jacks the PMD570 will record silence. Watch the level meters while in record pause, if the level stays at one display bar check for the proper input selec- tion.
- 25 -
