How to set or change the Date and time
The date and time are written on each audio track (file) when the track is started. When an audio track is viewed on a computer this date and time appears as when the file was 'modified'. (US Date Form is illustrated.)
1. | From stop push and release the MENU/STORE | |
| button. | |
2. | Turn the Jog Wheel to select Preset1, 2 or 3. | |
3. | Push and release the Jog Wheel to accept the | |
| selected Preset. | |
4. | Turn the Jog Wheel so Date/Time is displayed | |
| and flashing. | |
|
| |
5. While Date/Time is flashing push and release the | ||
| Jog Wheel. Date and time information will be | |
Example
AM
display
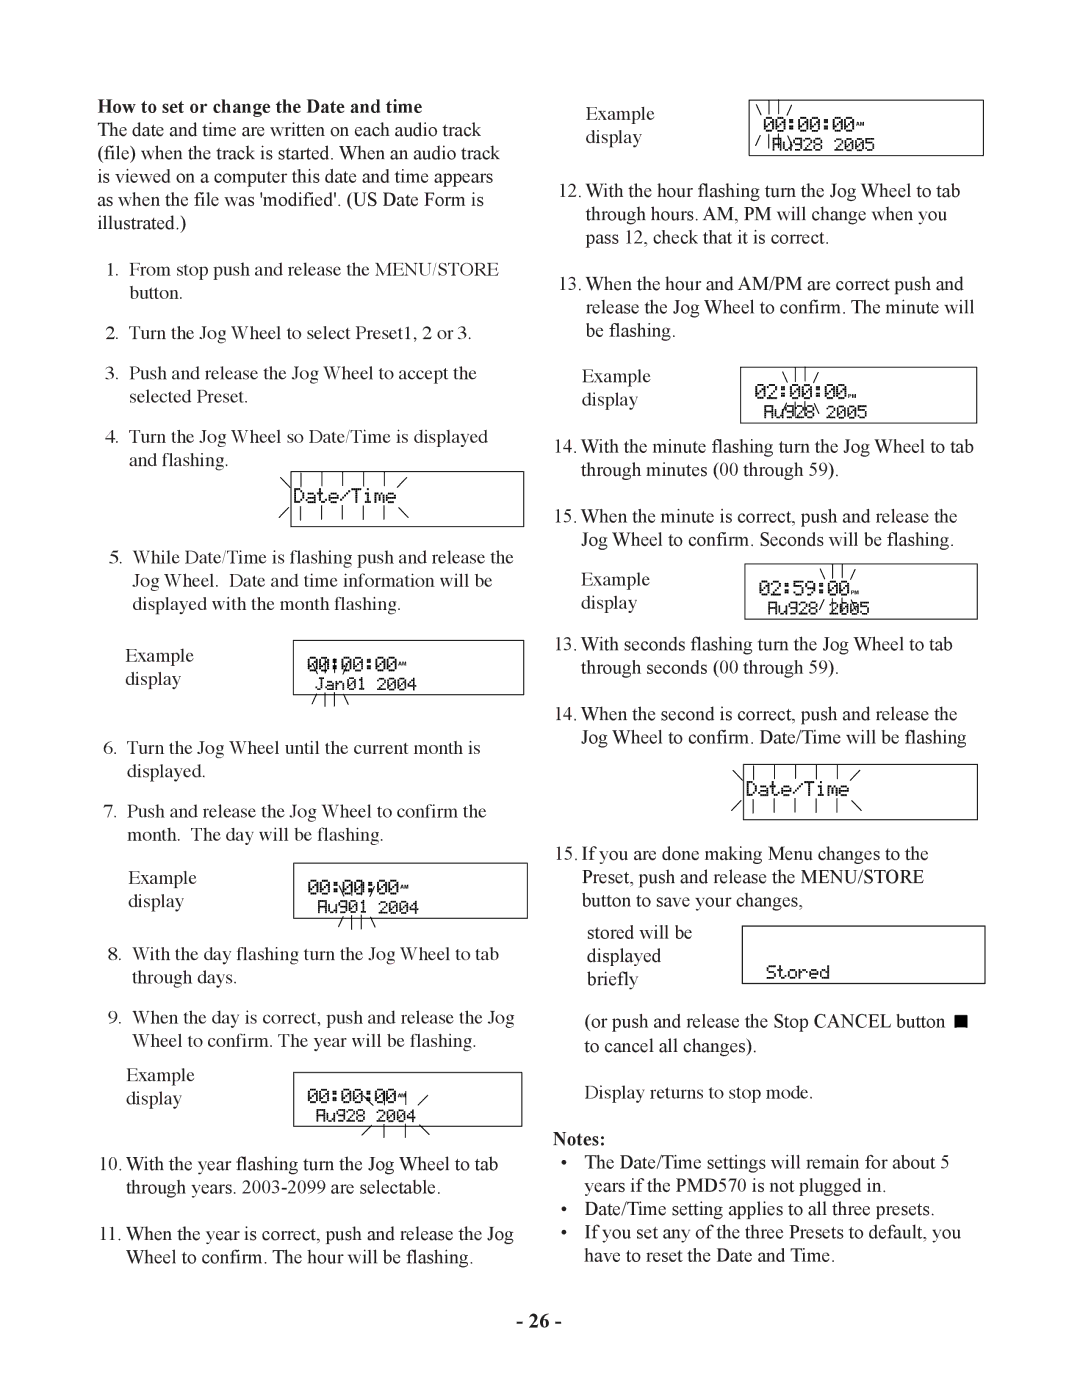
12.With the hour flashing turn the Jog Wheel to tab through hours. AM, PM will change when you pass 12, check that it is correct.
13.When the hour and AM/PM are correct push and release the Jog Wheel to confirm. The minute will be flashing.
Example |
|
display | PM |
14.With the minute flashing turn the Jog Wheel to tab through minutes (00 through 59).
15.When the minute is correct, push and release the Jog Wheel to confirm. Seconds will be flashing.
Example
displayed with the month flashing. |
display
PM
Example | AM |
display |
|
|
|
6.Turn the Jog Wheel until the current month is displayed.
7.Push and release the Jog Wheel to confirm the month. The day will be flashing.
Example
AM
display
8.With the day flashing turn the Jog Wheel to tab through days.
9.When the day is correct, push and release the Jog Wheel to confirm. The year will be flashing.
Example
displayAM
10.With the year flashing turn the Jog Wheel to tab through years.
11.When the year is correct, push and release the Jog Wheel to confirm. The hour will be flashing.
13.With seconds flashing turn the Jog Wheel to tab through seconds (00 through 59).
14.When the second is correct, push and release the Jog Wheel to confirm. Date/Time will be flashing
15.If you are done making Menu changes to the Preset, push and release the MENU/STORE button to save your changes,
stored will be displayed briefly
(or push and release the Stop CANCEL button ![]() to cancel all changes).
to cancel all changes).
Display returns to stop mode.
Notes:
•The Date/Time settings will remain for about 5 years if the PMD570 is not plugged in.
•Date/Time setting applies to all three presets.
•If you set any of the three Presets to default, you have to reset the Date and Time.
- 26 -