Then either:
8a. Press and release the FWD/+ button ![]()
![]() or the
or the ![]()
![]() to tab to another menu choice, or
to tab to another menu choice, or
8b. Press and release the ![]() MENU/STORE button to write the menu changes and return to stop mode, or
MENU/STORE button to write the menu changes and return to stop mode, or
8c. Press and release the CANCEL button ![]() to cancel any menu changes and return to stop mode.
to cancel any menu changes and return to stop mode.
The Menu choices are:
Date/Time – For setting or changing the Date and Time associated with when an audio track (file) was created.
DateForm – For selecting the date order.
Algor/File – For setting or changing the recording compression algorithm, associated bit rate, audio file type, and channels recorded.
M. Track – Turn manual track incrementing feature on or off.
SeamlsPly – Turn the Seampless play feature on or off.
S.Skip – Turn Silent Skip feature on or off, set the number of seconds the dB level must meet or exceed the set threshold, and set the dB threshold level.
A.Cue – Turn the Auto Cue feature on or off, set the number of
S.Play – Turn the single track play feature on or off.
Beep – Turn the beep on or off.
A.PowOff – Enable or disable the Automatic Power Off feature.
Batt_Type – Set the battery type.
RemoteMode – Set the effect of the optional wired remote switch.
ID1 – Set the description ID code for broadcast wave file recordings.
ID2 – Set the origin ID code for broadcast wave file recordings.
ID3 – Set the origin reference ID code for broad- cast wave file recordings.
Default – Reset all Menu settings to factory default settings.
How to set or change the Date and time The date and time are written on each audio track (file) when the track is started. When an audio track is viewed on a computer this date and time appears as when the file was 'modi- fied'. (US date format is illustrated.)
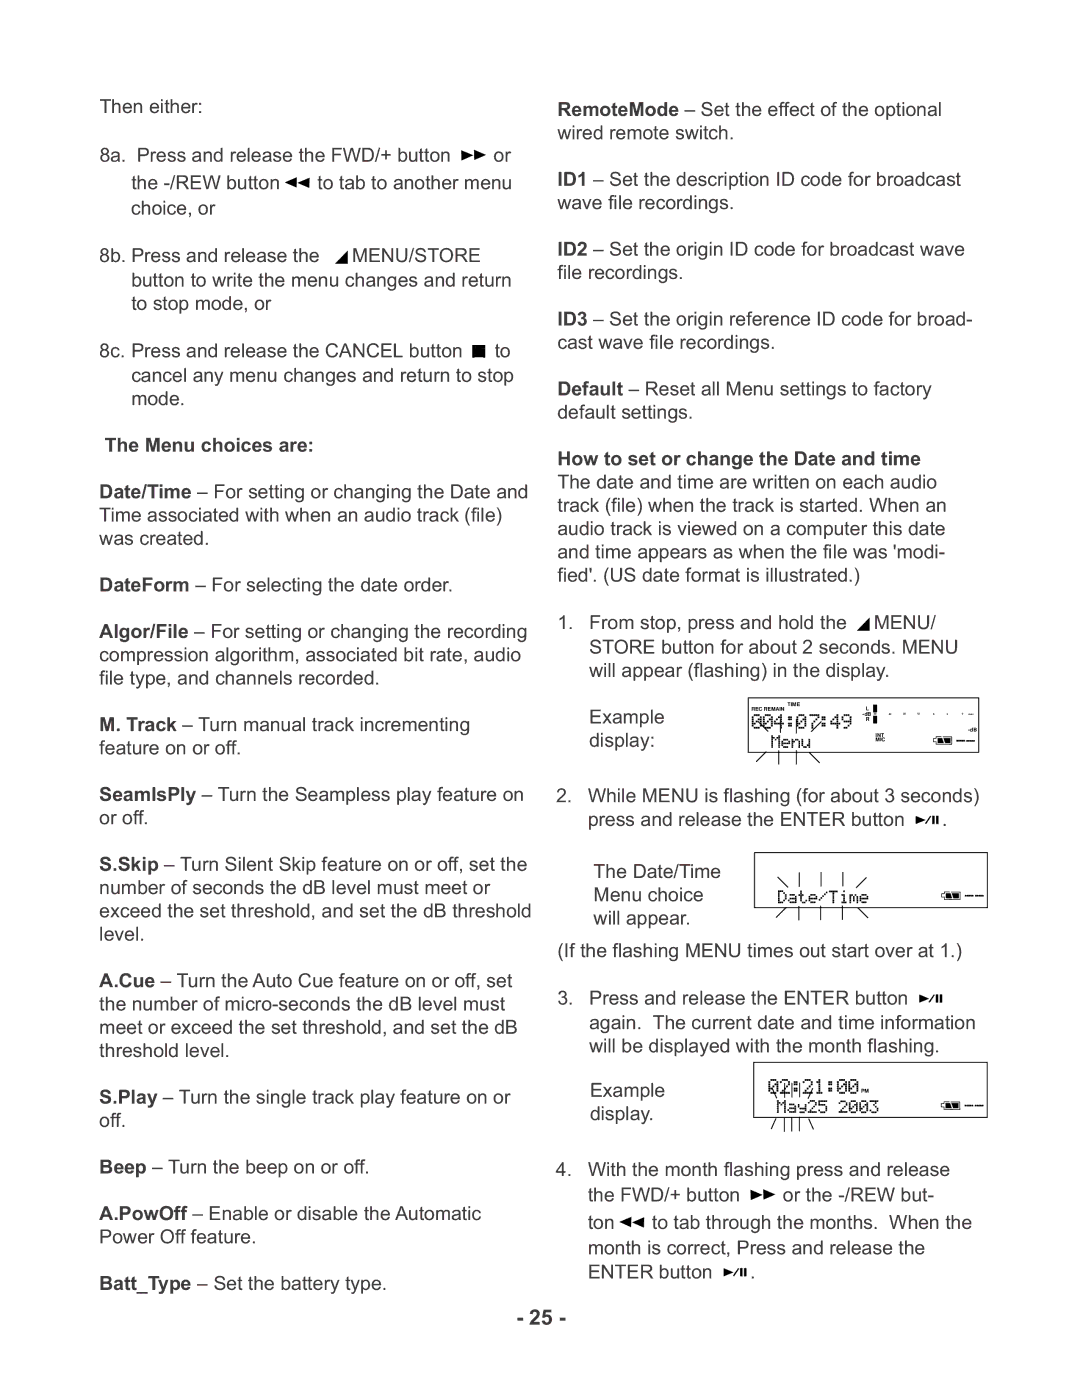
1.From stop, press and hold the ![]() MENU/ STORE button for about 2 seconds. MENU will appear (flashing) in the display.
MENU/ STORE button for about 2 seconds. MENU will appear (flashing) in the display.
|
| TIME |
|
Example | REC REMAIN | L |
|
| |||
display: |
| R | |
|
| ||
|
| INT | |
|
|
| MIC |
|
|
|
|
2.While MENU is flashing (for about 3 seconds) press and release the ENTER button ![]()
![]()
![]() .
.
The Date/Time Menu choice will appear.
(If the flashing MENU times out start over at 1.)
3.Press and release the ENTER button ![]()
![]()
![]() again. The current date and time information will be displayed with the month flashing.
again. The current date and time information will be displayed with the month flashing.
Example | PM |
display. |
|
4.With the month flashing press and release the FWD/+ button ![]() or the
or the ![]() to tab through the months. When the month is correct, Press and release the ENTER button
to tab through the months. When the month is correct, Press and release the ENTER button ![]()
![]()
![]() .
.
- 25 -