LEARN MODE
Programming the 2 (PLAY) and Other Control But- tons and Numeric Buttons
This remote control is capable of learning and storing codes used by other remote controls that you already own.
For codes which are not learned, the remote control will transmit either the Marantz preset codes from the initial settings, or remote codes from another manufacturer’s AV equipment which is set by the customer.
The receiver sensor for the remote control signals is located at the top of the remote control.
This example shows how to learn the codes from the remote control of a DVD player.
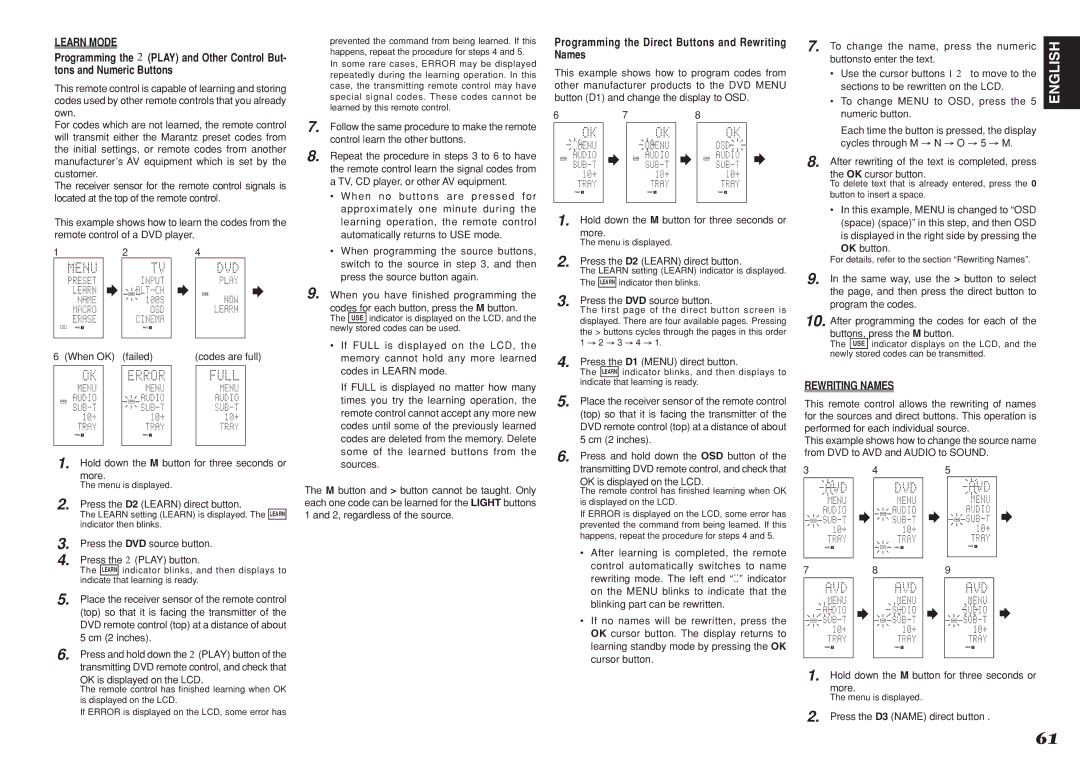
1 | | | | 2 | | 4 | | |
| | | | LEARN | | | LEARN | | |
| USEPAGE 1 | | | PAGE 1 | 2 | | 1 | 2 | |
| | | | | | | |
6 | (When OK) | (failed) | | (codes are full) |
| | | | | | | | | |
| LEARN | | | LEARN | | | | | |
| PAGE 1 | 2 | | PAGE 1 | 2 | | 1 | 2 | |
| | | | | | | | | |
1. Hold down the M button for three seconds or more.
The menu is displayed.
2. Press the D2 (LEARN) direct button.
The LEARN setting (LEARN) is displayed. The LEARN indicator then blinks.
3. Press the DVD source button.
4. Press the 2 (PLAY) button.
The LEARN indicator blinks, and then displays to indicate that learning is ready.
5. Place the receiver sensor of the remote control (top) so that it is facing the transmitter of the DVD remote control (top) at a distance of about 5 cm (2 inches).
6. Press and hold down the 2 (PLAY) button of the transmitting DVD remote control, and check that OK is displayed on the LCD.
The remote control has fi nished learning when OK is displayed on the LCD.
If ERROR is displayed on the LCD, some error has
prevented the command from being learned. If this happens, repeat the procedure for steps 4 and 5. In some rare cases, ERROR may be displayed repeatedly during the learning operation. In this case, the transmitting remote control may have special signal codes. These codes cannot be learned by this remote control.
7. Follow the same procedure to make the remote control learn the other buttons.
8. Repeat the procedure in steps 3 to 6 to have the remote control learn the signal codes from a TV, CD player, or other AV equipment.
•When no buttons are pressed for approximately one minute during the learning operation, the remote control automatically returns to USE mode.
•When programming the source buttons, switch to the source in step 3, and then press the source button again.
9.When you have finished programming the
codes for each button, press the M button.
The USE indicator is displayed on the LCD, and the newly stored codes can be used.
•If FULL is displayed on the LCD, the memory cannot hold any more learned codes in LEARN mode.
If FULL is displayed no matter how many times you try the learning operation, the remote control cannot accept any more new codes until some of the previously learned codes are deleted from the memory. Delete some of the learned buttons from the sources.
The M button and > button cannot be taught. Only each one code can be learned for the LIGHT buttons 1 and 2, regardless of the source.
Programming the Direct Buttons and Rewriting Names
This example shows how to program codes from other manufacturer products to the DVD MENU button (D1) and change the display to OSD.
6 | 7 | | 8 |
LEARN | | | | LEARN | | LEARN |
PAGE 1 | 2 | | | PAGE 1 2 | | PAGE 1 2 |
| | | | | | |
1. Hold down the M button for three seconds or more.
The menu is displayed.
2. Press the D2 (LEARN) direct button.
The LEARN setting (LEARN) indicator is displayed. The LEARN indicator then blinks.
3. Press the DVD source button.
The first page of the direct button screen is displayed. There are four available pages. Pressing the > buttons cycles through the pages in this order 1 → 2 → 3 → 4 → 1.
4. Press the D1 (MENU) direct button.
The LEARN indicator blinks, and then displays to indicate that learning is ready.
5. Place the receiver sensor of the remote control (top) so that it is facing the transmitter of the DVD remote control (top) at a distance of about 5 cm (2 inches).
6. Press and hold down the OSD button of the transmitting DVD remote control, and check that OK is displayed on the LCD.
The remote control has fi nished learning when OK is displayed on the LCD.
If ERROR is displayed on the LCD, some error has prevented the command from being learned. If this happens, repeat the procedure for steps 4 and 5.
•After learning is completed, the remote control automatically switches to name rewriting mode. The left end “ ” indicator on the MENU blinks to indicate that the blinking part can be rewritten.
•If no names will be rewritten, press the OK cursor button. The display returns to learning standby mode by pressing the OK cursor button.
7. To change the name, press the numeric | ENGLISH |
buttonsto enter the text. | |
• | Use the cursor buttons 1 2 to move to the | |
| sections to be rewritten on the LCD. | |
• | To change MENU to OSD, press the 5 | |
| numeric button. | |
Each time the button is pressed, the display cycles through M → N → O → 5 → M.
8. After rewriting of the text is completed, press the OK cursor button.
To delete text that is already entered, press the 0 button to insert a space.
• In this example, MENU is changed to “OSD (space) (space)” in this step, and then OSD is displayed in the right side by pressing the OK button.
For details, refer to the section “Rewriting Names”.
9. In the same way, use the > button to select the page, and then press the direct button to program the codes.
10. After programming the codes for each of the buttons, press the M button.
The USE indicator displays on the LCD, and the newly stored codes can be transmitted.
REWRITING NAMES
This remote control allows the rewriting of names for the sources and direct buttons. This operation is performed for each individual source.
This example shows how to change the source name from DVD to AVD and AUDIO to SOUND.
3 | | | 4 | | | | 5 | |
| | | LEARN | | | | | |
NAME | | | | | | | NAME | |
PAGE | 1 | 2 | USE | PAGE | 1 | 2 | PAGE | 1 2 |
7 | | | 8 | | | | 9 | |
NAME | | | NAME | | | | NAME | |
PAGE | 1 | 2 | | PAGE | 1 | 2 | PAGE 1 | 2 |
1. Hold down the M button for three seconds or more.
The menu is displayed.
2. Press the D3 (NAME) direct button .