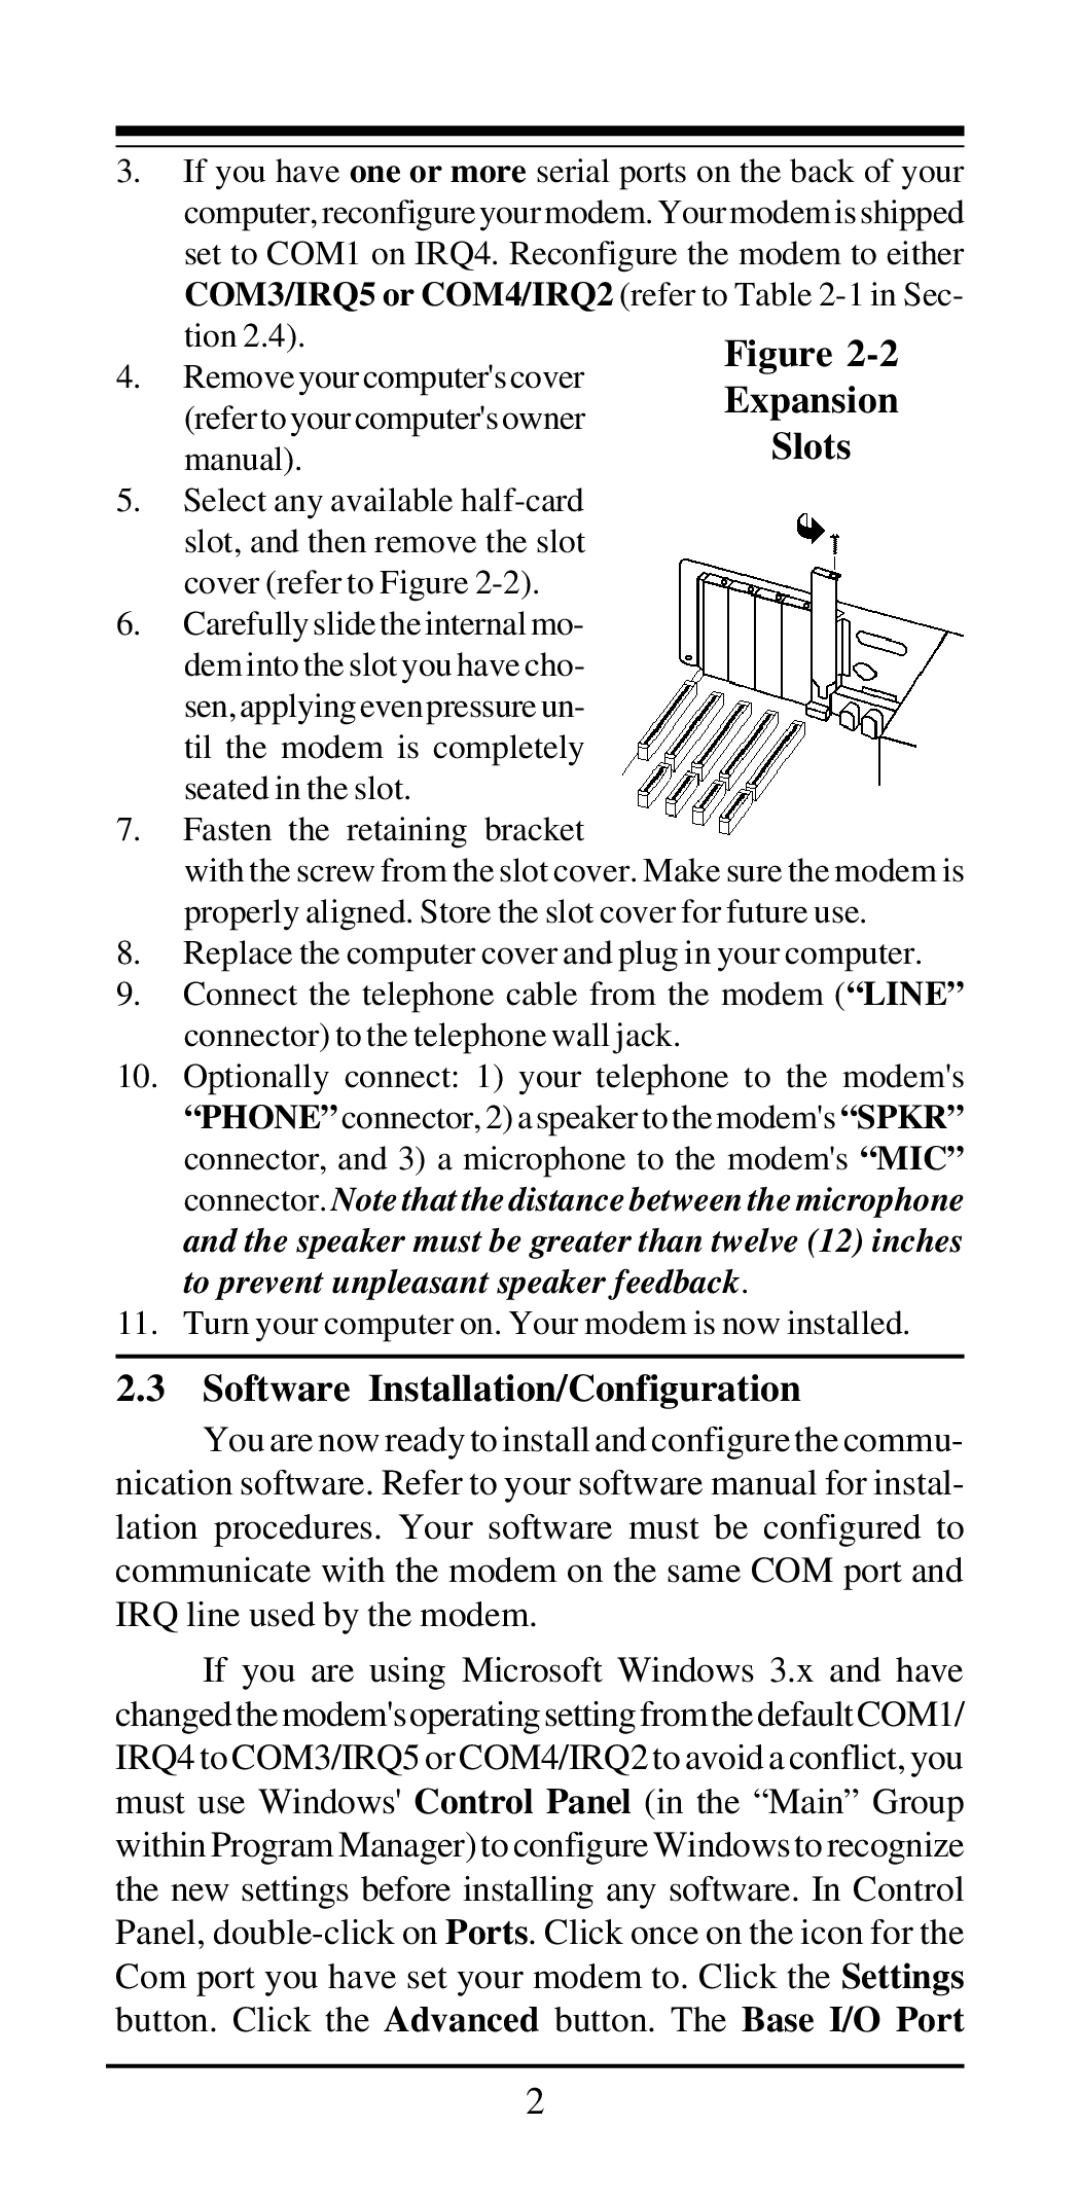
3.If you have one or more serial ports on the back of your computer, reconfigure your modem. Your modem is shipped set to COM1 on IRQ4. Reconfigure the modem to either COM3/IRQ5 or COM4/IRQ2 (refer to Table
tion 2.4).
4. Remove your computer's cover (refer to your computer's owner manual).
5.Select any available
6.Carefully slide the internal mo- dem into the slot you have cho- sen, applying even pressure un- til the modem is completely seated in the slot.
7.Fasten the retaining bracket
with the screw from the slot cover. Make sure the modem is properly aligned. Store the slot cover for future use.
8.Replace the computer cover and plug in your computer.
9.Connect the telephone cable from the modem (“LINE” connector) to the telephone wall jack.
10.Optionally connect: 1) your telephone to the modem's “PHONE” connector, 2) a speaker to the modem's“SPKR” connector, and 3) a microphone to the modem's “MIC” connector. Note that the distance between the microphone and the speaker must be greater than twelve (12) inches to prevent unpleasant speaker feedback.
11.Turn your computer on. Your modem is now installed.
2.3 Software Installation/Configuration
You are now ready to install and configure the commu- nication software. Refer to your software manual for instal- lation procedures. Your software must be configured to communicate with the modem on the same COM port and IRQ line used by the modem.
If you are using Microsoft Windows 3.x and have changed the modem's operating setting from the default COM1/ IRQ4 to COM3/IRQ5 or COM4/IRQ2 to avoid a conflict, you must use Windows' Control Panel (in the “Main” Group within Program Manager) to configure Windows to recognize the new settings before installing any software. In Control Panel,
2
