Menu operation (continued)
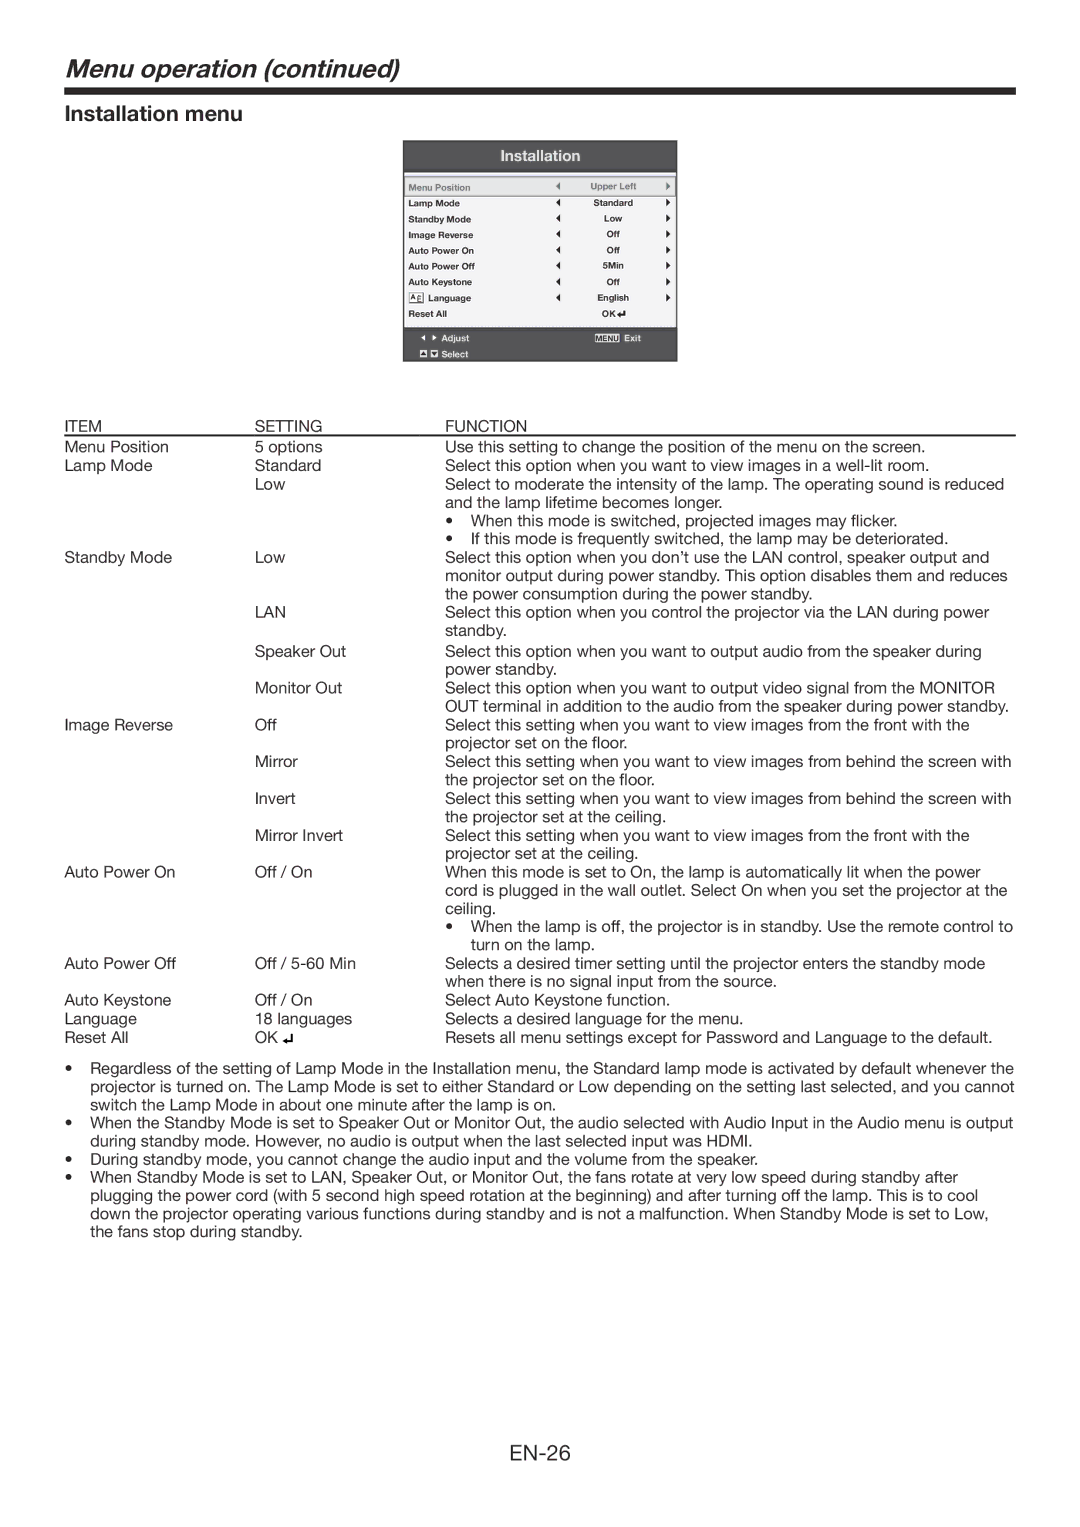
Installation menu
|
|
|
| Installation | |||
|
|
|
|
|
|
|
|
Menu Position | Upper Left | ||||||
Lamp Mode | Standard | ||||||
Standby Mode |
| Low | |||||
Image Reverse |
| Off | |||||
Auto Power On |
| Off | |||||
Auto Power Off |
| 5Min | |||||
Auto Keystone |
| Off | |||||
|
| Language |
| English | |||
Reset All |
| OK |
|
| |||
|
| ||||||
|
|
|
|
|
|
|
|
|
|
|
|
|
|
|
|
|
|
| Adjust |
| MENU | Exit | |
|
|
| Select |
|
|
|
|
|
|
|
|
|
|
|
|
ITEM | SETTING | FUNCTION | ||
Menu Position | 5 options | Use this setting to change the position of the menu on the screen. | ||
Lamp Mode | Standard | Select this option when you want to view images in a | ||
| Low | Select to moderate the intensity of the lamp. The operating sound is reduced | ||
|
|
|
| and the lamp lifetime becomes longer. |
|
|
|
| • When this mode is switched, projected images may flicker. |
|
|
|
| • If this mode is frequently switched, the lamp may be deteriorated. |
Standby Mode | Low | Select this option when you don’t use the LAN control, speaker output and | ||
|
|
|
| monitor output during power standby. This option disables them and reduces |
|
|
|
| the power consumption during the power standby. |
| LAN | Select this option when you control the projector via the LAN during power | ||
|
|
|
| standby. |
| Speaker Out | Select this option when you want to output audio from the speaker during | ||
|
|
|
| power standby. |
| Monitor Out | Select this option when you want to output video signal from the MONITOR | ||
|
|
|
| OUT terminal in addition to the audio from the speaker during power standby. |
Image Reverse | Off | Select this setting when you want to view images from the front with the | ||
|
|
|
| projector set on the floor. |
| Mirror | Select this setting when you want to view images from behind the screen with | ||
|
|
|
| the projector set on the floor. |
| Invert | Select this setting when you want to view images from behind the screen with | ||
|
|
|
| the projector set at the ceiling. |
| Mirror Invert | Select this setting when you want to view images from the front with the | ||
|
|
|
| projector set at the ceiling. |
Auto Power On | Off / On | When this mode is set to On, the lamp is automatically lit when the power | ||
|
|
|
| cord is plugged in the wall outlet. Select On when you set the projector at the |
|
|
|
| ceiling. |
|
|
|
| • When the lamp is off, the projector is in standby. Use the remote control to |
|
|
|
| turn on the lamp. |
Auto Power Off | Off / | Selects a desired timer setting until the projector enters the standby mode | ||
|
|
|
| when there is no signal input from the source. |
Auto Keystone | Off / On | Select Auto Keystone function. | ||
Language | 18 languages | Selects a desired language for the menu. | ||
Reset All | OK |
|
| Resets all menu settings except for Password and Language to the default. |
|
| |||
| ||||
•Regardless of the setting of Lamp Mode in the Installation menu, the Standard lamp mode is activated by default whenever the projector is turned on. The Lamp Mode is set to either Standard or Low depending on the setting last selected, and you cannot switch the Lamp Mode in about one minute after the lamp is on.
•When the Standby Mode is set to Speaker Out or Monitor Out, the audio selected with Audio Input in the Audio menu is output during standby mode. However, no audio is output when the last selected input was HDMI.
•During standby mode, you cannot change the audio input and the volume from the speaker.
•When Standby Mode is set to LAN, Speaker Out, or Monitor Out, the fans rotate at very low speed during standby after plugging the power cord (with 5 second high speed rotation at the beginning) and after turning off the lamp. This is to cool down the projector operating various functions during standby and is not a malfunction. When Standby Mode is set to Low, the fans stop during standby.
