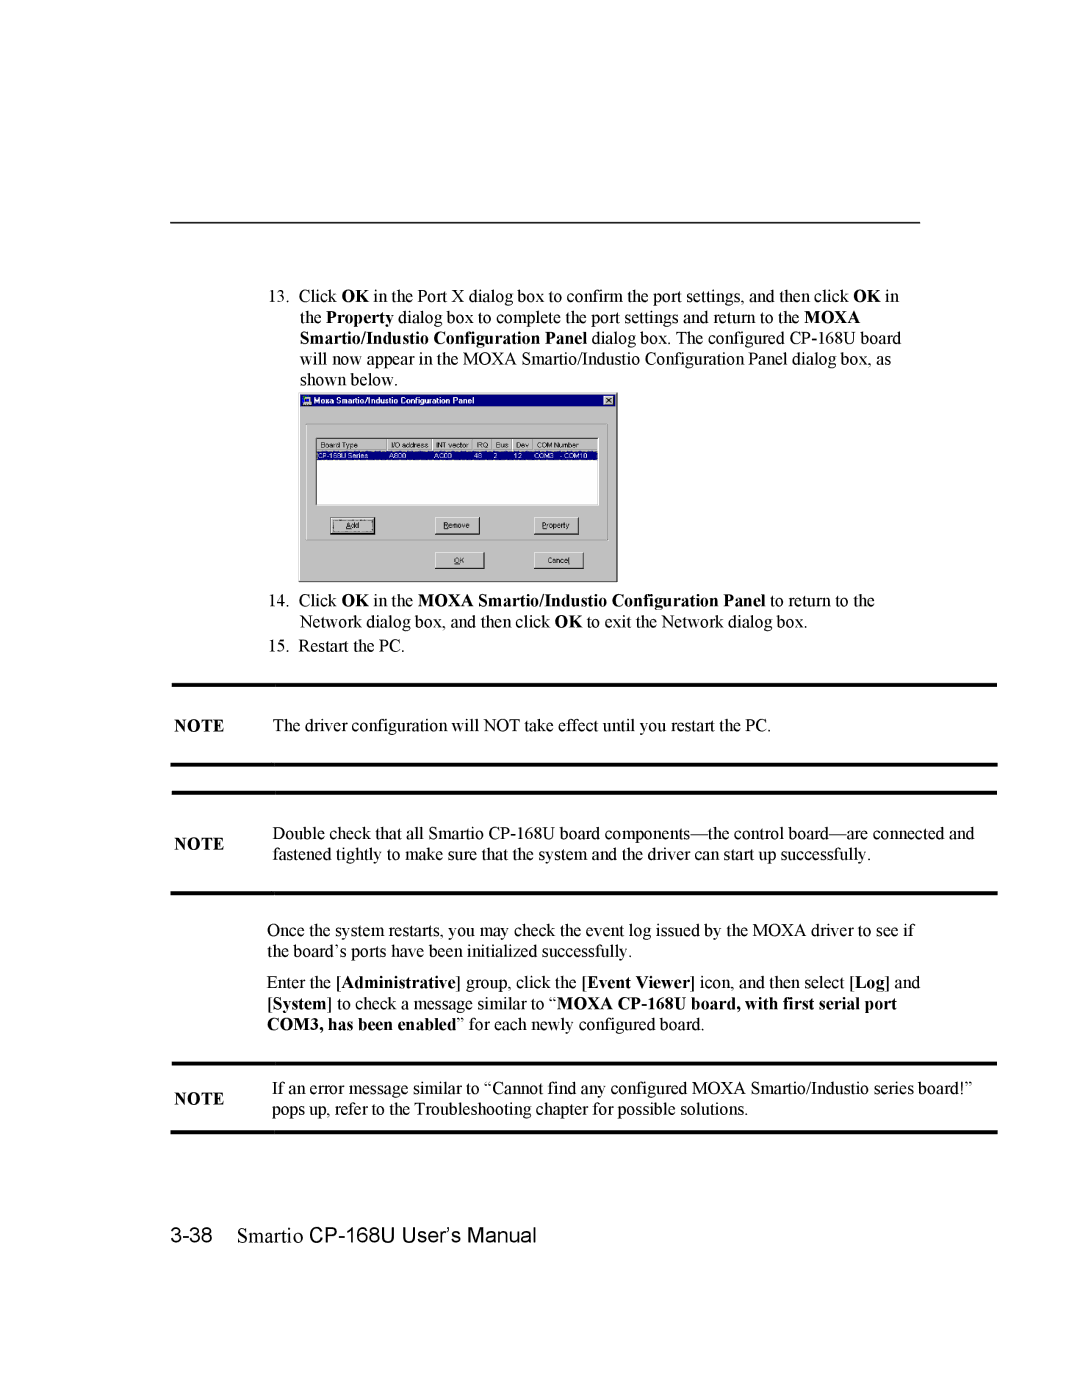
13.Click OK in the Port X dialog box to confirm the port settings, and then click OK in the Property dialog box to complete the port settings and return to the MOXA Smartio/Industio Configuration Panel dialog box. The configured
14.Click OK in the MOXA Smartio/Industio Configuration Panel to return to the Network dialog box, and then click OK to exit the Network dialog box.
15.Restart the PC.
NOTE The driver configuration will NOT take effect until you restart the PC.
NOTE | Double check that all Smartio | |
fastened tightly to make sure that the system and the driver can start up successfully. | ||
|
Once the system restarts, you may check the event log issued by the MOXA driver to see if the board’s ports have been initialized successfully.
Enter the [Administrative] group, click the [Event Viewer] icon, and then select [Log] and [System] to check a message similar to “MOXA
NOTE | If an error message similar to “Cannot find any configured MOXA Smartio/Industio series board!” | |
pops up, refer to the Troubleshooting chapter for possible solutions. | ||
|