Simple Setup and Quick Start
Location - This unit produces a lot of heat. DO NOT STACK, Do not place anything on top of this unit or put in closed cabinet!
Power - The SDVDA Player comes standard with an inboard power supply. A fuse block inside the unit allows the unit to be switched between 240V and 120V. Please check the back of the unit before plugging the unit in. Unit is configured for 120V unless otherwise marked. Leave the SDVDA powered on all the time.
Connections - Connect the video outputs and audio outputs using the row of 8 RCA connectors. Be sure to connect to the set labeled output, not the set labeled input!
Very Important - Be sure the toggle switch on the back of the unit is set to AUTO (the center position).
| Existing |
| Display |
|
| AMPs |
| |||||
| System |
|
|
|
| |||||||
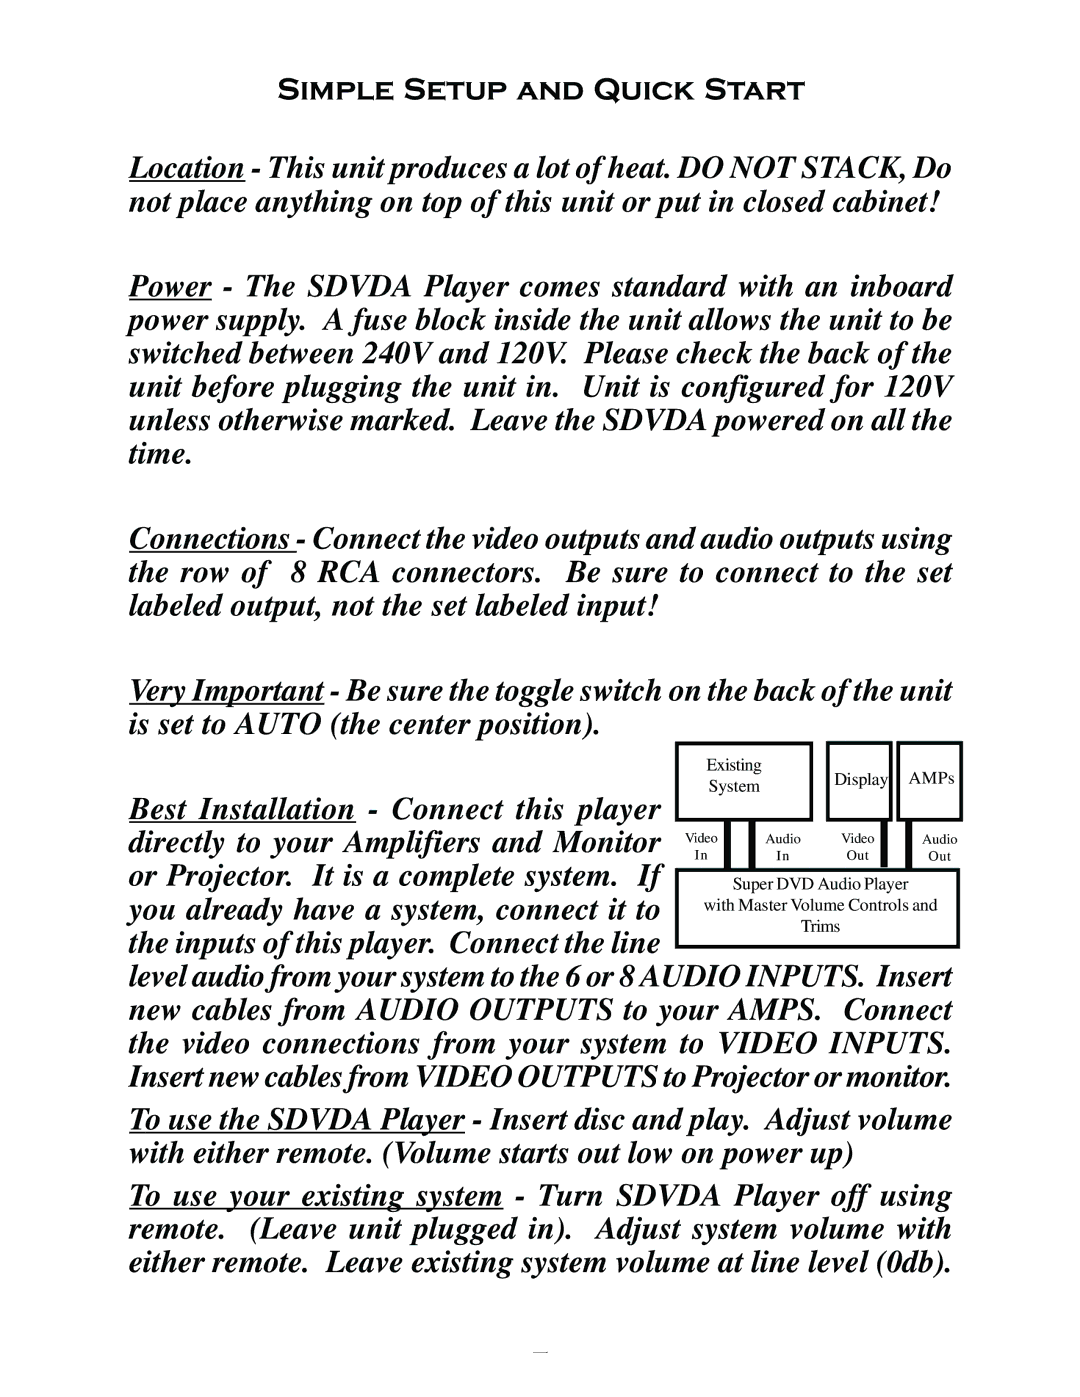
Best Installation - Connect this player |
|
|
|
|
|
|
| |||||
|
|
|
|
|
|
|
|
|
|
|
| |
directly to your Amplifiers and Monitor | Video |
|
|
| Audio |
| Video |
|
|
| Audio |
|
or Projector. It is a complete system. If | In |
|
|
| In |
| Out |
|
|
| Out |
|
|
|
|
|
|
|
|
|
|
|
| ||
|
| Super DVD Audio Player |
|
| ||||||||
you already have a system, connect it to | with Master Volume Controls and |
| ||||||||||
|
|
|
| Trims |
|
| ||||||
the inputs of this player. Connect the line |
|
|
|
|
|
| ||||||
|
|
|
|
|
|
|
|
|
|
|
| |
|
|
|
|
|
|
|
|
|
|
|
| |
level audio from your system to the 6 or 8 AUDIO INPUTS. Insert new cables from AUDIO OUTPUTS to your AMPS. Connect the video connections from your system to VIDEO INPUTS. Insert new cables from VIDEO OUTPUTS to Projector or monitor.
To use the SDVDA Player - Insert disc and play. Adjust volume with either remote. (Volume starts out low on power up)
To use your existing system - Turn SDVDA Player off using remote. (Leave unit plugged in). Adjust system volume with either remote. Leave existing system volume at line level (0db).
5
