IF-200 from Muratec
3.2. Initial Setup
Step 1: Refer to the
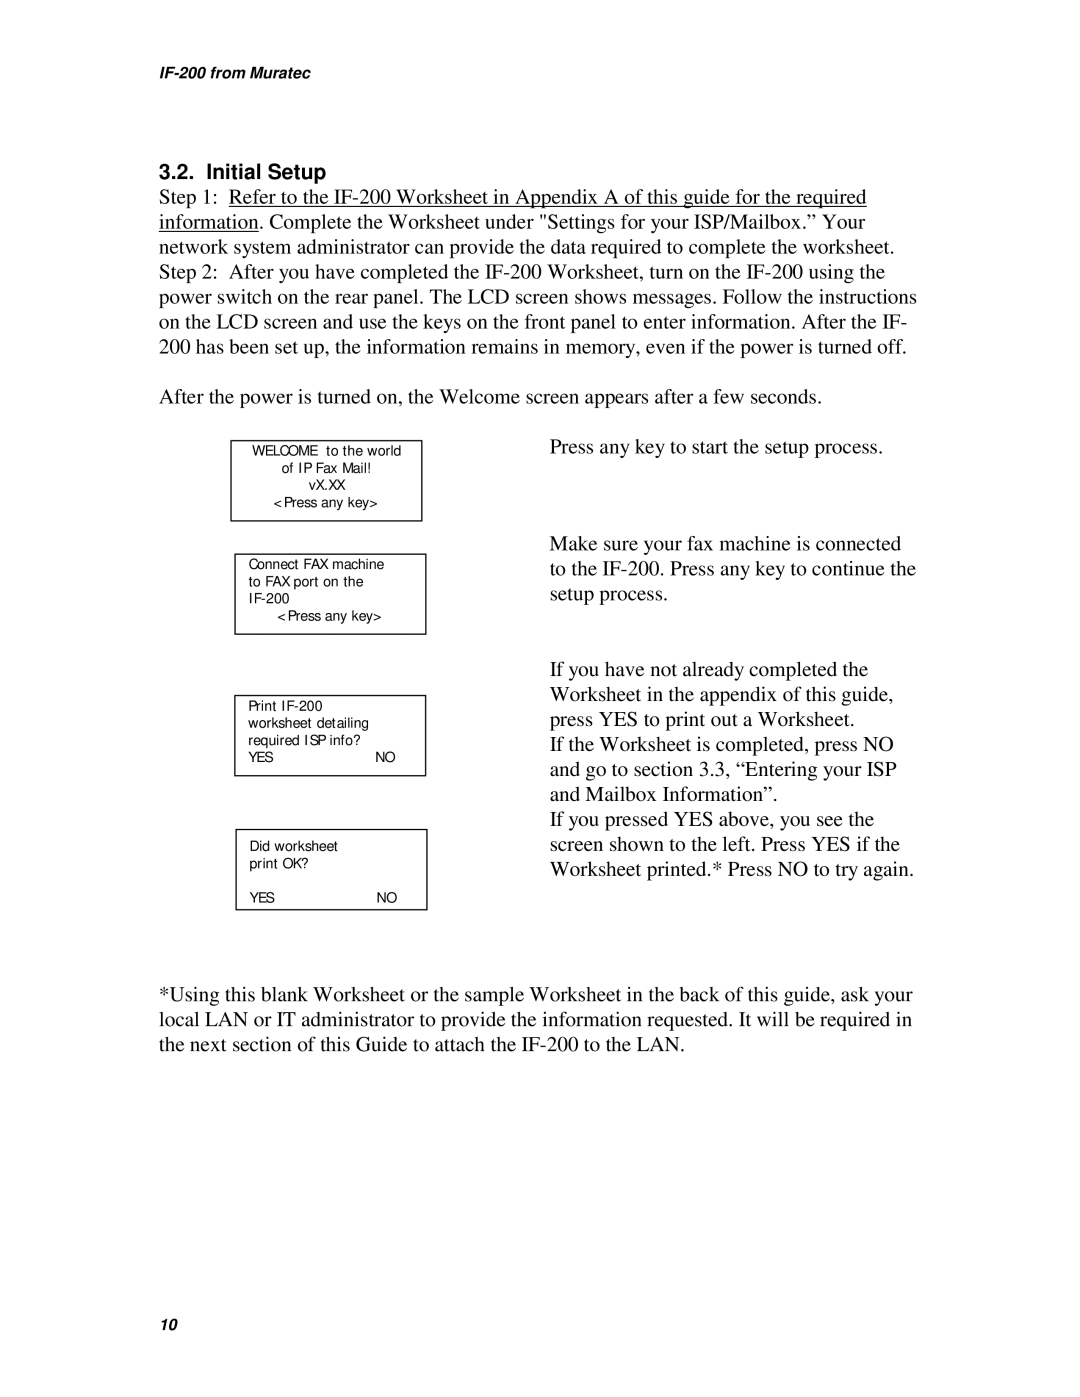
After the power is turned on, the Welcome screen appears after a few seconds.
WELCOME to the world
of IP Fax Mail!
vX.XX
<Press any key>
Connect FAX machine to FAX port on the
<Press any key>
Print
YESNO
Did worksheet print OK?
YESNO
Press any key to start the setup process.
Make sure your fax machine is connected to the
If you have not already completed the Worksheet in the appendix of this guide, press YES to print out a Worksheet.
If the Worksheet is completed, press NO and go to section 3.3, “Entering your ISP and Mailbox Information”.
If you pressed YES above, you see the screen shown to the left. Press YES if the Worksheet printed.* Press NO to try again.
*Using this blank Worksheet or the sample Worksheet in the back of this guide, ask your local LAN or IT administrator to provide the information requested. It will be required in the next section of this Guide to attach the
10
