5. TROUBLESHOOTING
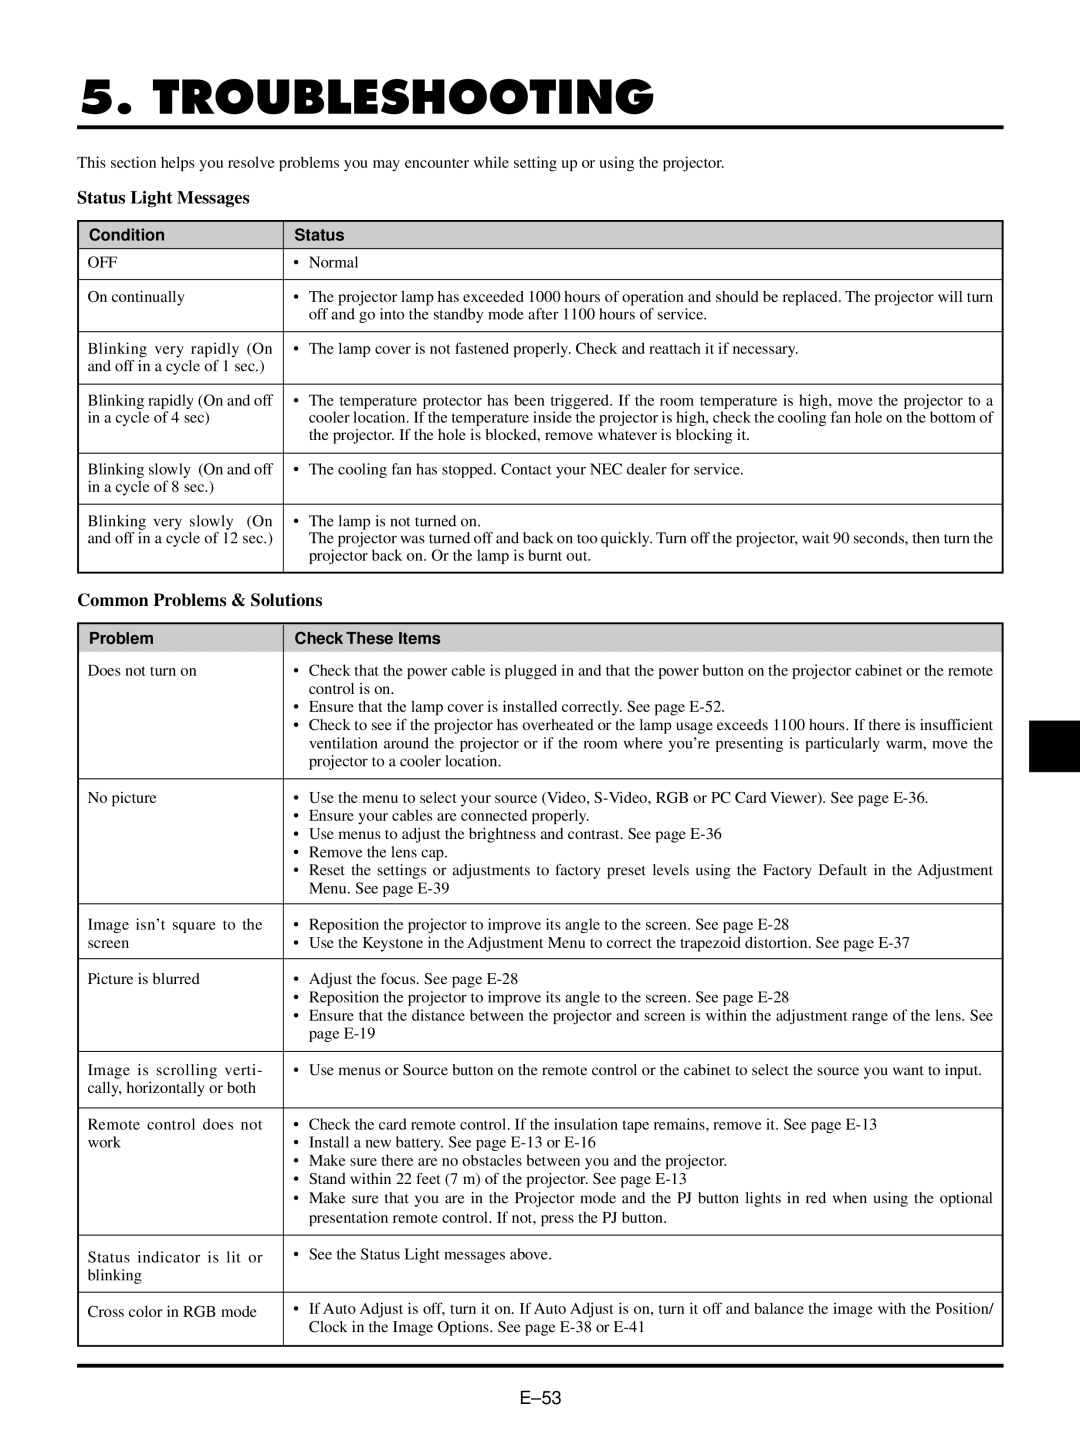
This section helps you resolve problems you may encounter while setting up or using the projector.
Status Light Messages
Condition | Status |
OFF | • Normal |
|
|
On continually | • The projector lamp has exceeded 1000 hours of operation and should be replaced. The projector will turn |
| off and go into the standby mode after 1100 hours of service. |
|
|
Blinking very rapidly (On | • The lamp cover is not fastened properly. Check and reattach it if necessary. |
and off in a cycle of 1 sec.) |
|
|
|
Blinking rapidly (On and off | • The temperature protector has been triggered. If the room temperature is high, move the projector to a |
in a cycle of 4 sec) | cooler location. If the temperature inside the projector is high, check the cooling fan hole on the bottom of |
| the projector. If the hole is blocked, remove whatever is blocking it. |
|
|
Blinking slowly (On and off | • The cooling fan has stopped. Contact your NEC dealer for service. |
in a cycle of 8 sec.) |
|
|
|
Blinking very slowly (On | • The lamp is not turned on. |
and off in a cycle of 12 sec.) | The projector was turned off and back on too quickly. Turn off the projector, wait 90 seconds, then turn the |
| projector back on. Or the lamp is burnt out. |
|
|
Common Problems & Solutions
Problem | Check These Items | |
Does not turn on | • | Check that the power cable is plugged in and that the power button on the projector cabinet or the remote |
|
| control is on. |
| • Ensure that the lamp cover is installed correctly. See page | |
| • Check to see if the projector has overheated or the lamp usage exceeds 1100 hours. If there is insufficient | |
|
| ventilation around the projector or if the room where you’re presenting is particularly warm, move the |
|
| projector to a cooler location. |
|
|
|
No picture | • | Use the menu to select your source (Video, |
| • Ensure your cables are connected properly. | |
| • Use menus to adjust the brightness and contrast. See page | |
| • | Remove the lens cap. |
| • | Reset the settings or adjustments to factory preset levels using the Factory Default in the Adjustment |
|
| Menu. See page |
|
|
|
Image isn’t square to the | • | Reposition the projector to improve its angle to the screen. See page |
screen | • | Use the Keystone in the Adjustment Menu to correct the trapezoid distortion. See page |
|
|
|
Picture is blurred | • | Adjust the focus. See page |
| • Reposition the projector to improve its angle to the screen. See page | |
| • | Ensure that the distance between the projector and screen is within the adjustment range of the lens. See |
|
| page |
|
|
|
Image is scrolling verti- | • | Use menus or Source button on the remote control or the cabinet to select the source you want to input. |
cally, horizontally or both |
|
|
|
|
|
Remote control does not | • | Check the card remote control. If the insulation tape remains, remove it. See page |
work | • | Install a new battery. See page |
| • Make sure there are no obstacles between you and the projector. | |
| • Stand within 22 feet (7 m) of the projector. See page | |
| • | Make sure that you are in the Projector mode and the PJ button lights in red when using the optional |
|
| presentation remote control. If not, press the PJ button. |
|
|
|
Status indicator is lit or | • | See the Status Light messages above. |
blinking |
|
|
|
|
|
Cross color in RGB mode | • | If Auto Adjust is off, turn it on. If Auto Adjust is on, turn it off and balance the image with the Position/ |
|
| Clock in the Image Options. See page |
|
|
|
|
|
|
