ReadyNAS Pro Pioneer Edition User Guide
Disk Scrubbing with Auto Parity Fix
This option can detect and correct potential data corruption. Schedule this feature to run in off- peak usage periods.
Figure
You can switch between
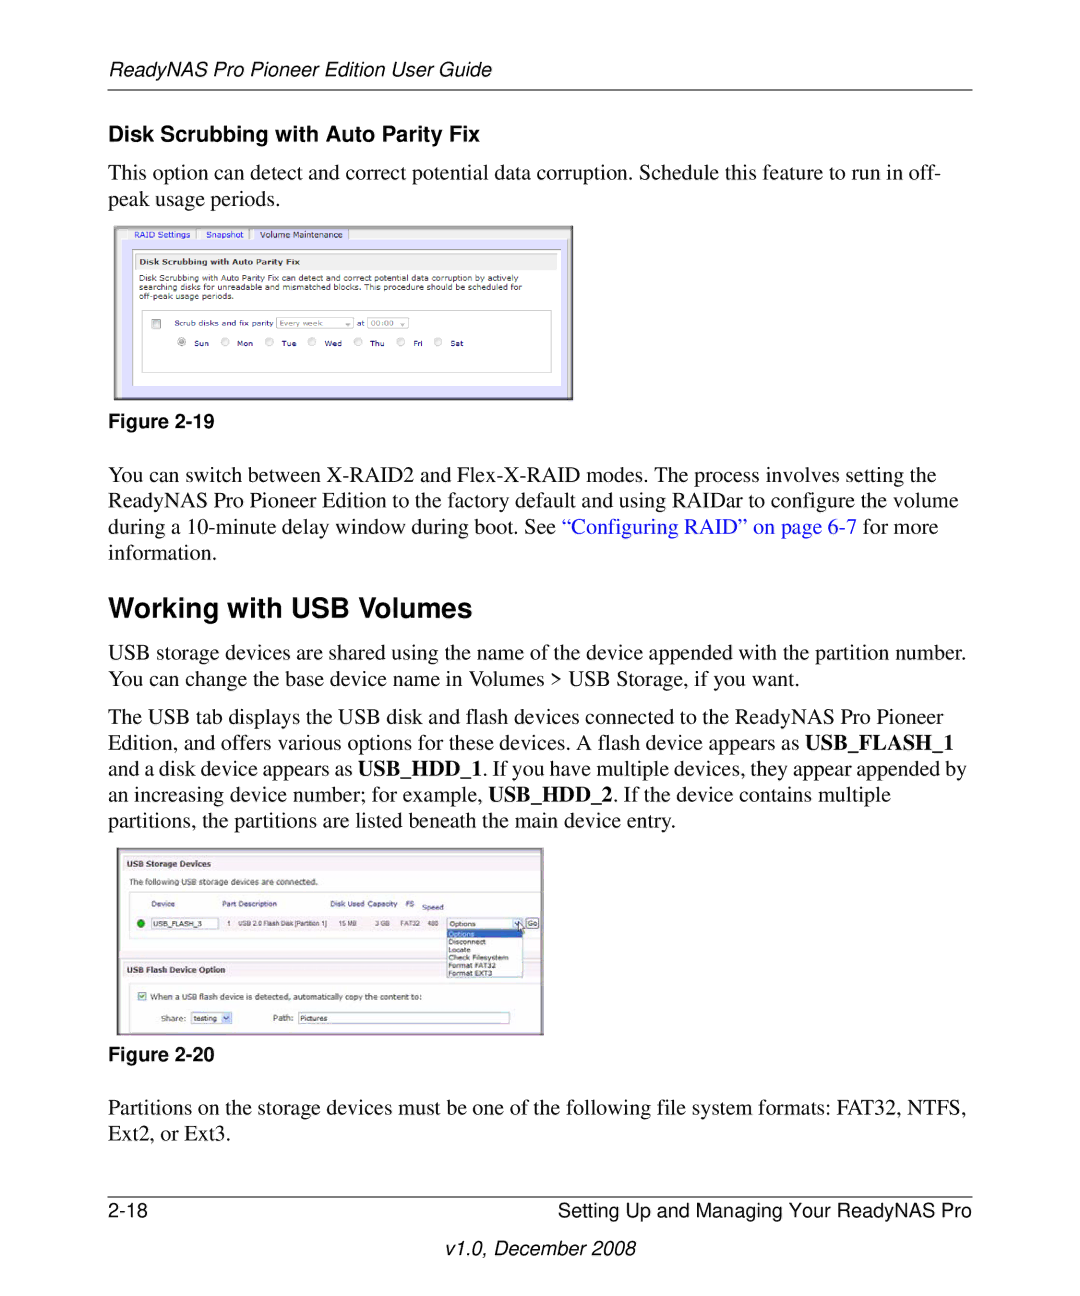
Working with USB Volumes
USB storage devices are shared using the name of the device appended with the partition number. You can change the base device name in Volumes > USB Storage, if you want.
The USB tab displays the USB disk and flash devices connected to the ReadyNAS Pro Pioneer Edition, and offers various options for these devices. A flash device appears as USB_FLASH_1 and a disk device appears as USB_HDD_1. If you have multiple devices, they appear appended by an increasing device number; for example, USB_HDD_2. If the device contains multiple partitions, the partitions are listed beneath the main device entry.
Figure
Partitions on the storage devices must be one of the following file system formats: FAT32, NTFS, Ext2, or Ext3.
Setting Up and Managing Your ReadyNAS Pro |