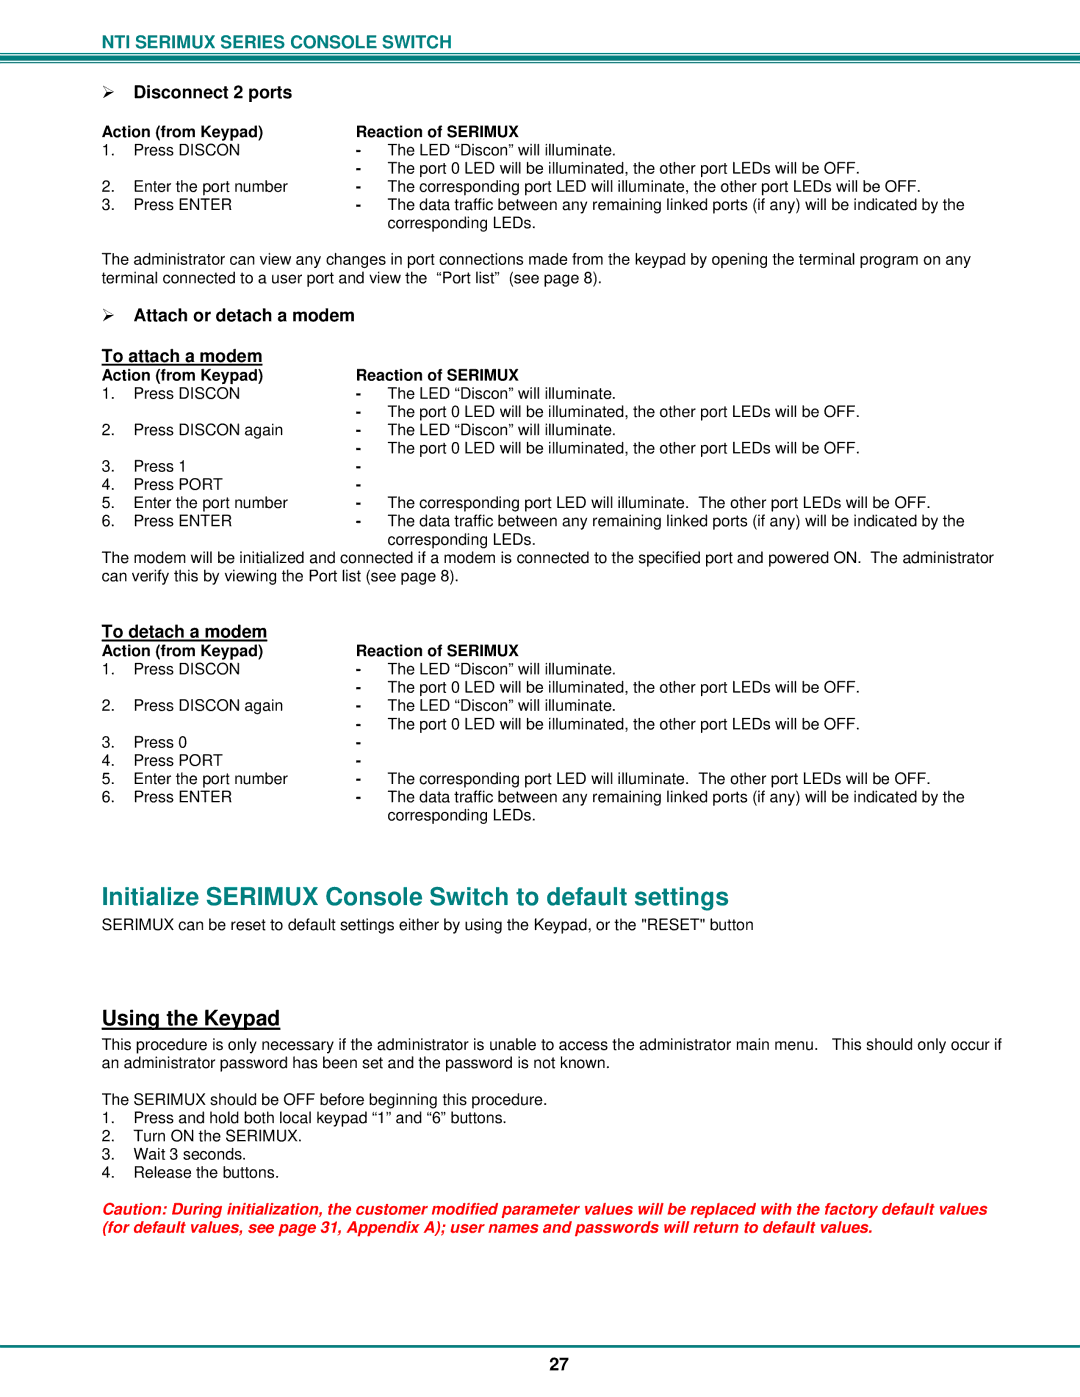
Reaction of SERIMUX
- The LED “Discon” will illuminate.
-The port 0 LED will be illuminated, the other port LEDs will be OFF.
- The corresponding port LED will illuminate, the other port LEDs will be OFF.
- The data traffic between any remaining linked ports (if any) will be indicated by the corresponding LEDs.
¾Attach or detach a modem
Reaction of SERIMUX
- The LED “Discon” will illuminate.
-The port 0 LED will be illuminated, the other port LEDs will be OFF.
- The LED “Discon” will illuminate.
-The port 0 LED will be illuminated, the other port LEDs will be OFF.
-
-
- The corresponding port LED will illuminate. The other port LEDs will be OFF.
- The data traffic between any remaining linked ports (if any) will be indicated by the corresponding LEDs.
The modem will be initialized and connected if a modem is connected to the specified port and powered ON. The administrator can verify this by viewing the Port list (see page 8).
To detach a modem
Action (from Keypad) | Reaction of SERIMUX | |
1. | Press DISCON | - The LED “Discon” will illuminate. |
|
| - The port 0 LED will be illuminated, the other port LEDs will be OFF. |
2. | Press DISCON again | - The LED “Discon” will illuminate. |
|
| - The port 0 LED will be illuminated, the other port LEDs will be OFF. |
3. | Press 0 | - |
4. | Press PORT | - |
5. | Enter the port number | - The corresponding port LED will illuminate. The other port LEDs will be OFF. |
6. | Press ENTER | - The data traffic between any remaining linked ports (if any) will be indicated by the |
|
| corresponding LEDs. |
Initialize SERIMUX Console Switch to default settings
SERIMUX can be reset to default settings either by using the Keypad, or the "RESET" button
Using the Keypad
This procedure is only necessary if the administrator is unable to access the administrator main menu. This should only occur if an administrator password has been set and the password is not known.
The SERIMUX should be OFF before beginning this procedure.
1.Press and hold both local keypad “1” and “6” buttons.
2.Turn ON the SERIMUX.
3.Wait 3 seconds.
4.Release the buttons.
Caution: During initialization, the customer modified parameter values will be replaced with the factory default values (for default values, see page 31, Appendix A); user names and passwords will return to default values.
27
