NTI SERIMUX SERIES CONSOLE SWITCH
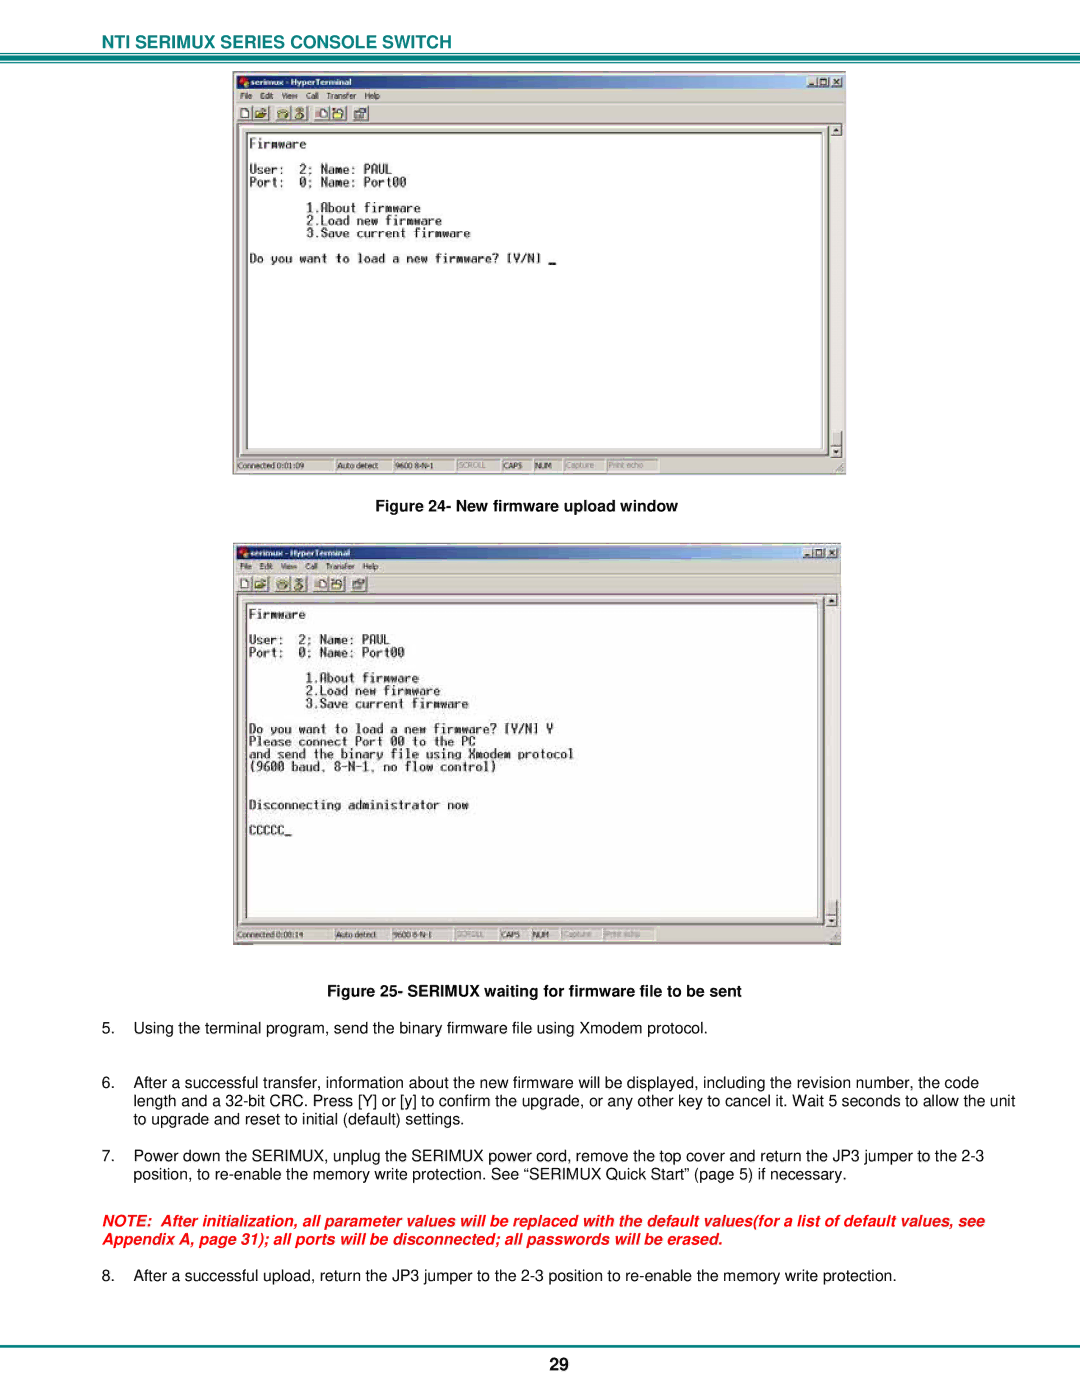
Figure 24- New firmware upload window
Figure 25- SERIMUX waiting for firmware file to be sent
5.Using the terminal program, send the binary firmware file using Xmodem protocol.
6.After a successful transfer, information about the new firmware will be displayed, including the revision number, the code length and a
7.Power down the SERIMUX, unplug the SERIMUX power cord, remove the top cover and return the JP3 jumper to the
NOTE: After initialization, all parameter values will be replaced with the default values(for a list of default values, see Appendix A, page 31); all ports will be disconnected; all passwords will be erased.
8.After a successful upload, return the JP3 jumper to the
29