TARGET Series | ENMET Corporation |
button at the Exit line to go back to the Maintenance menu. STEL and TWA alarms are preset at the factory and can only be changed using the TARGETTrakker software package.
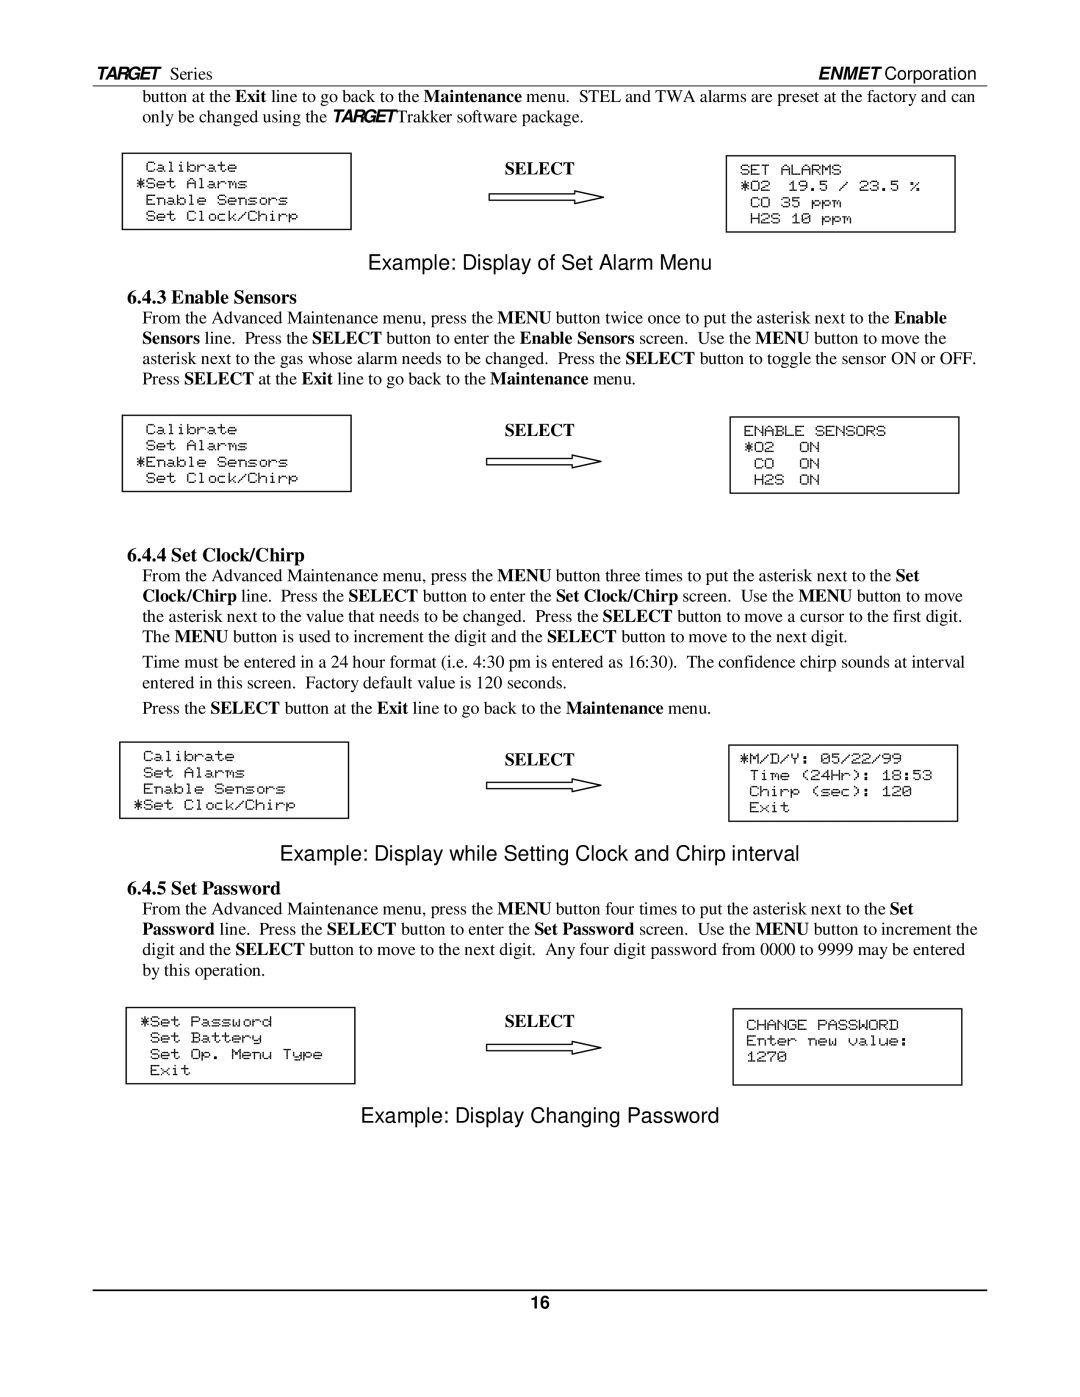
Calibrate
*Set Alarms
Enable Sensors
Set Clock/Chirp
SELECT
SET ALARMS
*O2 19.5 / 23.5 % CO 35 ppm
H2S 10 ppm
Example: Display of Set Alarm Menu
6.4.3 Enable Sensors
From the Advanced Maintenance menu, press the MENU button twice once to put the asterisk next to the Enable Sensors line. Press the SELECT button to enter the Enable Sensors screen. Use the MENU button to move the asterisk next to the gas whose alarm needs to be changed. Press the SELECT button to toggle the sensor ON or OFF. Press SELECT at the Exit line to go back to the Maintenance menu.
Calibrate
Set Alarms
*Enable Sensors
Set Clock/Chirp
SELECT
ENABLE SENSORS *O2 ON
CO ON
H2S ON
6.4.4 Set Clock/Chirp
From the Advanced Maintenance menu, press the MENU button three times to put the asterisk next to the Set Clock/Chirp line. Press the SELECT button to enter the Set Clock/Chirp screen. Use the MENU button to move the asterisk next to the value that needs to be changed. Press the SELECT button to move a cursor to the first digit. The MENU button is used to increment the digit and the SELECT button to move to the next digit.
Time must be entered in a 24 hour format (i.e. 4:30 pm is entered as 16:30). The confidence chirp sounds at interval entered in this screen. Factory default value is 120 seconds.
Press the SELECT button at the Exit line to go back to the Maintenance menu.
Calibrate
Set Alarms
Enable Sensors
*Set Clock/Chirp
SELECT
*M/D/Y: 05/22/99 Time (24Hr): 18:53 Chirp (sec): 120 Exit
Example: Display while Setting Clock and Chirp interval
6.4.5 Set Password
From the Advanced Maintenance menu, press the MENU button four times to put the asterisk next to the Set Password line. Press the SELECT button to enter the Set Password screen. Use the MENU button to increment the digit and the SELECT button to move to the next digit. Any four digit password from 0000 to 9999 may be entered by this operation.
*Set Password
Set Battery
Set Op. Menu Type
Exit
SELECT
CHANGE PASSWORD Enter new value: 1270
Example: Display Changing Password
16