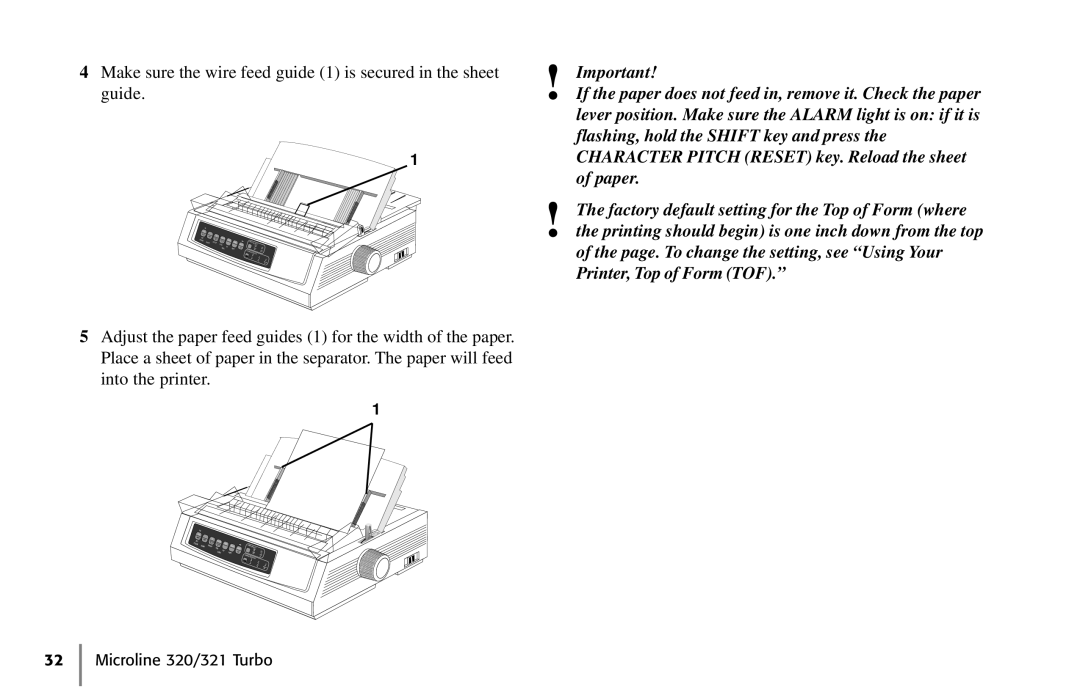
4Make sure the wire feed guide (1) is secured in the sheet guide.
1
| SEL |
|
|
|
|
|
|
|
| SEL |
|
|
|
|
|
|
|
MENU | LF |
|
|
|
|
|
| |
EXIT | SHIFT |
| FF/LOAD |
|
|
|
|
|
POWER | ALARM | GROUP |
|
| TEAR |
| PRINT QUALITY |
|
| ITEM |
| PARK | QUIET |
| |||
|
|
| SET |
| HSD | UTL | ||
|
|
| MENU |
| TOF | NLQ | ||
|
|
|
|
|
| CHARACTER | SSD | |
|
|
|
|
|
|
| 10PITCH |
|
1712
20 15 PROP
5Adjust the paper feed guides (1) for the width of the paper. Place a sheet of paper in the separator. The paper will feed into the printer.
1
!Important!
If the paper does not feed in, remove it. Check the paper lever position. Make sure the ALARM light is on: if it is flashing, hold the SHIFT key and press the CHARACTER PITCH (RESET) key. Reload the sheet of paper.
!The factory default setting for the Top of Form (where the printing should begin) is one inch down from the top
of the page. To change the setting, see “Using Your Printer, Top of Form (TOF).”
| SEL |
| SEL |
MENU | |
EXIT | SHIFT |
POWER | ALARM |
LF
FF/LOAD
GROUP | ITEM |
MENU
TEAR PARK
SET PRINT
QUIET TOF
QUALITY |
|
| |
| HSD |
| UTL |
| NLQ |
| |
CHARACTER |
| SSD | |
10PITCH |
|
| |
17 |
| 12 | 15 |
|
| 20 | |
|
|
| PROP |
32 Microline 320/321 Turbo
