Manuals
/
Olivetti
/
Computer Equipment
/
Copier
Olivetti
manual
Copia 18MF
Models:
18MF
1
1
85
85
Download
85 pages
36.4 Kb
1
2
3
4
5
6
7
8
Page 1
Image 1
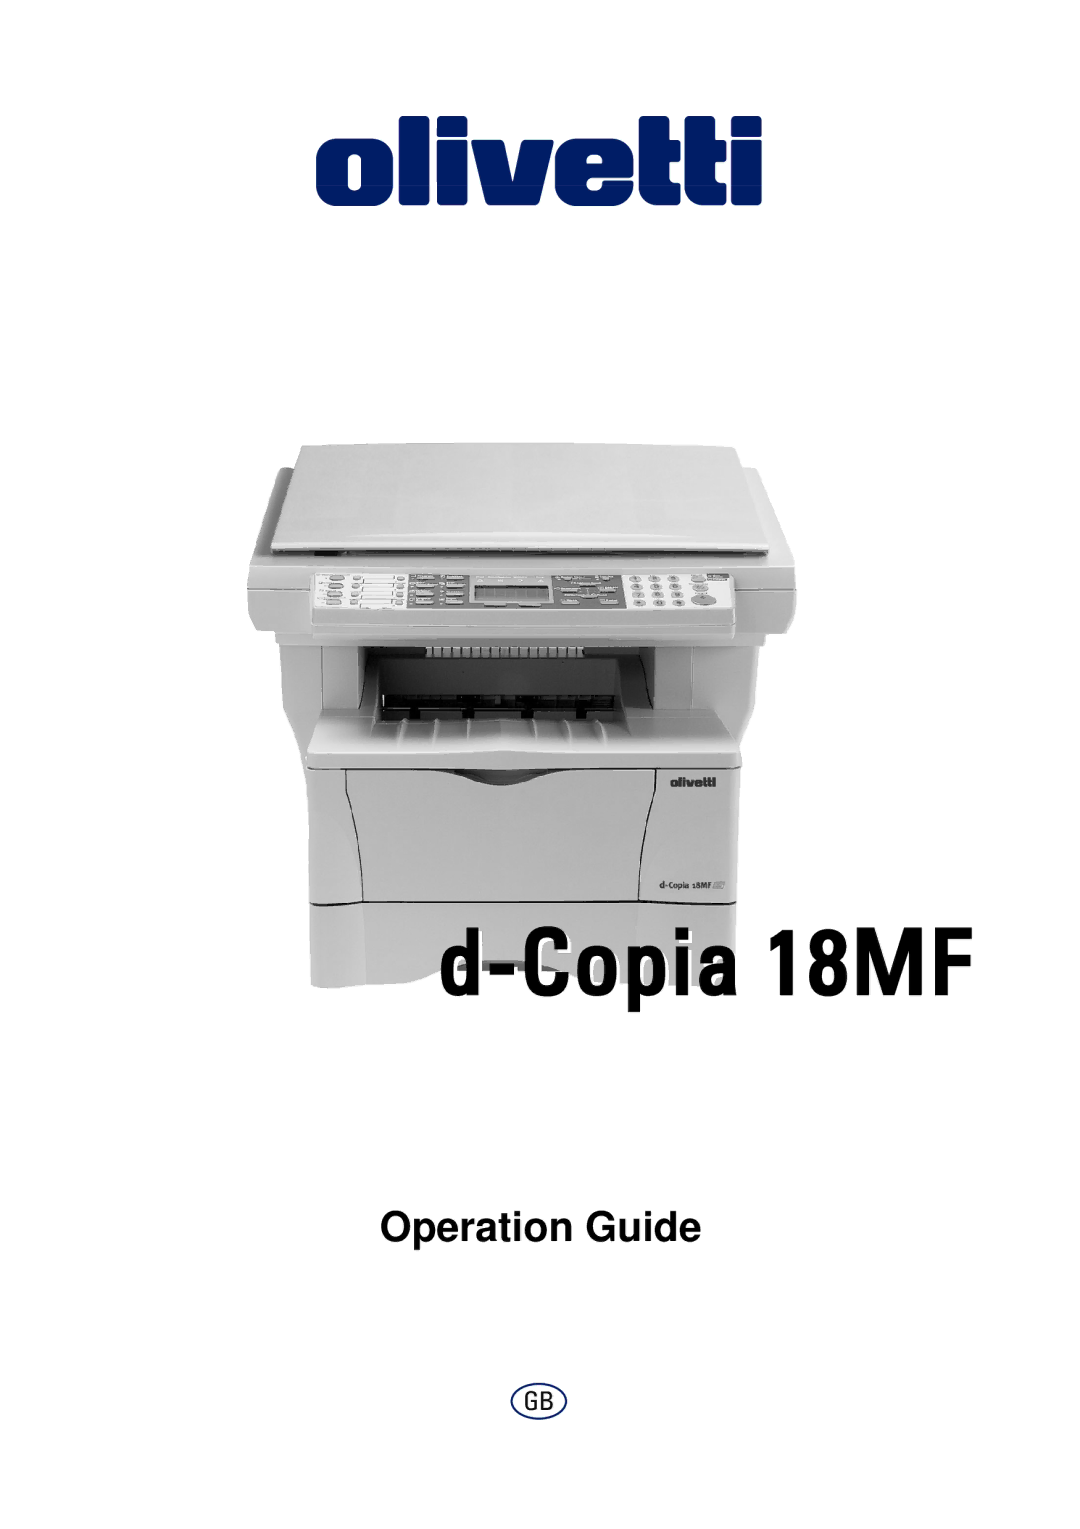
d-Copia
18MF
Operation Guide
GB
Page 1
Page 2
Page 1
Image 1
Page 1
Page 2
Contents
Copia 18MF
Publication Issued by
Advanced Operation Guide
Making Full Use of This Machine’s Advanced Functions
To the Advanced Operation
Contents
Index
Regarding Tradenames
Legal and Safety
Legal Restriction On Copying
Legal and Safety
Agfa Japan License Agreement
Energy Star Program
Low Power Mode
Auto Sleep
Vii
Paper Recycling
Symbols
Viii
Operation Guide
Important Please Read First
Other Precautions
Installation Precautions
Environment
Handling of Plastic Bags
Power Supply/Grounding the Machine
Xii
Xiii
Precautions for Use
Xiv
Other Precautions
Xvi
Laser Safety Europe
Xvii
Introduction
Installation Guide
Guides included
Operation Guide This guide
Convention Description Example
Conventions
Page
Main Body
Machine Parts
Machine Parts
Operation Guide
Messages, on
Operation Panel
Reference Meaning Number
Message Display
Operation Guide
Loading Paper Into a Cassette
Loading Paper
Advanced Operator Guide
Loading Paper
Loading Paper on the MP Tray
Adjusting the Paper Stopper for Folio or Oficio II Size
Open the MP tray towards you until it click
Using the Face-up Tray
Operation Guide
Connecting the Network Cable
Connecting the Cables
Connecting the Parallel or USB Cable
Preparations
Turning the Machine On
Connecting the Power Cord
Preparations
System Setting
Accessing Menu Items
Network Setting
TCP/IP Setting
Registering the IP Address
Network Settings
Registering the Subnet Mask
Registering the Default Gateway
Date and Time Settings
Setting the Time Zone
Setting the Current Date and Time
Summer Time Setting
Common Setting
Default Operation Mode
Default Operat
Setting
Keys Used for Entering Characters
Character Entry
Available Characters
Key Entry mode Available characters
List of Character Assignments
Type Available Characters
Entering Characters
Selecting Message Language
Other Settings
Operation Guide
Mode Description
Basic Copying Procedure
Basic Operation
Basic Operation
Press Stop/Clear . The Pausing Job List
Canceling Copy
Cancel Job. Are you sure? is displayed. Press left Select
Standard Zoom
Zoom Copies
Variable Zoom
Press Function
Collate Mode
Print Override Mode
Auto Sleep
Low Power Mode
Scan to E-mail
Basic Scanning Procedure
Recipient Entry from the Operation Panel
Recipient Selection from Address Book
Entering a Recipient Address from the Operation Panel
Scan to Folder
Recipient Selection from Address Book
Recipient Selection from One-Touch Keys
Selecting Color Scan Mode
Scan with Twain Driver
Installing the Printer Driver
Basic Printing Procedure
Printing from Application Software
Operation Guide
Cleaning the Machine
Maintenance
Toner Container Replacement
Online Help Messages
Replacing Toner Container
Maintenance
Shake the new toner container horizontally
Refer to Cleaning the Charger Registration Roller on
Or 6 times to distributed the toner inside
Cleaner Home Position
Cleaning the Charger and the Registration Roller
Service Setting
Reinstalling the Transport Pin
Transport Mode
Operation Guide
Symptom Check Item Corrective Action Reference
Troubleshooting
General Guidelines
Cleaner Home POSITION?
Troubleshooting
Message Procedure Reference
Maintenance and Error Messages
Select
Message Procedure
Message Procedure Reference
Indicator Meaning Reference
Jam Location Indicators
Paper Jam
MP Tray and Inside Machine
Pins on both sides with the guides inside
Face-up Tray
Cassette
Optional Document Processor
Open the document processor
Operation Guide
Specification
Specifications
Refer to Appendix in Advanced Operation Guide
Copying Functions
Specifications
Printing Functions
Document Processor Option
Environmental Specifications
Paper Feeder Option
Index
INDEX-2 Operation Guide
Information
Top
Page
Image
Contents