8![]()
PLAY | |
STOP | INDEX |
| |
FOLDER |
|
/MENU | ERASE |
| |
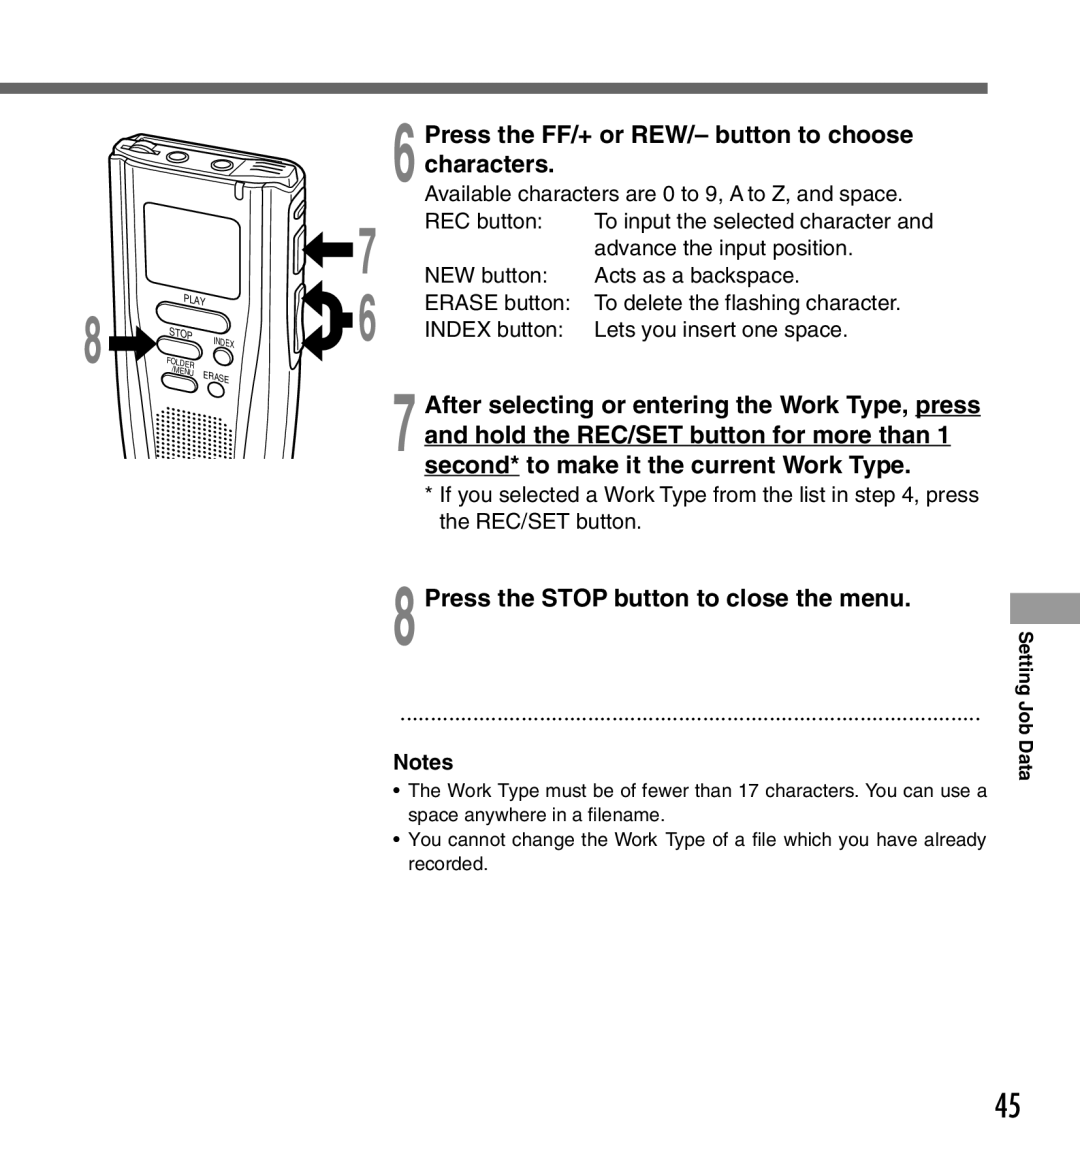
6 Press the FF/+ or REW/– button to choose characters.
| Available characters are 0 to 9, A to Z, and space. | |
7 | REC button: | To input the selected character and |
| advance the input position. | |
NEW button: | Acts as a backspace. | |
6 | ERASE button: | To delete the flashing character. |
| ||
| INDEX button: | Lets you insert one space. |
7 After selecting or entering the Work Type, press
and hold the REC/SET button for more than 1 second* to make it the current Work Type.
*If you selected a Work Type from the list in step 4, press the REC/SET button.
8 Press the STOP button to close the menu.
································································································
Notes
•The Work Type must be of fewer than 17 characters. You can use a space anywhere in a filename.
•You cannot change the Work Type of a file which you have already recorded.
Setting Job Data
45