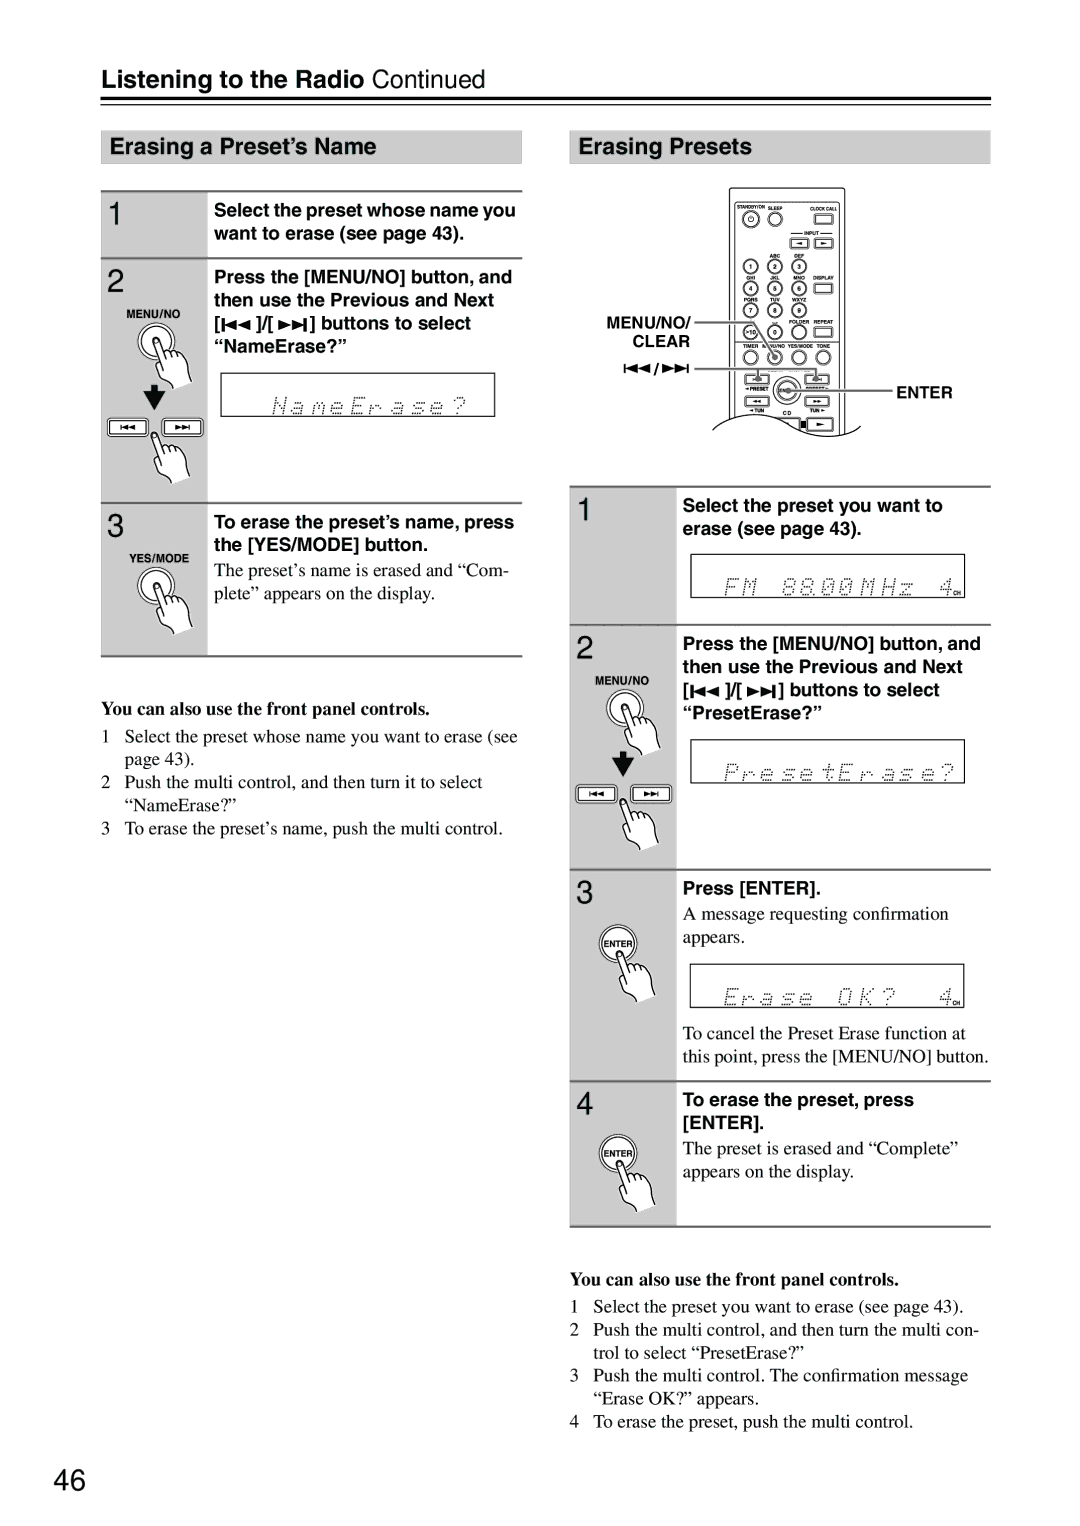
Erasing a Preset’s Name
1 | Select the preset whose name you | ||||
| |||||
| want to erase (see page 43). | ||||
|
|
|
|
|
|
2 | Press the [MENU/NO] button, and | ||||
| |||||
| then use the Previous and Next | ||||
| [ |
| ]/[ |
| ] buttons to select |
|
|
| |||
“NameErase?”
Erasing Presets
MENU/NO/
CLEAR
![]() /
/![]()
ENTER
3 | To erase the preset’s name, press |
| |
| the [YES/MODE] button. |
| The preset’s name is erased and “Com- |
| plete” appears on the display. |
You can also use the front panel controls.
1Select the preset whose name you want to erase (see page 43).
2Push the multi control, and then turn it to select “NameErase?”
3To erase the preset’s name, push the multi control.
1 | Select the preset you want to |
| |
| erase (see page 43). |
2 | Press the [MENU/NO] button, and | ||||
| |||||
| then use the Previous and Next | ||||
| [ |
| ]/[ |
| ] buttons to select |
|
|
| |||
“PresetErase?”
3 | Press [ENTER]. | |
| ||
| A message requesting confirmation | |
| appears. | |
|
|
|
|
|
|
To cancel the Preset Erase function at this point, press the [MENU/NO] button.
4 | To erase the preset, press |
| |
| [ENTER]. |
| The preset is erased and “Complete” |
| appears on the display. |
You can also use the front panel controls.
1Select the preset you want to erase (see page 43).
2Push the multi control, and then turn the multi con- trol to select “PresetErase?”
3Push the multi control. The confirmation message “Erase OK?” appears.
4To erase the preset, push the multi control.
46
