Programming the Timers
Notes: | 3 |
• You must set the clock before you can program the |
timers.
• Before programming a timer to turn on the radio, you must preset the station you want to use. (See pages 41 and 42.)
• If you don’t operate any buttons for 60 seconds while programming a timer, the procedure will be cancelled and the previous display will reappear.
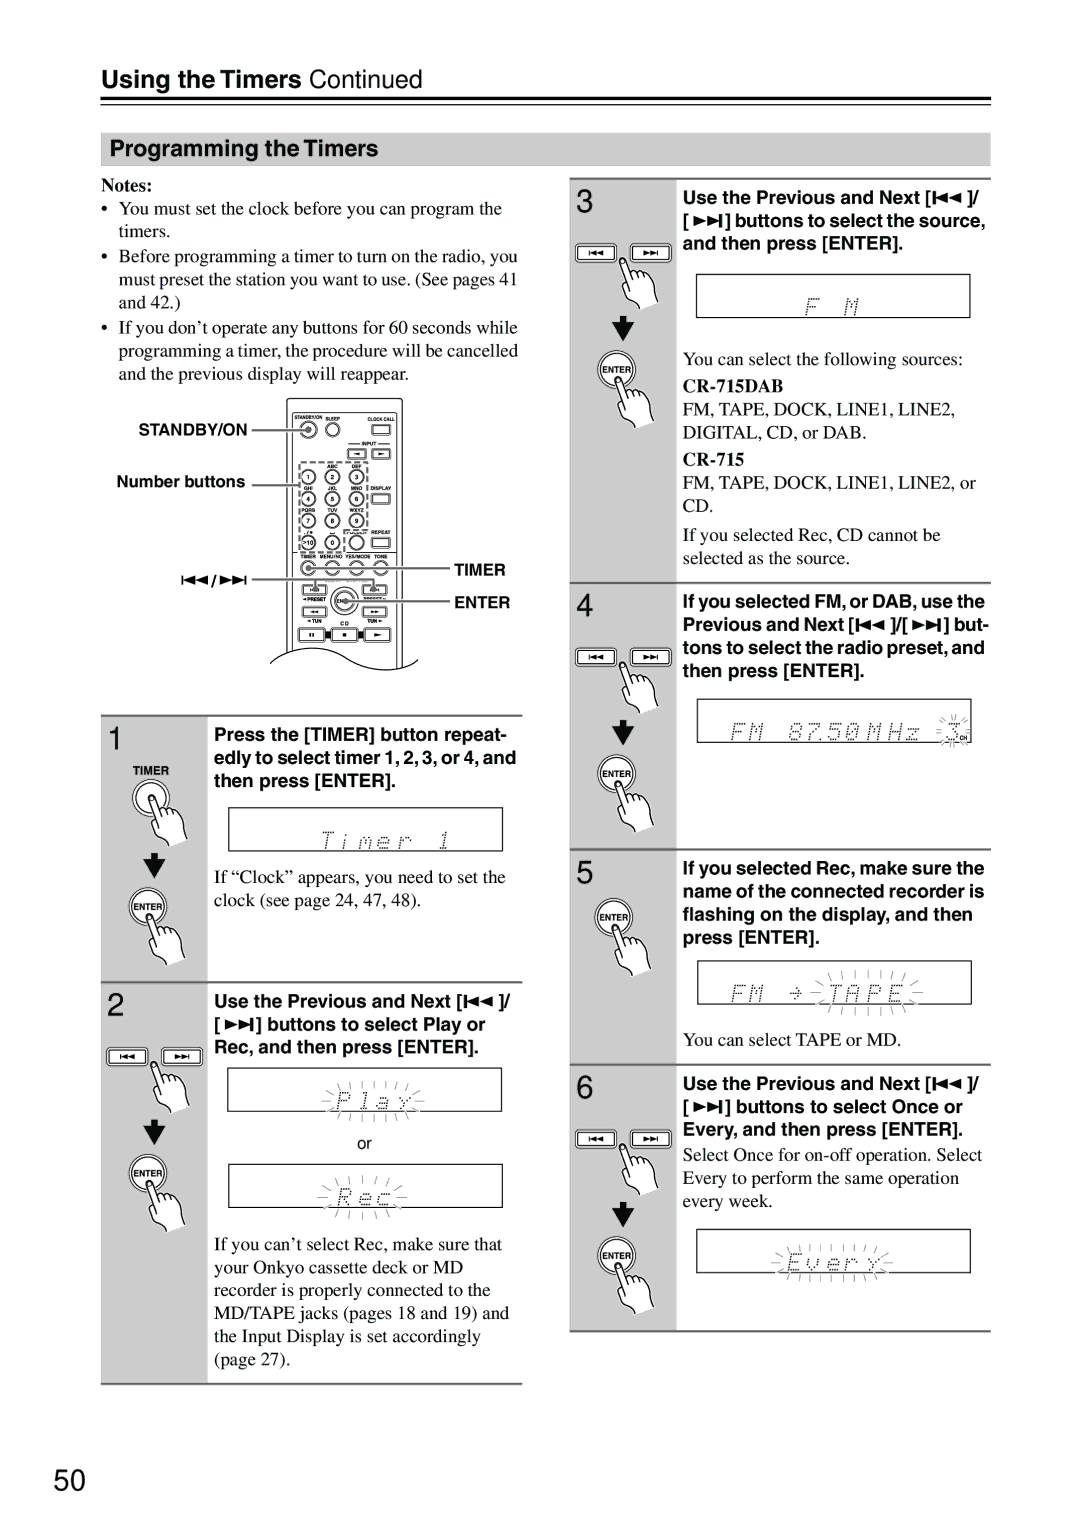
STANDBY/ON |
| |
Number buttons |
| |
TIMER |
| |
/ | 4 | |
ENTER | ||
|
1 | Press the [TIMER] button repeat- |
|
|
| |
| edly to select timer 1, 2, 3, or 4, and |
|
| then press [ENTER]. |
|
| If “Clock” appears, you need to set the | 5 |
clock (see page 24, 47, 48).
2 | Use the Previous and Next [ |
|
| ]/ | ||
|
|
| ||||
|
| |||||
| [ |
| ] buttons to select Play or |
| ||
|
|
| ||||
|
|
| ||||
Rec, and then press [ENTER].
6
or
If you can’t select Rec, make sure that your Onkyo cassette deck or MD recorder is properly connected to the MD/TAPE jacks (pages 18 and 19) and the Input Display is set accordingly (page 27).
Use the Previous and Next [![]()
![]() ]/
]/
[ ![]()
![]()
![]() ] buttons to select the source, and then press [ENTER].
] buttons to select the source, and then press [ENTER].
You can select the following sources:
CR-715DAB
FM, TAPE, DOCK, LINE1, LINE2, DIGITAL, CD, or DAB.
FM, TAPE, DOCK, LINE1, LINE2, or CD.
If you selected Rec, CD cannot be selected as the source.
If you selected FM, or DAB, use the
Previous and Next [![]()
![]() ]/[
]/[ ![]()
![]()
![]() ] but- tons to select the radio preset, and then press [ENTER].
] but- tons to select the radio preset, and then press [ENTER].
If you selected Rec, make sure the name of the connected recorder is flashing on the display, and then press [ENTER].
You can select TAPE or MD.
Use the Previous and Next [![]()
![]() ]/
]/
[ ![]()
![]()
![]() ] buttons to select Once or Every, and then press [ENTER].
] buttons to select Once or Every, and then press [ENTER].
Select Once for
50