Setting the Clock Manually
The time can be displayed in either 12- or
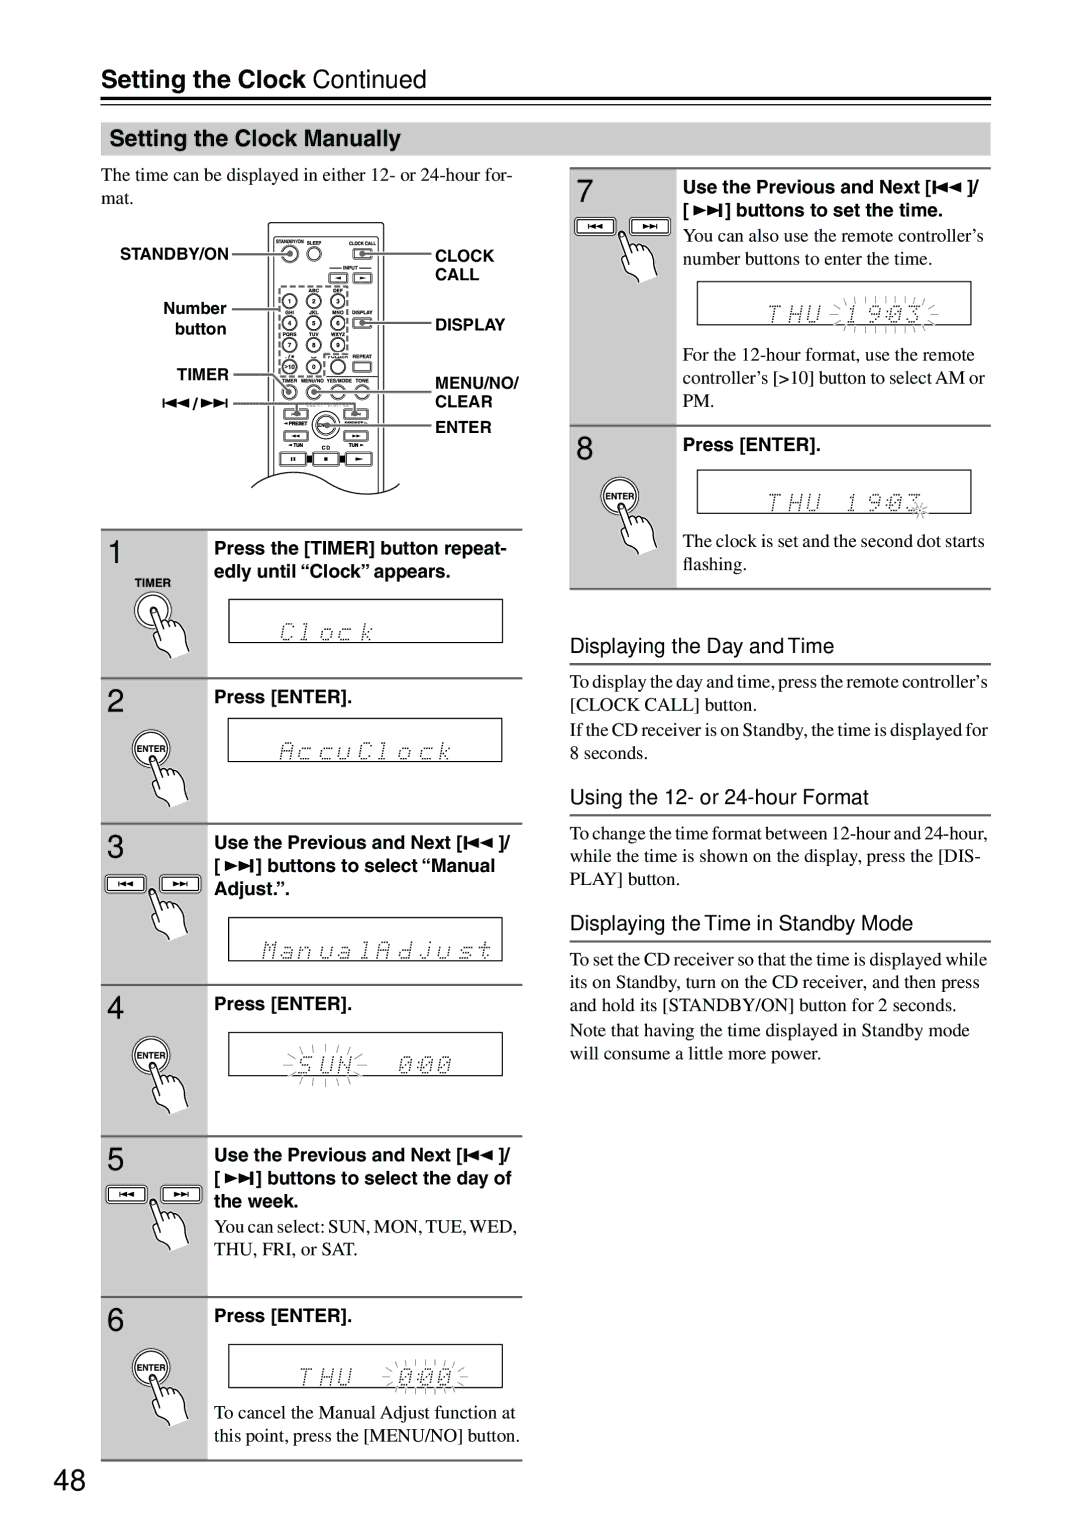
STANDBY/ON | CLOCK |
| CALL |
Number | DISPLAY |
button | |
TIMER | MENU/NO/ |
| |
/ | CLEAR |
| ENTER |
7
8
Use the Previous and Next [
 ]/
]/
[ 

 ] buttons to set the time.
You can also use the remote controller’s number buttons to enter the time.
For the
Press [ENTER].
1
2
3
4
5
6
Press the [TIMER] button repeat- edly until “Clock” appears.
Press [ENTER].
Use the Previous and Next [![]()
![]() ]/
]/
[ ![]()
![]()
![]() ] buttons to select “Manual Adjust.”.
] buttons to select “Manual Adjust.”.
Press [ENTER].
Use the Previous and Next [![]()
![]() ]/
]/
[ ![]()
![]()
![]() ] buttons to select the day of the week.
] buttons to select the day of the week.
You can select: SUN, MON, TUE, WED, THU, FRI, or SAT.
Press [ENTER].
To cancel the Manual Adjust function at this point, press the [MENU/NO] button.
The clock is set and the second dot starts flashing.
Displaying the Day and Time
To display the day and time, press the remote controller’s [CLOCK CALL] button.
If the CD receiver is on Standby, the time is displayed for 8 seconds.
Using the 12- or 24-hour Format
To change the time format between
Displaying the Time in Standby Mode
To set the CD receiver so that the time is displayed while its on Standby, turn on the CD receiver, and then press and hold its [STANDBY/ON] button for 2 seconds.
Note that having the time displayed in Standby mode will consume a little more power.
48