Options
English
Important Information
Table of Contents
Table of Contents
Advanced Features
Network Features
Basic Operations
Problem Solving
Printout Journals and Lists
Appendix
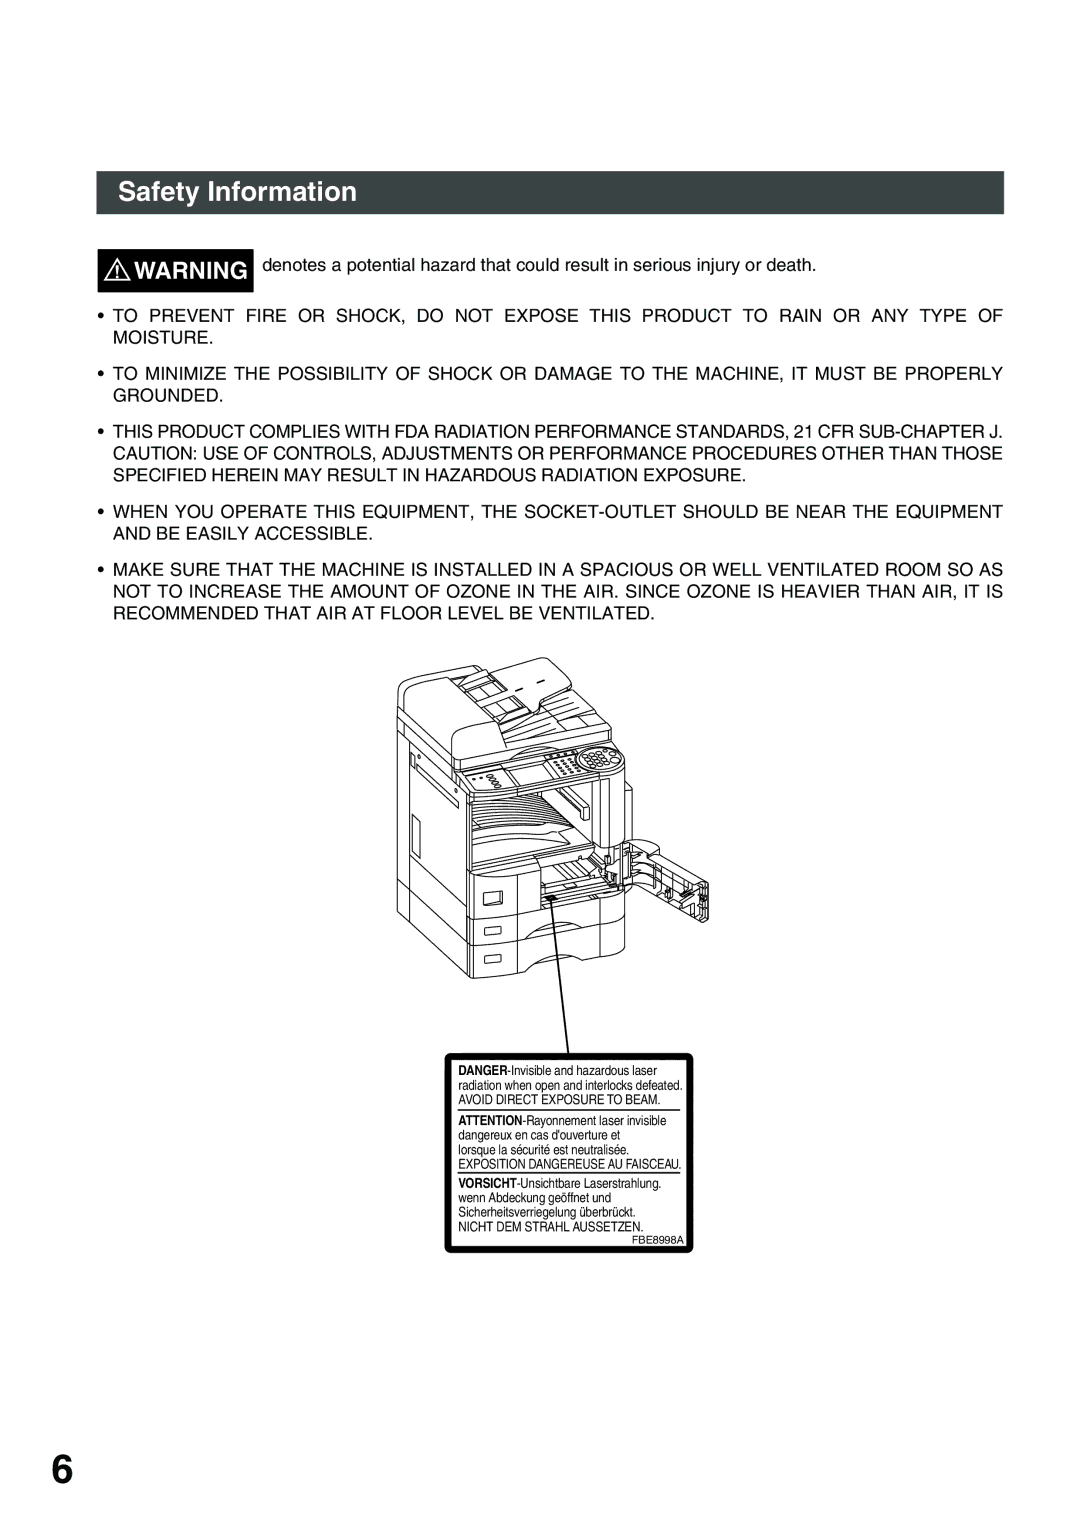
Safety Information
Important Safety Instructions
Safety Information
Function Key
Function
On Line Indicator Touch Panel Display
Control Panel
Keypad
Pre Installation Information
Function Smtp Server Setup POP3 Client Setup
Setup as Smtp mail server
Email Transmission from the DP-2500/3000 to a PC
Email reception from a PC to the DP-2500/3000
Setup as POP3 Client
Default Subject Default Domain
Explanation of Contents
Internet Mail Reception
Internet Communication Features
Internet Fax Transmission
Internet
Inbound Routing
Fax Forward
Network Scanner
Network Printer
Print
Relayed Transmission
Important Information
Sending Document Size via LAN
Sending a Document to a PC via LAN
Internet Relayed Transmission
Connecting the LAN Cables
Link Lamp
Setting the User Internet Parameters
User Parameters
123
Setting the Internet Parameters
Setting the User Parameters for the LAN Interface
Programming or Retrieving Parameters via Email
Using Email to Program or Retrieve Parameters
Using a PC to Input the Internet Parameters Remotely
To Retrieve data, type #get parameters123456789#
To Input the Internet Parameters for the First Time
DP-2500/3000’s email address
To Retrieve the Internet Parameters for Backup
DP-2500/3000 Internet Parameters Email Sample
To Edit the Retrieved or Backup Internet Parameters File
To Store data, type #set parameterspassword#
Delete this header before sending email
Selection feature see
Using a PC to Update the Auto Dialer Remotely
@command delete @end
Deleting the Entire Auto Dialer
To Program Phone Book for the First Time
@end block
To Retrieve Phone Book Data for Backup
Retrieving Phone Book Data Sample
DP-2500/3000 Auto Dialer Email Sample
To Edit the Retrieved or Backup Phone Book Data File
To change or update the auto dialer, follow the steps below
DP-2000/3000’s email address
Using Email to Retrieve the Journal
To add an email address, follow the steps below
Phone Book
Adding an Email Address
Ex abc@panasonic.com
Phone Book Enter Name Sales Dept
To change the settings of a phone book station
Editing the Phone Book
Ex xyz@panasonic.com
Clear
To erase an entry from the phone book
Indicates that the key contains an email address
YES
Setting the Fax Parameters
Customizing Your Machine
Cancel
Parameter Setting Comments
Fax Parameter Table
Function Select Mode RCV to Memory
Print
Duplex Print
Email Header
Ifax XMT Header
Sending Documents via LAN
Manual Email Addressing
To enter the email address manually, follow the steps below
Ex abc
Memory XMT
Memory XMT
Phone Book Email Addressing
Sending Documents via LAN
Multiple Email Station Addressing Broadcasting
SET
Selectable Domains Key
Ex matsushita
Ex mgcs.co.jp
Press Cancel to cancel the operation
Internet Fax Ledger Size Document Transmission
To send without reduction, follow the steps below
Ledger Email XMT = on Fax Parameter No
To send with reduction, follow the steps below
Document Size Transmission
Document Size Set to Invalid Set to Valid
Returned Email
Failure Report Sample User unknown
Using a Mailing List
Receiving Documents via LAN
Internet Fax Received on a PC
Internet Fax Received on a PC
Setting the POP Parameters
Retrieving Email from a POP Server
To set the above POP parameters, follow the steps below
Press or to scroll the display to the desired Fax Parameter
To return to standby
Unattended Email Retrieval from the POP Server
Manual Email Retrieval from the POP Server
RCV
Setting the POP Email Retrieval Key
Program Keys
Ex POP1 OK
Ex 1111 OK
Using the POP Email Retrieval Key
Ex POP1
POP RCV No NEW Mail
Setting the Sender Selection
Sender Selection
General Description
Ex P
I C Space
Sending Document with Sender Selection
Ex 01 Sales Dept
Printing the Sender Selection List
Sender Selection List User Name Email Address
Subject Line Entry
Sending Email with Subject Line Entry
Ex FAX From Mr. Jones
Setting the Routing Parameters
Inbound Routing
Entering Phone Book Dialing Numbers for Inbound Routing
Phone Book Enter TEL. no
Phone Book Routing TSI
To return to stanby, press
Setting Fax Forward
Fax Forward
Valid
To disable this feature, follow the steps below
Ifax Return Receipt
Select the desired setting and press To return to standby
This page is intentionally left blank
Network Scanner
100
Network Printer
101
General Description
102
Relayed Transmission
Relay Network
103
Station Name Email Address / Telephone Number
Setting up your DP-2500/3000 as an Internet Relay Station
104
Programming the End Receiving Station into your Auto Dialer
Setting Up Your Machine for Relayed Transmission
105
To set a Phone Book for Relayed Transmission Request
106
107
108
Sending Documents via Internet Relay
To a Location That Has a Pre-programmed Relay Station
109
110
LAN Relay XMT Enter Relay Station
111
Stockholm
112
Sending Documents from a PC to a G3 Fax Machine
113
Please visit the following URL address for more details
Relay XMT Report COMM. Journal
114
Printouts and Reports
Transmission Journal
115
116
117
Journals and Lists
118
Journals and Lists
119
Sample Transaction Journal
120
121
Communication Journal COMM. Journal
Sample COMM. Journal
122
123
Phone Book List
124
Sample Phone Book List
125
Group and Program List
Sample Program List
To print a FAX Parameter List
126
FAX Parameter List
Sample FAX Parameter List
127
Sample Internet Parameter List
128
Troubleshooting
129
Information Codes
Internet FAX Return Receipt Errors Messages
Email Abbr Programming Errors
Error Message Sent to the Sender
130
Specifications
131
132
Glossary
133
134
135
Index
136
Fax Number / Email Address Directory
Name Number / Email Address
Warranty

