Preparation
Setting Date/Time (Clock Set)
∫Initial setting
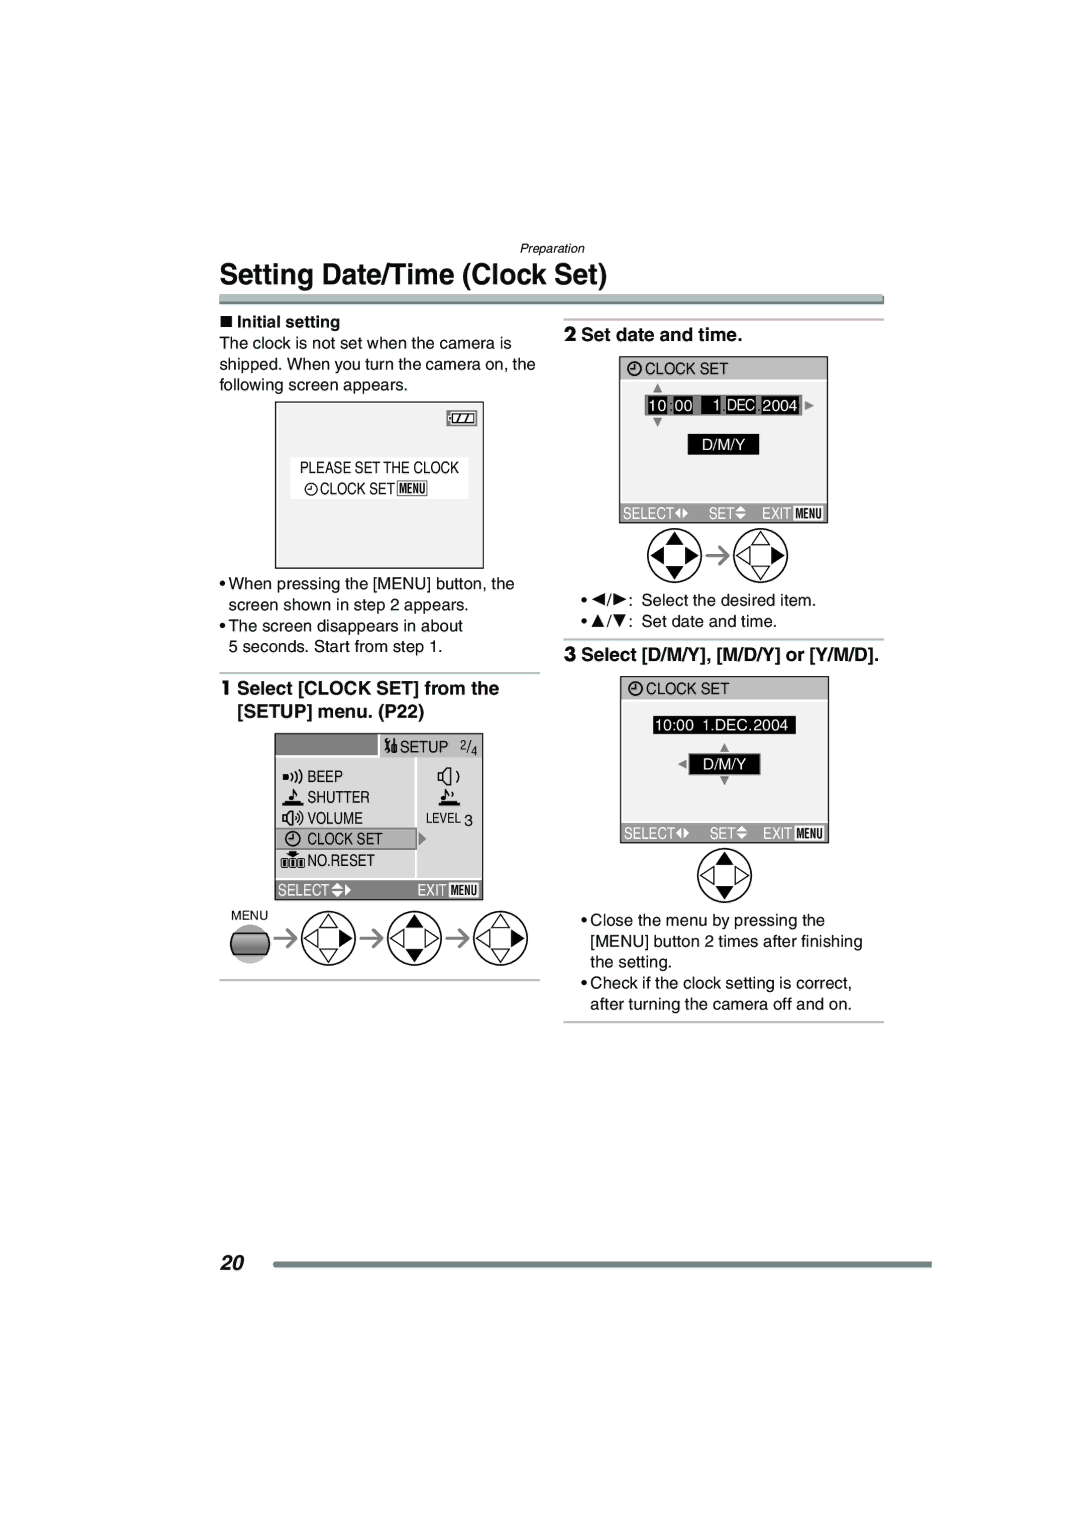
The clock is not set when the camera is shipped. When you turn the camera on, the following screen appears.
PLEASE SET THE CLOCK
![]() CLOCK SET MENU
CLOCK SET MENU
•When pressing the [MENU] button, the screen shown in step 2 appears.
•The screen disappears in about 5 seconds. Start from step 1.
1 Select [CLOCK SET] from the | |
[SETUP] menu. (P22) | |
| SETUP 2/4 |
BEEP |
|
SHUTTER |
|
VOLUME | LEVEL 3 |
CLOCK SET |
|
NO.RESET |
|
SELECT | EXIT MENU |
MENU |
|
2 Set date and time.
![]() CLOCK SET
CLOCK SET
10 : 00 11.DEC . 2004 ![]()
D/M/Y
SELECT![]() SET
SET![]() EXIT MENU
EXIT MENU
•2/1: Select the desired item.
•3/4: Set date and time.
3 Select [D/M/Y], [M/D/Y] or [Y/M/D].
![]() CLOCK SET
CLOCK SET
10:0011.DEC.2004
D/M/Y
SELECT![]() SET
SET![]() EXIT MENU
EXIT MENU
•Close the menu by pressing the [MENU] button 2 times after finishing the setting.
•Check if the clock setting is correct, after turning the camera off and on.
20
