System and Control Options
9.5Setup System - Setup Sensor
The Universal Monitor has four analog sensor input points that may be configured individually. The panel monitors connected equipment for any
To configure a sensor:
Log In and Choose Setup System
• From the Main Menu, use the arrows ↑ ↓ to choose System and Control, then press Enter ↵ (see 9.1 - Login for help).
• Enter your password at the Login screen.
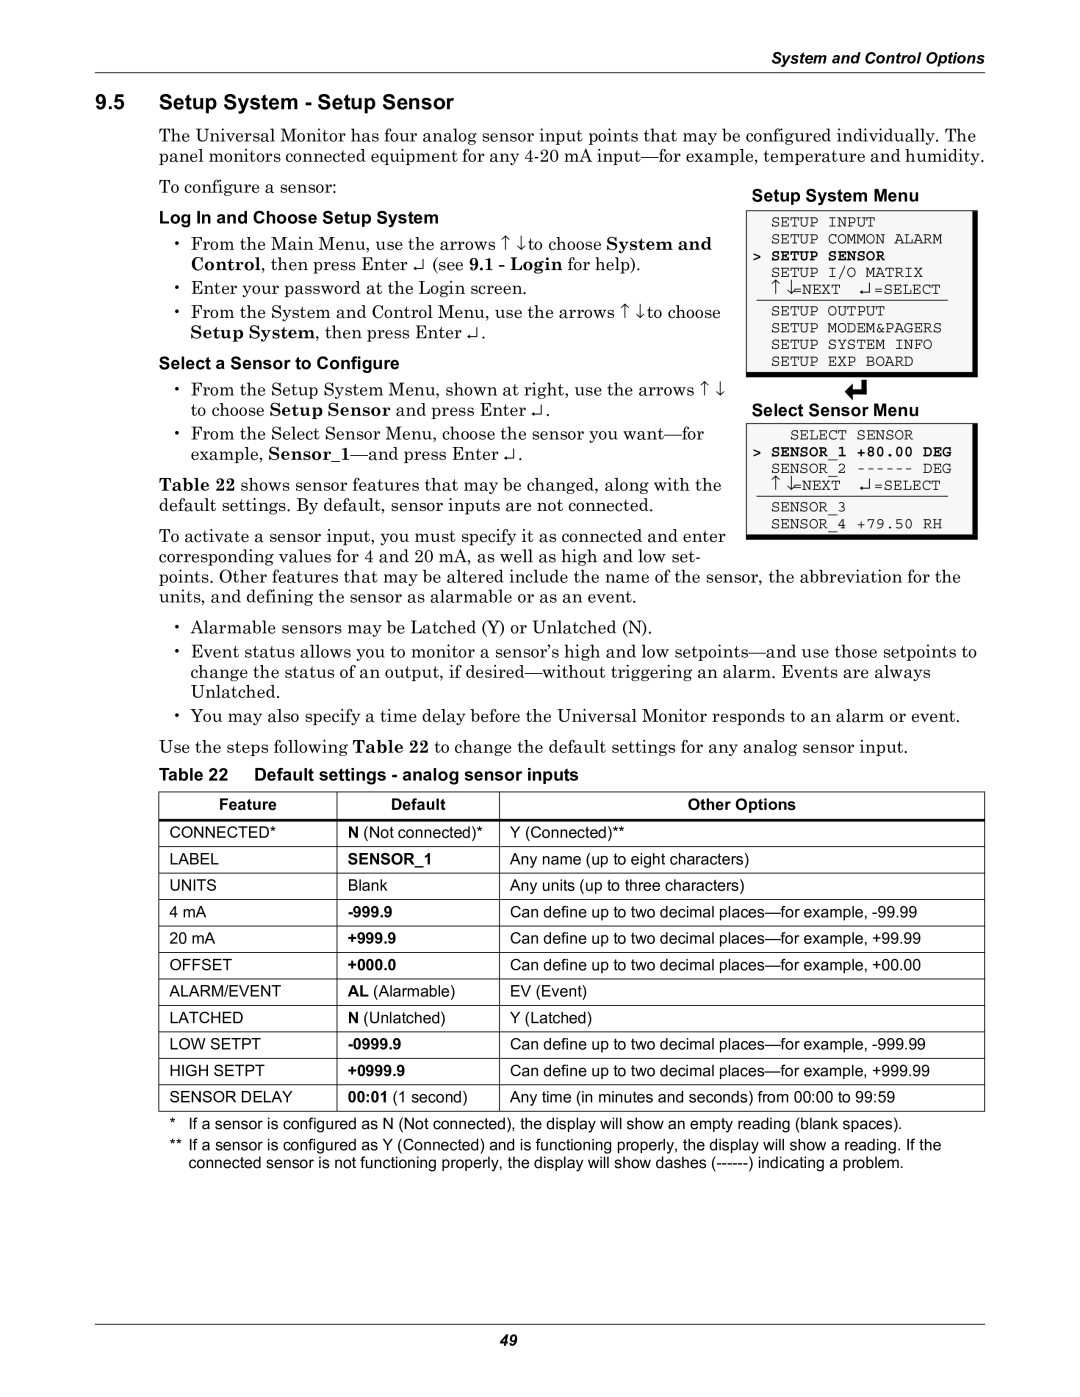
• From the System and Control Menu, use the arrows ↑ ↓ to choose Setup System, then press Enter ↵ .
Select a Sensor to Configure
• From the Setup System Menu, shown at right, use the arrows ↑ ↓ to choose Setup Sensor and press Enter ↵ .
• From the Select Sensor Menu, choose the sensor you
Table 22 shows sensor features that may be changed, along with the default settings. By default, sensor inputs are not connected.
To activate a sensor input, you must specify it as connected and enter corresponding values for 4 and 20 mA, as well as high and low set-
points. Other features that may be altered include the name of the sensor, the abbreviation for the units, and defining the sensor as alarmable or as an event.
•Alarmable sensors may be Latched (Y) or Unlatched (N).
•Event status allows you to monitor a sensor’s high and low
•You may also specify a time delay before the Universal Monitor responds to an alarm or event.
Use the steps following Table 22 to change the default settings for any analog sensor input.
Table 22 Default settings - analog sensor inputs
Feature | Default | Other Options |
|
|
|
CONNECTED* | N (Not connected)* | Y (Connected)** |
|
|
|
LABEL | SENSOR_1 | Any name (up to eight characters) |
|
|
|
UNITS | Blank | Any units (up to three characters) |
|
|
|
4 mA | Can define up to two decimal | |
|
|
|
20 mA | +999.9 | Can define up to two decimal |
|
|
|
OFFSET | +000.0 | Can define up to two decimal |
|
|
|
ALARM/EVENT | AL (Alarmable) | EV (Event) |
|
|
|
LATCHED | N (Unlatched) | Y (Latched) |
|
|
|
LOW SETPT | Can define up to two decimal | |
|
|
|
HIGH SETPT | +0999.9 | Can define up to two decimal |
|
|
|
SENSOR DELAY | 00:01 (1 second) | Any time (in minutes and seconds) from 00:00 to 99:59 |
|
|
|
* If a sensor is configured as N (Not connected), the display will show an empty reading (blank spaces).
**If a sensor is configured as Y (Connected) and is functioning properly, the display will show a reading. If the connected sensor is not functioning properly, the display will show dashes
49