System and Control Options
9.5.7Define Sensor as Alarmable or Event
Each sensor may be defined as Alarmable (AL) or as an Event (EV).
•For a sensor defined as alarmable, the following alarm reactions occur when the
•For a sensor defined as an event, the
By default, all sensors are set up as AL (Alarmable).
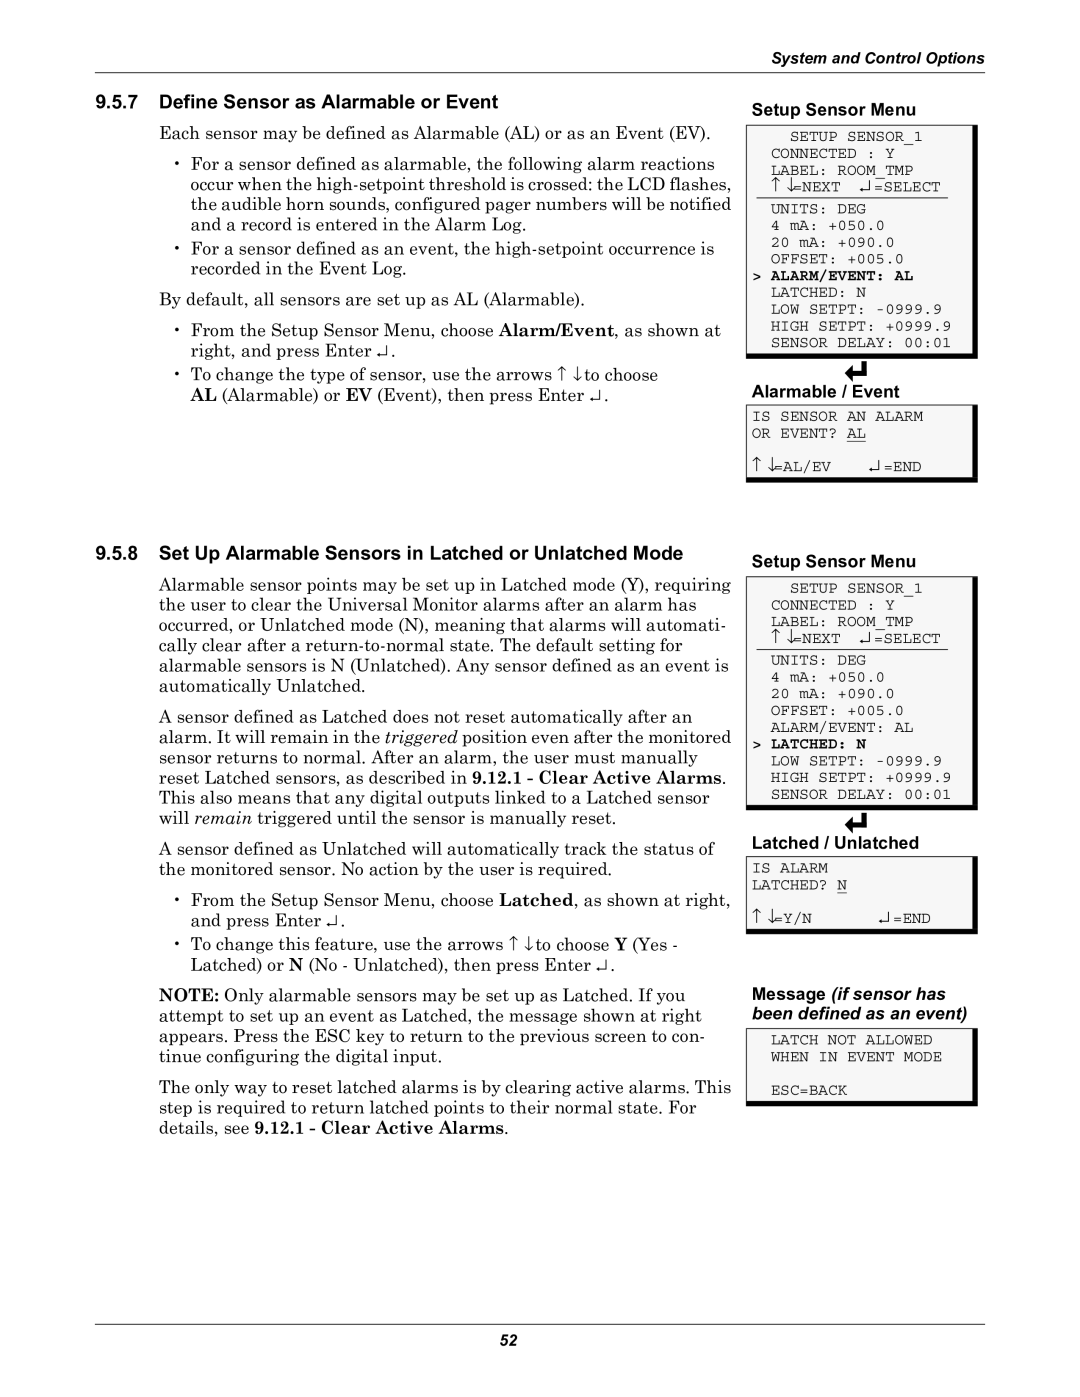
•From the Setup Sensor Menu, choose Alarm/Event, as shown at right, and press Enter ↵ .
•To change the type of sensor, use the arrows ↑ ↓ to choose AL (Alarmable) or EV (Event), then press Enter ↵ .
9.5.8Set Up Alarmable Sensors in Latched or Unlatched Mode
Alarmable sensor points may be set up in Latched mode (Y), requiring the user to clear the Universal Monitor alarms after an alarm has occurred, or Unlatched mode (N), meaning that alarms will automati- cally clear after a
A sensor defined as Latched does not reset automatically after an alarm. It will remain in the triggered position even after the monitored sensor returns to normal. After an alarm, the user must manually reset Latched sensors, as described in 9.12.1 - Clear Active Alarms. This also means that any digital outputs linked to a Latched sensor will remain triggered until the sensor is manually reset.
A sensor defined as Unlatched will automatically track the status of the monitored sensor. No action by the user is required.
•From the Setup Sensor Menu, choose Latched, as shown at right, and press Enter ↵ .
•To change this feature, use the arrows ↑ ↓ to choose Y (Yes - Latched) or N (No - Unlatched), then press Enter ↵ .
NOTE: Only alarmable sensors may be set up as Latched. If you attempt to set up an event as Latched, the message shown at right appears. Press the ESC key to return to the previous screen to con- tinue configuring the digital input.
The only way to reset latched alarms is by clearing active alarms. This step is required to return latched points to their normal state. For details, see 9.12.1 - Clear Active Alarms.
Setup Sensor Menu
SETUP SENSOR_1
CONNECTED : Y
LABEL: ROOM_TMP
↑↓=NEXT ↵ =SELECT
UNITS: DEG
4 mA: +050.0
20 mA: +090.0
OFFSET: +005.0
>ALARM/EVENT: AL
LATCHED: N
LOW SETPT:
HIGH SETPT: +0999.9
SENSOR DELAY: 00:01
Alarmable / Event
IS SENSOR AN ALARM OR EVENT? AL
↑ ↓=AL/EV | ↵ =END |
Setup Sensor Menu
SETUP SENSOR_1
CONNECTED : Y
LABEL: ROOM_TMP
↑↓=NEXT ↵ =SELECT
UNITS: DEG
4 mA: +050.0
20 mA: +090.0
OFFSET: +005.0
ALARM/EVENT: AL
>LATCHED: N
LOW SETPT:
HIGH SETPT: +0999.9
SENSOR DELAY: 00:01
Latched / Unlatched
IS ALARM
LATCHED? N
↑ ↓=Y/N | ↵ =END |
Message (if sensor has been defined as an event)
LATCH NOT ALLOWED WHEN IN EVENT MODE
ESC=BACK
52
