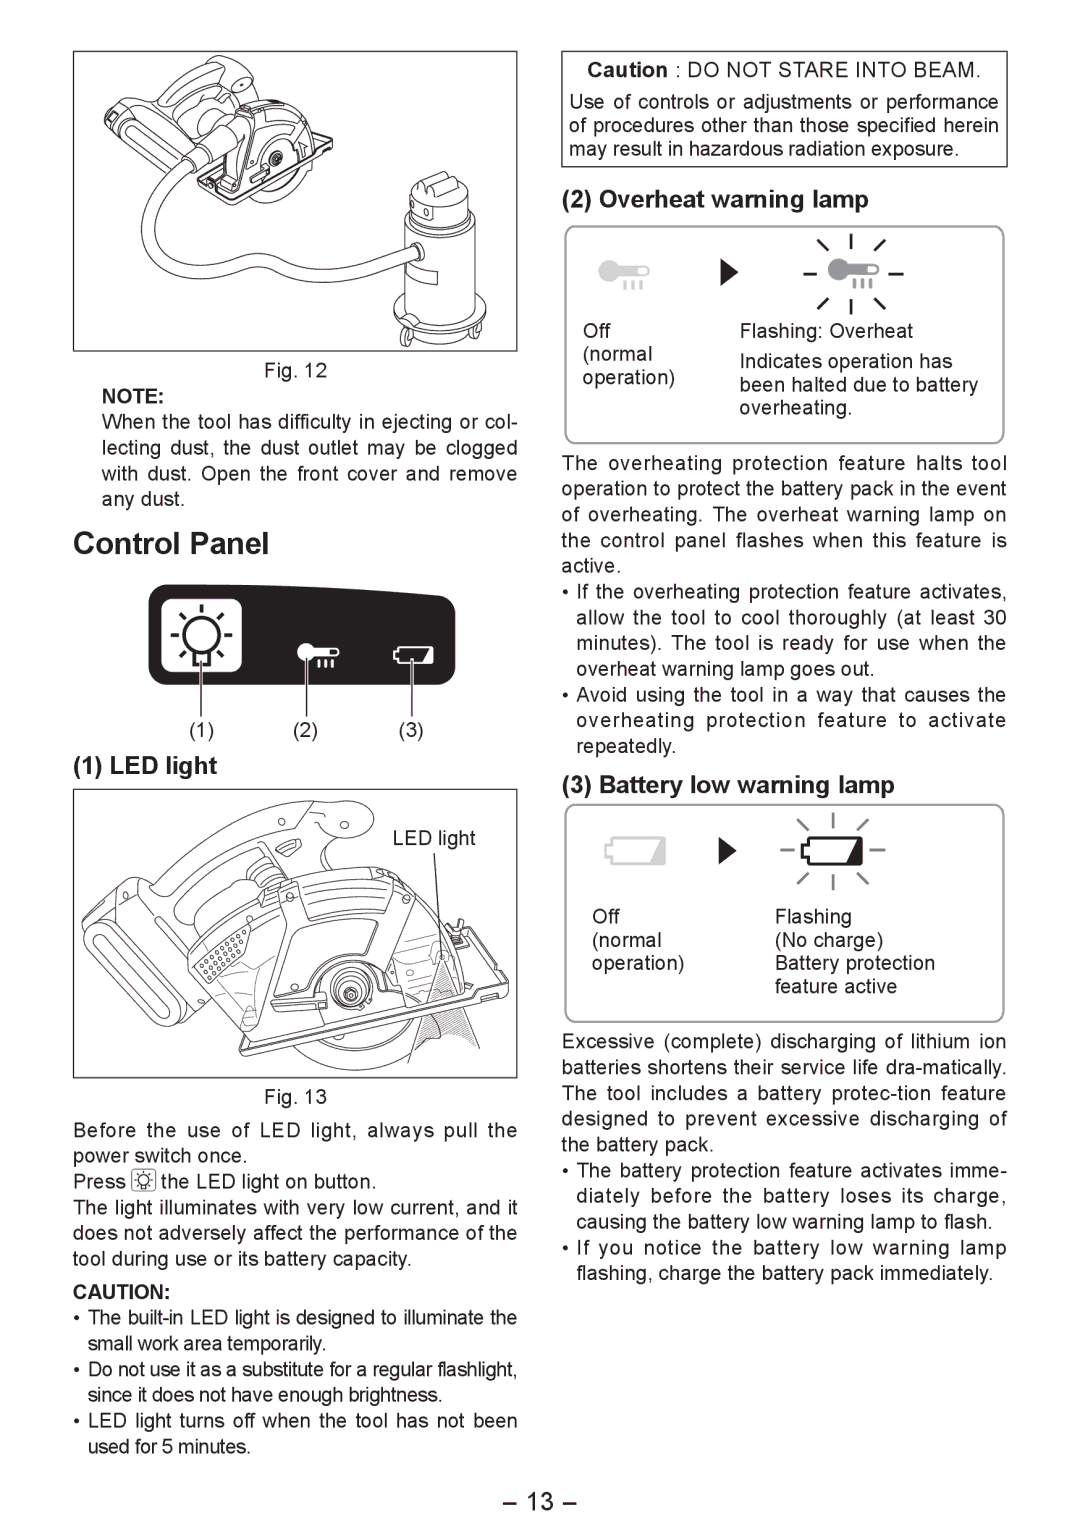
Fig. 12
NOTE:
When the tool has difficulty in ejecting or col- lecting dust, the dust outlet may be clogged with dust. Open the front cover and remove any dust.
Control Panel
(1) (2) (3)
(1) LED light
LED light |
Fig. 13
Before the use of LED light, always pull the power switch once.
Press ![]() the LED light on button.
the LED light on button.
The light illuminates with very low current, and it does not adversely affect the performance of the tool during use or its battery capacity.
CAUTION:
•The
•Do not use it as a substitute for a regular flashlight, since it does not have enough brightness.
•LED light turns off when the tool has not been used for 5 minutes.
Caution : DO NOT STARE INTO BEAM.
Use of controls or adjustments or performance of procedures other than those specified herein may result in hazardous radiation exposure.
(2) Overheat warning lamp
Off | Flashing: Overheat | |
(normal | Indicates operation has | |
operation) | ||
been halted due to battery | ||
| overheating. |
The overheating protection feature halts tool operation to protect the battery pack in the event of overheating. The overheat warning lamp on the control panel flashes when this feature is active.
•If the overheating protection feature activates, allow the tool to cool thoroughly (at least 30 minutes). The tool is ready for use when the overheat warning lamp goes out.
•Avoid using the tool in a way that causes the overheating protection feature to activate repeatedly.
(3) Battery low warning lamp
Off | Flashing |
(normal | (No charge) |
operation) | Battery protection |
| feature active |
Excessive (complete) discharging of lithium ion batteries shortens their service life
•The battery protection feature activates imme- diately before the battery loses its charge, causing the battery low warning lamp to flash.
•If you notice the battery low warning lamp flashing, charge the battery pack immediately.
- 13 -
